Author Archives: bobert0670

Link

Well, It has been some time since I last posted. Apparently the Just Empty Every Pocket saying is holding true, and things are tight so I will be doing things as I can afford them. Anyway, the Body work is complete and the Paint is done! It took a while to get it just right for paint, but the price was right! I built an 16′ x 17′ addition on a buddy’s garage in trade for the body work and painting. It turned out INCREDIBLE. I ended up deciding on “Dune” for the color. This is the same color available on 2014 jeeps. It looks really yellow in the booth due to the lighting, the second photo is sunlight and you can see its more tan.

1f729f5b-e4d4-434f-9456-1c1de1406c68

97b7f6c3-53c9-4b94-a4ed-47d107c0d5a4

672c8678-f39f-44c7-92d4-a5ee038dd7db

35734102-8672-42c0-9422-6ea34aa7d111

ac402939-675a-4288-865f-8347b9158171

c74cf666-96d5-4801-bf36-92a00e56befc

Link

Well, its finally ready for paint. The body work has been done and the fenders, grill, and windshield frame were test fit. Next stop the paint booth!!!

2b1255a7-e859-484b-b705-e592f6394e8d

7cfff8c2-ddde-4063-af32-e40ef9c1414c

16db7178-3ce4-4ca1-9756-29446a790ba5

614d47f5-eef6-4ebf-a4d4-5ec7fd3e9a8a

13856ce8-c509-4eb5-9516-f90cbedb8939

73318e32-3c0f-432d-8005-a3b4344c95e7

10432312-19e0-4a60-ad11-a69e66f604a4

Link

Well

My buddy Deacon Kallish is working on the tub for me. He is a perfectionist so I have no doubt it will turn out crazy good. I want to help so I can learn but our schedules, well mine really is crazy so he has gotten started already. There were some dents and dings, and lots of extra holes that have been welded up. Its amazing how once you get everything sanded down a body that did not look like it needed much, has way more imperfections than it seemed.
I have read about how people say there is no bondo or filler on this body. Well, unless it is brand new from the factory I don’t believe it. Let me rephrase that, If your vehicle body looks perfect I don’t believe it. Anytime you rebuild a vehicle there is going to be some filler, it may not be much but some, its part of the process of making a paint job look great. You can see from some pics it appears to be pretty thick, however once sanded flat it is really very thin.

IMG_20131217_084505677

IMG_20131217_084514447

IMG_20131217_084523492

IMG_20131217_084534466

IMG_20131217_084545597

IMG_20131217_084558907_HDR

IMG_20131217_084602152

Link

Well I have been busy as of late ordering parts, oh what fun it is! I had originally contacted Quadratec to inquire about a possible discount since I was going to need so much, and inquired if any vendors were interested in supplying hardware which would be documented. I figured it never hurts to ask. Well I was told with a 2000.00 order I could get a discount. I asked them to put together all the parts for the front and rear end minus the axles, and differential gears, complete brake lines, and an upgrade to disc brakes in the rear. They told me they would work getting that put together. I’m still waiting, and they have stopped replying to my inquires. So I will be purchasing AS FEW PARTS AS POSSIBLE from those guys.
In the mean time I ordered a bunch of engine parts, mostly covers and seals, new balancer, oil pan and a few other things. I found a local welder to fabricate me a new frame, I cant wait to see it! And Ordered a Rubicon Express 4.5″ complete lift kit with shocks. So I will continue putting it all together as I receive parts.

NEW BODY ARRIVED!

Well the new, new to me anyway, body arrived via PawPrints Transportation. I found them on Uship.com. If you have ever seen the show “Shipping Wars” this is one of the ways they find loads. It was a pretty easy transaction all together. I originally was given a 800$ quote to ship the tub from Antelope California to my house in Lake County, Illinois. I created a shipment on Uship.com set my maximum price and a few days, and a few bids later I accepted one for $300.00 All in all a pretty good way to ship large parts, as typically a company will want to pick up extra things to fill their load and offer lower cost to do so. Anyway here are the pics I was sent of the tub. The OE decided he wanted some 5×9’s in the back, and while I applaud his efforts to build the box into the tub, pretty crappy job with LOTS of silicone. Oh did I forget to mention the firewall was dented, and all out of kilter? Anyway, that just allows me to show off my metal forming skills. The best news is ABSOLUTELY NO RUST! Aside from the dented firewall, speaker boxes, and a few extra holes in the firewall?, not a bad start, shoudl have this baby ready to mount in no time.

DSCF1863

DSCF1864

DSCF1865

DSCF1866

Link

Well, Finally got everything disassembled. Time to load it up and take it to my buddys for blasting, then priming. The frame is very rough, sounded like a rainmaker when we stood it on its end! Thinking of fabricating a new one, I could fix this one, but really it would only be a stop gap. I would eventually just have to take it all apart and add more patches. So most likely will fab a new one. Can buy new frames for $1200.00 plus shipping, the frame is not that complex and can build it less than just the shipping of a pre-made one. So here is the jeep and all the parts headed to my buddies. Feel like the Beverly hillbilly’s. Talk about a Jeep in a box!
The good news is my new tub, well new to me its a 83 tub from Antelope California! Originally quoted 800$ for shipping which was basically the price I paid for the tub itself. wend to Ubid.com and got it delivered to my door for $325.00 It should arrive this week Wednesday or Thursday!

IMG_1602

IMG_1603

IMG_1604

IMG_1605

June 22nd 2013 – Dissasembly complete!

Well, it was a very hot and humid weekend here in the Chicago suburbs, but I managed to complete my CJ disassembly. Removed the Engine and trans, and the tub all by myself. Well I had a cherry picker doing the heavy lifting. To the man that invented the reciprocating saw… THANK YOU. While trying to remove the body mounting bolts I found that the rust had eaten through so bad they would just spin in place! So I strapped it to the picker and started cutting through them. Finally got it out of the way and on the trailer. I unfortunatly found some rust holes through the frame, but luckily the frame is in pretty ok shape except in the very back, which will be easy to cut off and repair. Here are the picks!

IMG_1558

IMG_1561

IMG_1562

IMG_1563

IMG_1564

A few shots of the TUB shows the current rust situation, leading me to get a new tub. Found one in Cali, original CJ7 no rust. Ordered it and trying to find someone to deliver it fo a reasonable price. Original price to ship is 900.00!

IMG_1561

IMG_1558

The motor and Trans

IMG_1563

IMG_1562

The rusted frame section.

IMG_1565

IMG_1566

IMG_1567

IMG_1568

IMG_1569

IMG_1570

IMG_1571

IMG_1572

So its time to repair the frame, and start ordering parts! I will create a seperate link to each part as I install or reapir different parts. So you can easily find pictures and information on each step.

Link

Well, I returned home from Japan and did not have a whole lot of time as I had my kids this weekend. However I was able to take about an hour and get the rear axle removed. So far so good, with all the removal only 4 bolts have broken off, and one was already done before I started. I am starting to see some light at the end of the tunnel, at least with dissasembly anyway.
IMG_1548

IMG_1549

IMG_1550

IMG_1551

IMG_1552

And removed the dash panel…. oops the steering wheel needs to be pulled. I don’t have a puller…that’s how its gonna have to sit until next weekend!

IMG_1553

IMG_1554

Well, should get the remaining parts removed so I can get the body off this weekend. I hope!

June 15th 2013 – More removal

Well, I started to remove the engine the other day, have drained and removed the radiator, alternator, power steering pump and the wiring harness. I must say the engine looks very small without those parts. I did not get any photos as I was preparing for a trip out of the country. I will be gone for a week, however I did arrange for a guy to come out and do a bunch of sandblasting for me! It’s and hourly charge, so I am trying to find anythign and everythign I can that needs blasted. If you live in the Lake county area and need somethign blasted let me know, we can have a bunch of things done at once and save some money! I keep thinking while I am in asia I should visit the phillipines and check out the repopped tubs, however I dont think that will be possible. I will post updated pics when I return

Link

So I started working on her last night and was tired of just removing parts. I just had to see something shine. So I grabbed the angle grinder and abrasive pad, turned on the compressor threw on a face shield and dove in. WOW I found gold

Gold!

Gold!

Frame Front Driver Front

Frame Front Driver

Well ok, its steel not gold but still it looked like gold to me. I realized a few things…

1. Under all the rust the frame is in pretty good shape
2. Using this technique it will take forever for me to get the frame clean
3. I cant make myself get rid of the whole tub, it may take much longer but I am going to get the replacement parts and repair this one.

I may end up taking the frame, once I get everything stripped off, to a blaster and have it cleaned. It will be much faster and they can get into all the nooks and crannies much better than I can. We will see.

Link

So I arrived home the other day, and had the kids so nothing done. However I had a present waiting for me! My service manuals, I drooled most of the evening after the kids went to sleep looking through them. I have to say I was a bit disappointed in the fact that while all the tools required were listed along with the special part numbers, no other part numbers are listed! I assumed (I know) that the stock part numbers would all be listed for each part. I also assumed that along with the proper torque specs they would list the correct fastener length and size for each one. Well, I suppose I will have to do a bit of trial and error when putting it all back together. For those of you that need these I purchased mine for $70.00 from Faxon Auto Literature on EBAY.
http://stores.ebay.com/faxonautoliterature
Service manual

Link

Well made some good progress last night. I was able to remove the front clip. Which is to say I removed the few bolts still holding on. I planned on about an hour of work, my plans were changed. The few bolts were not ready to let go, thanks to liquid wrench and a ratchet with an extendable handle, I finally won. Although my hands and arms show how well the old CJ fought back!

5-29 Front Clip Removed

Still a long way to go

Still a long way to go

Memorial Day Weekend 2013

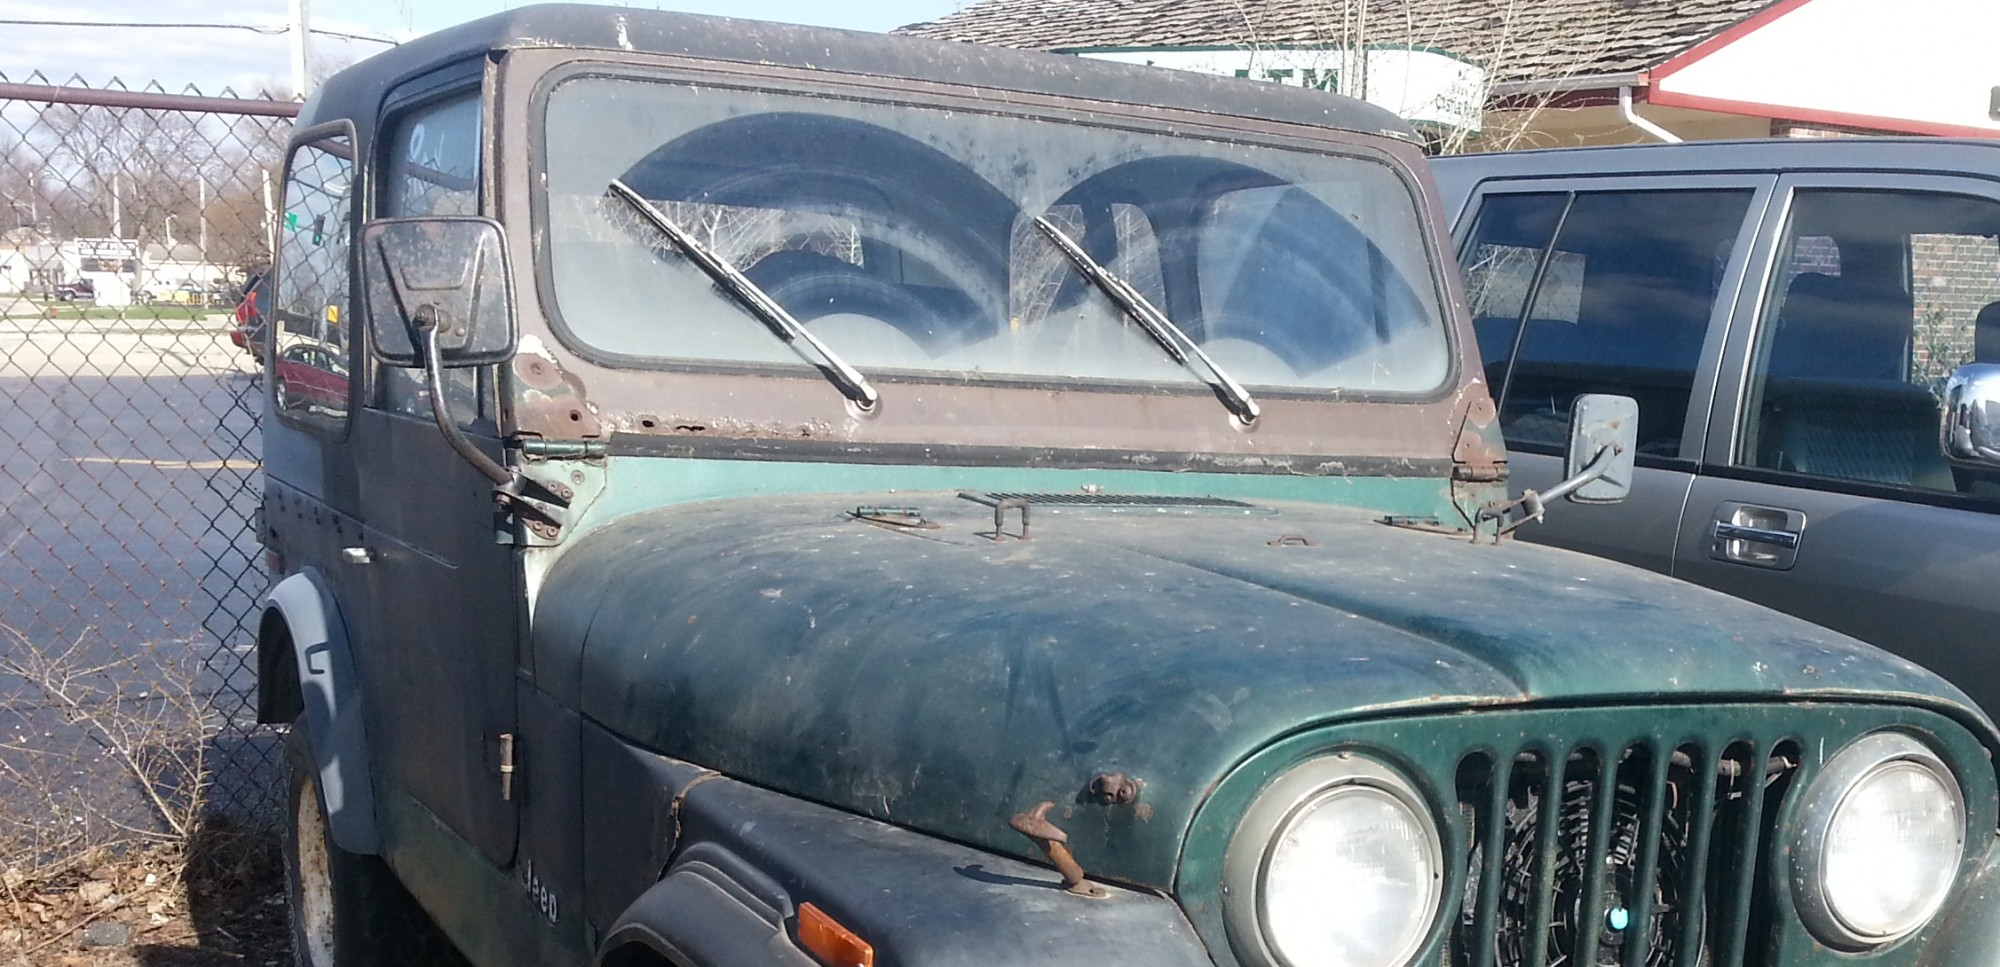
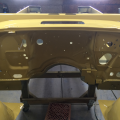
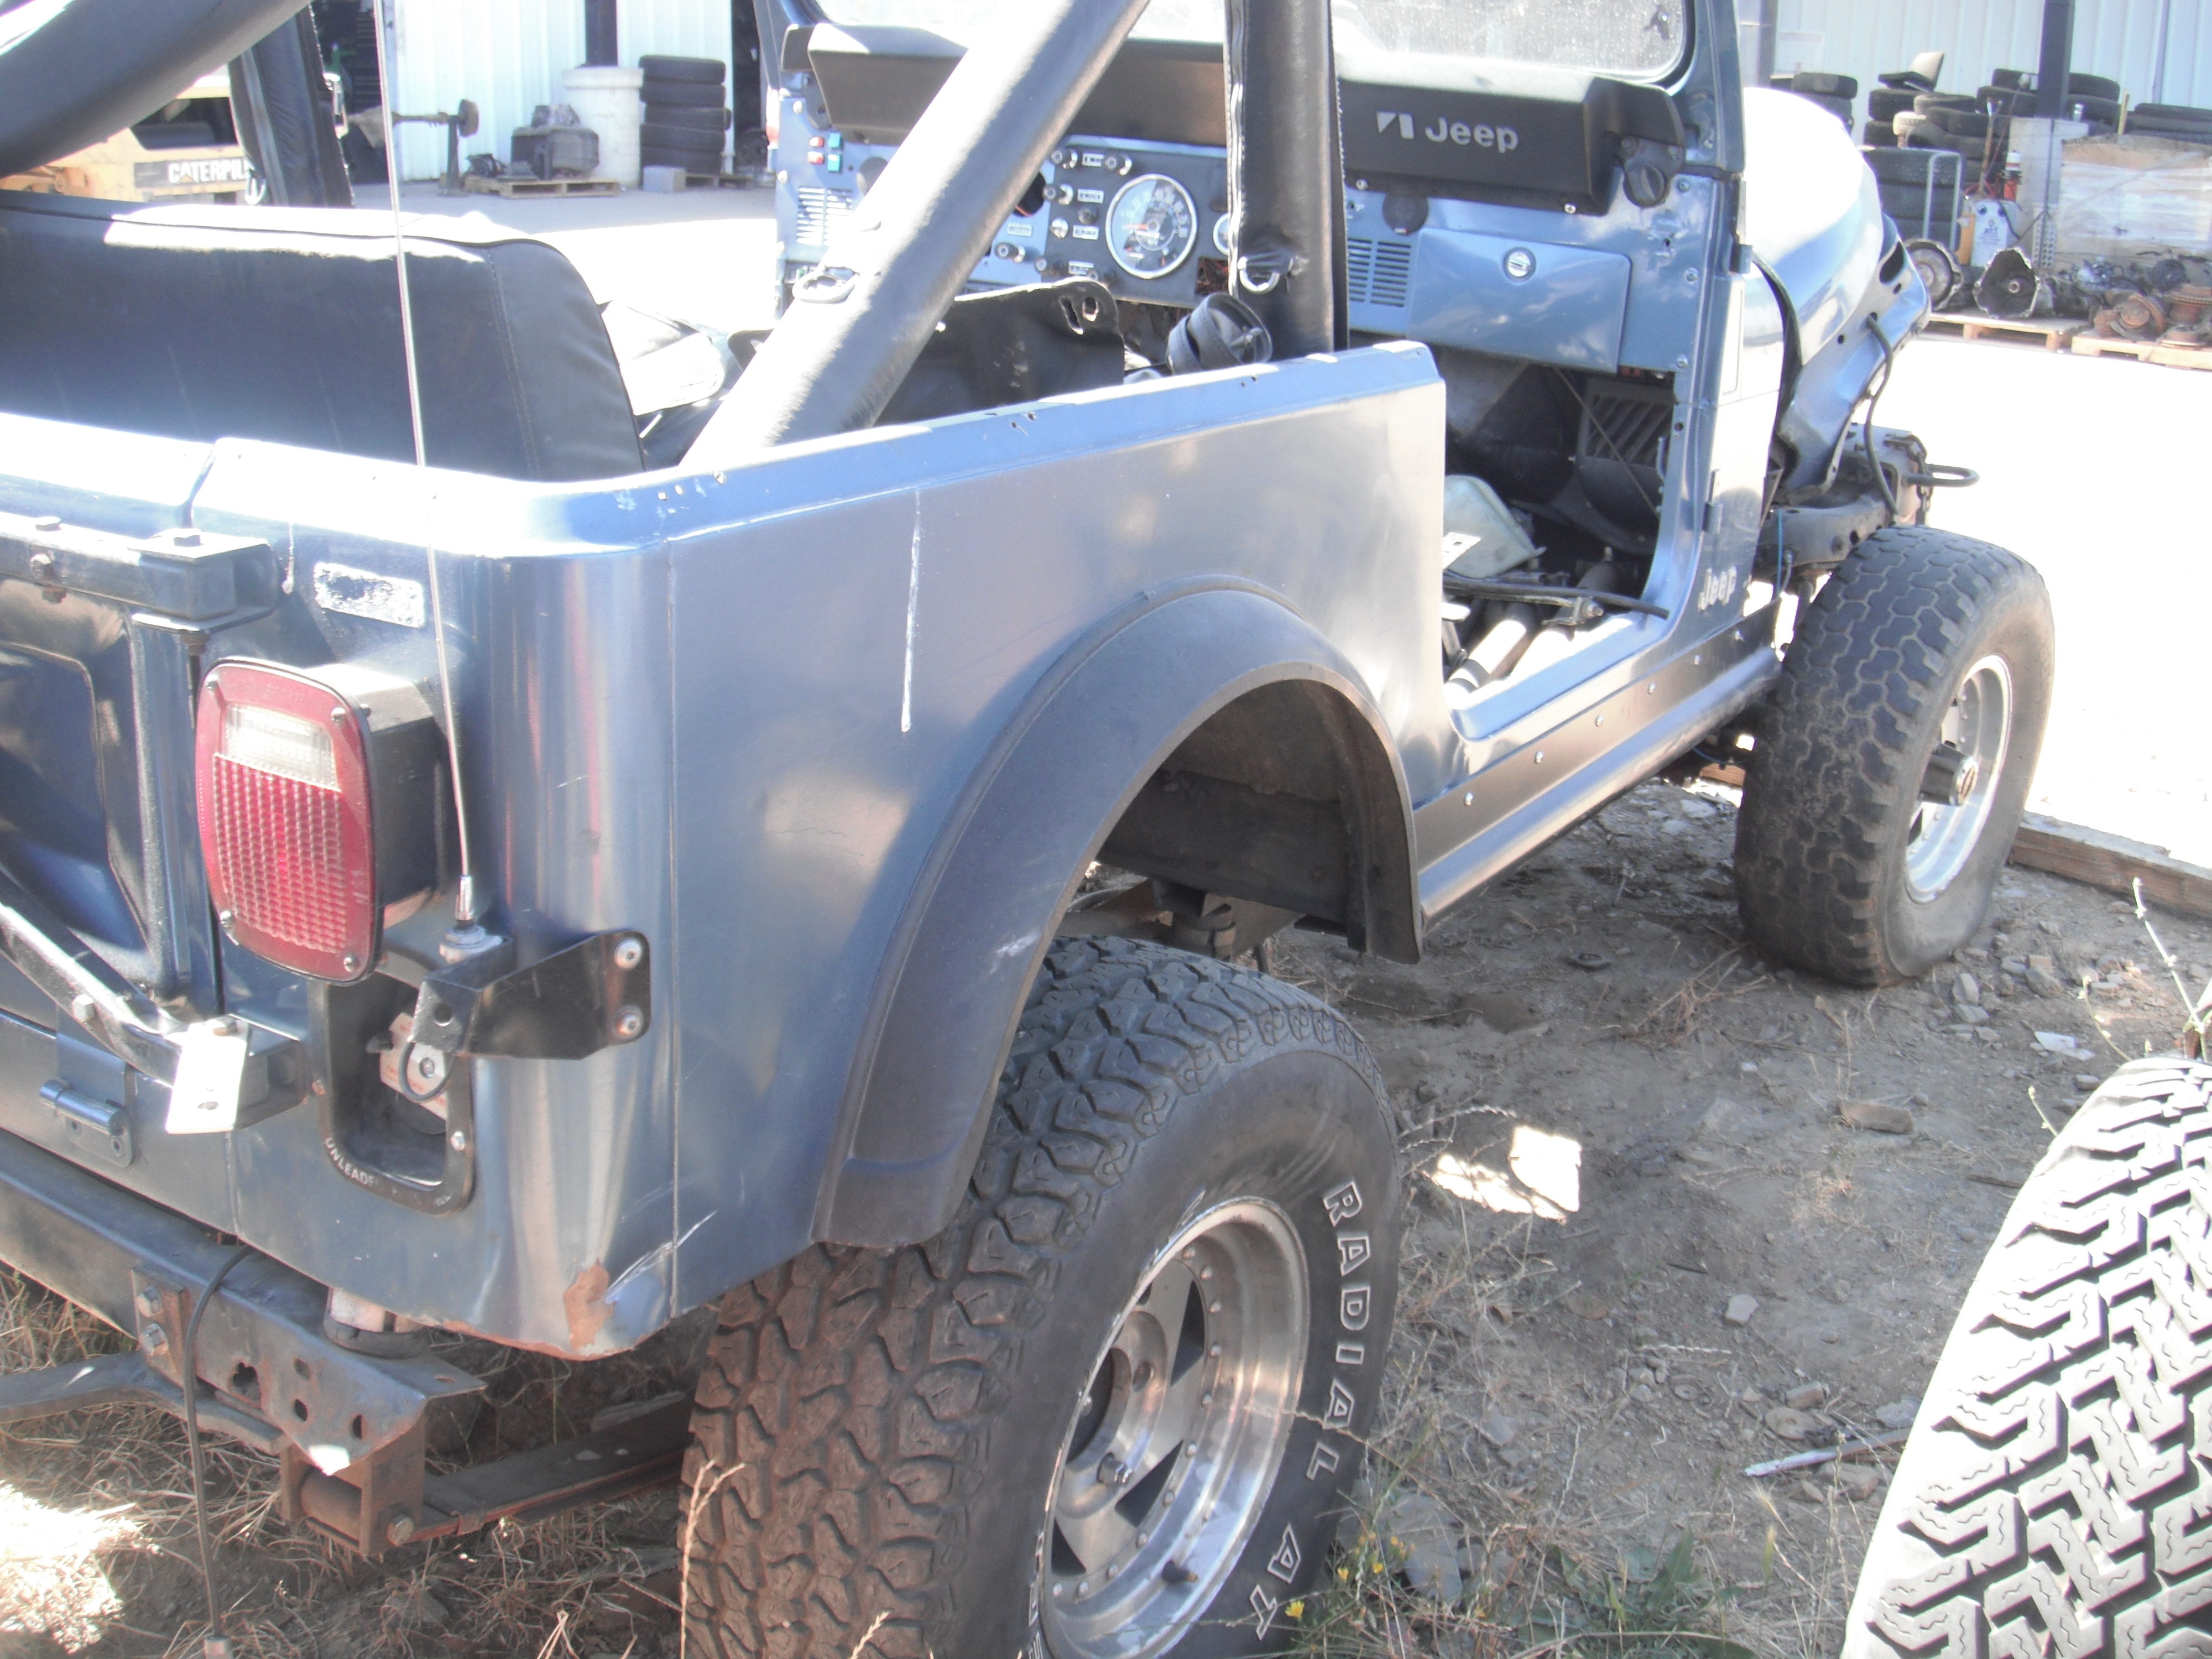
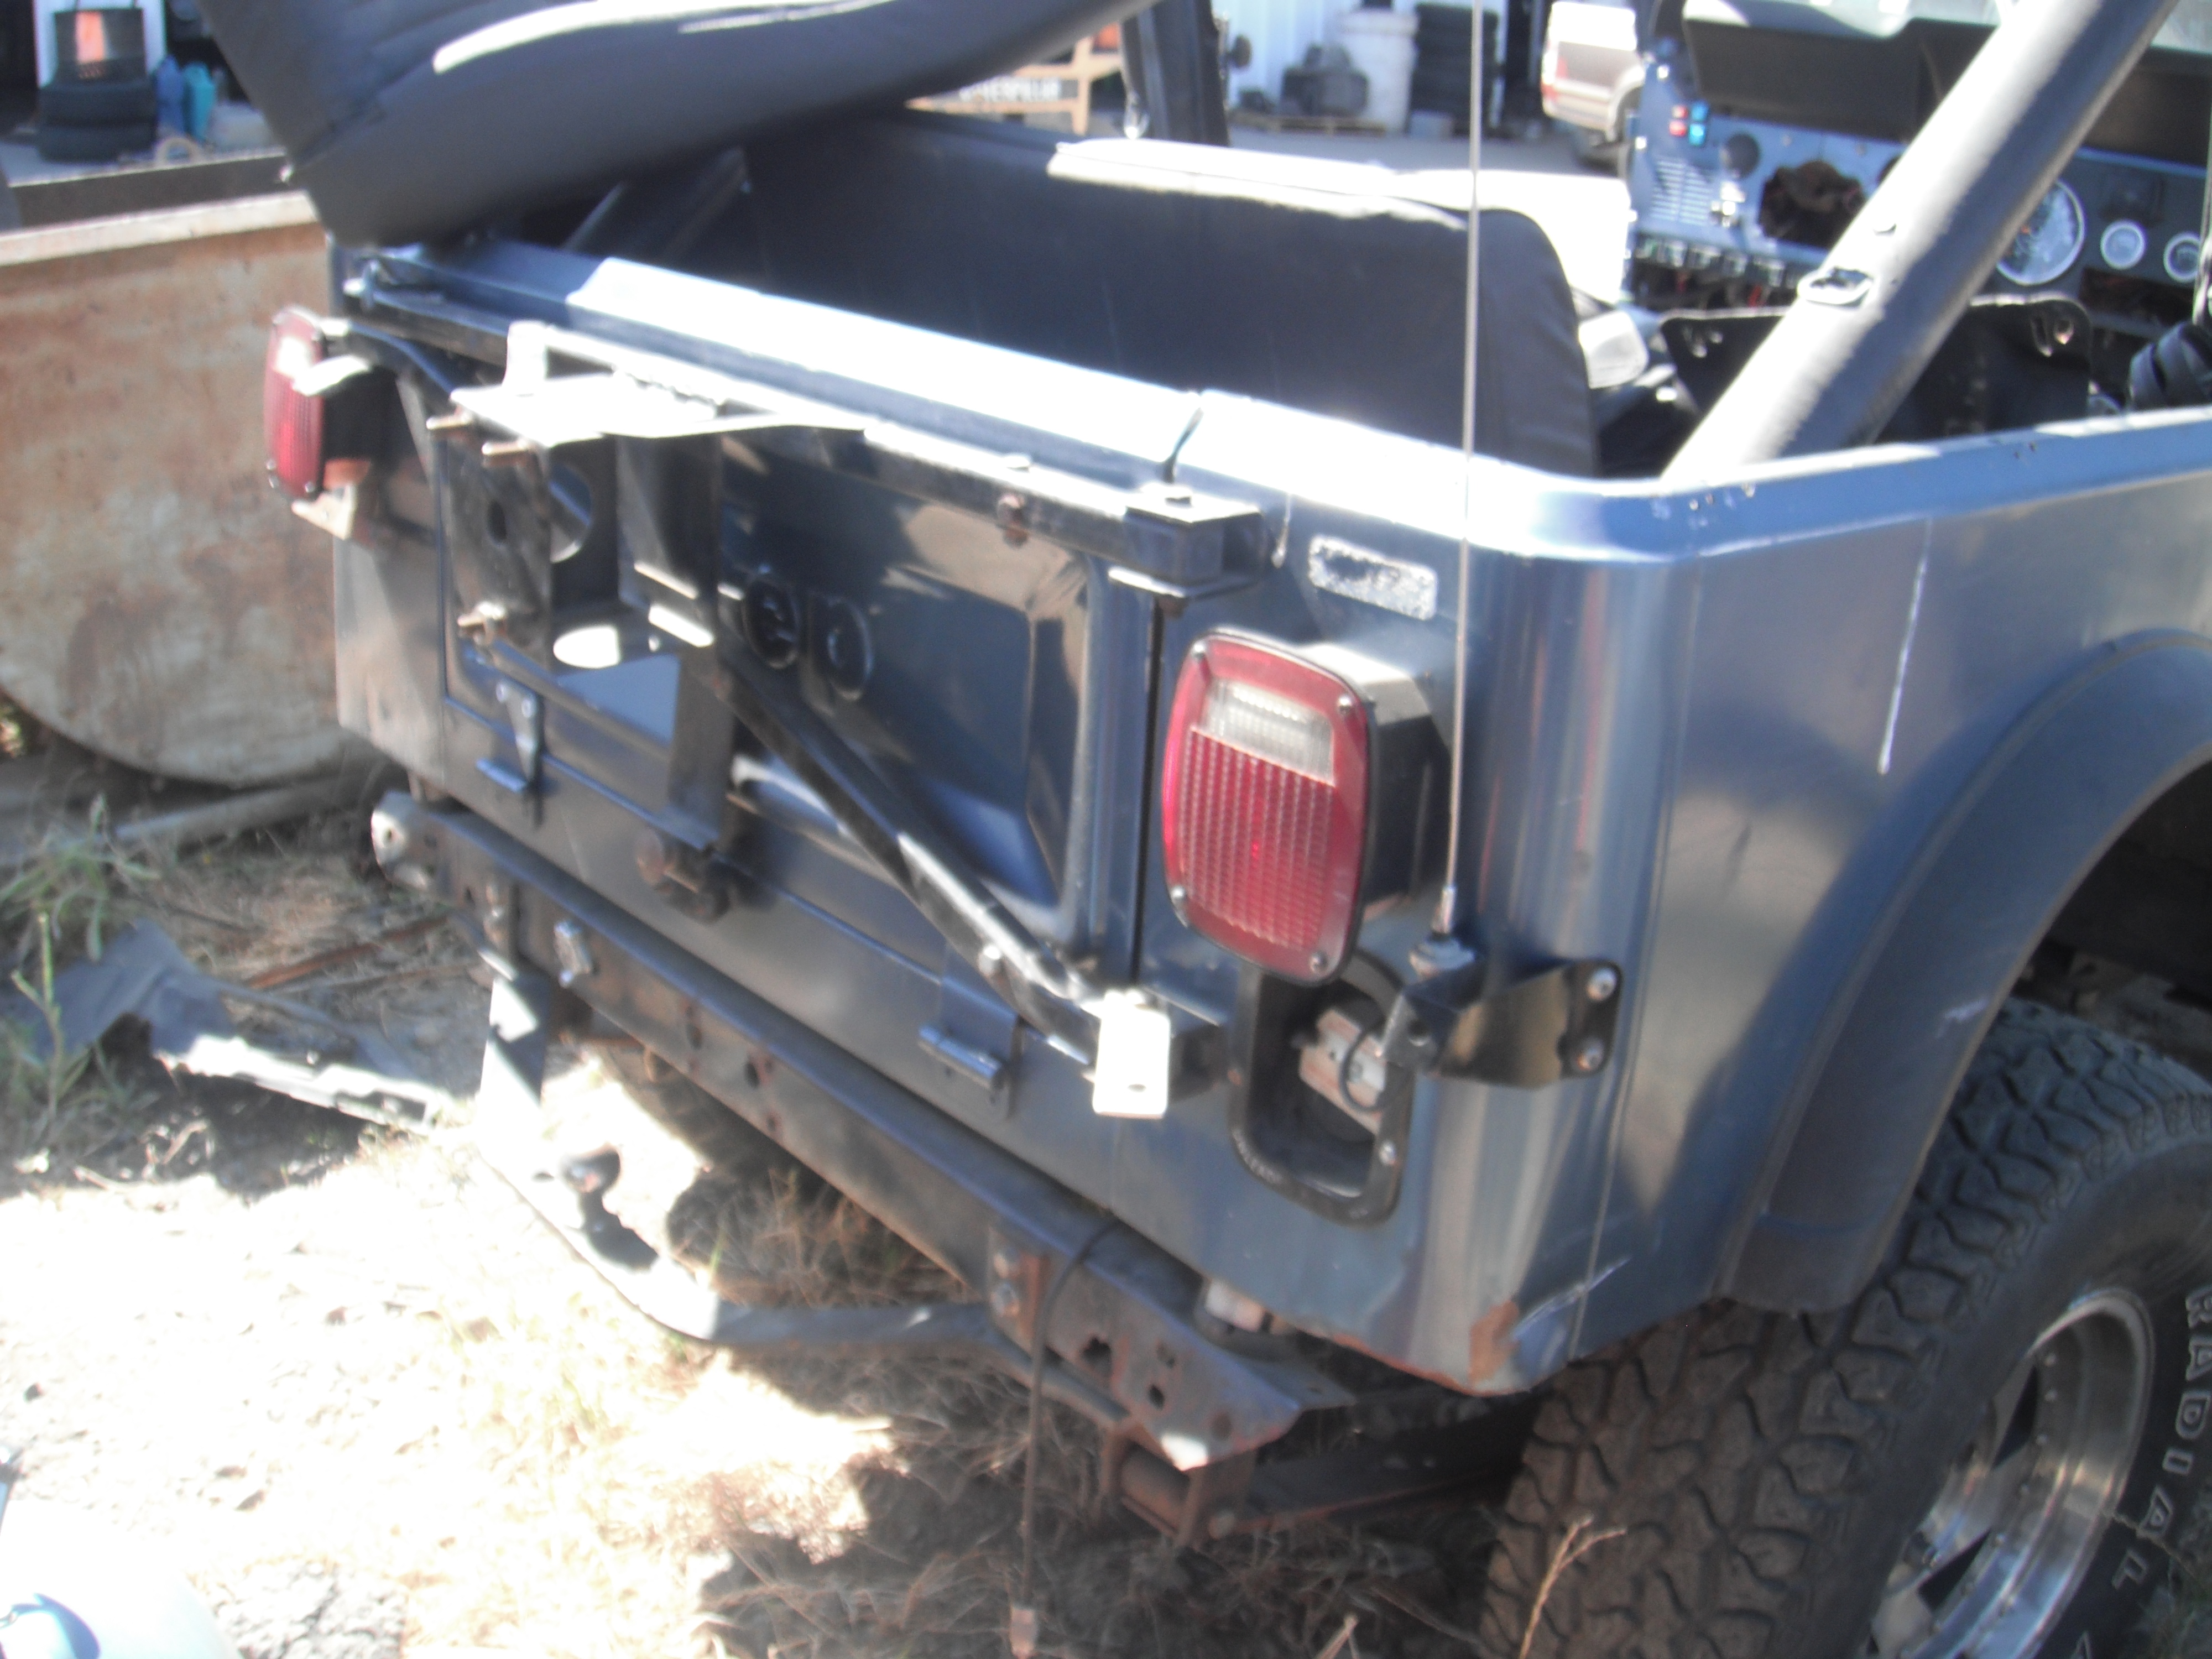
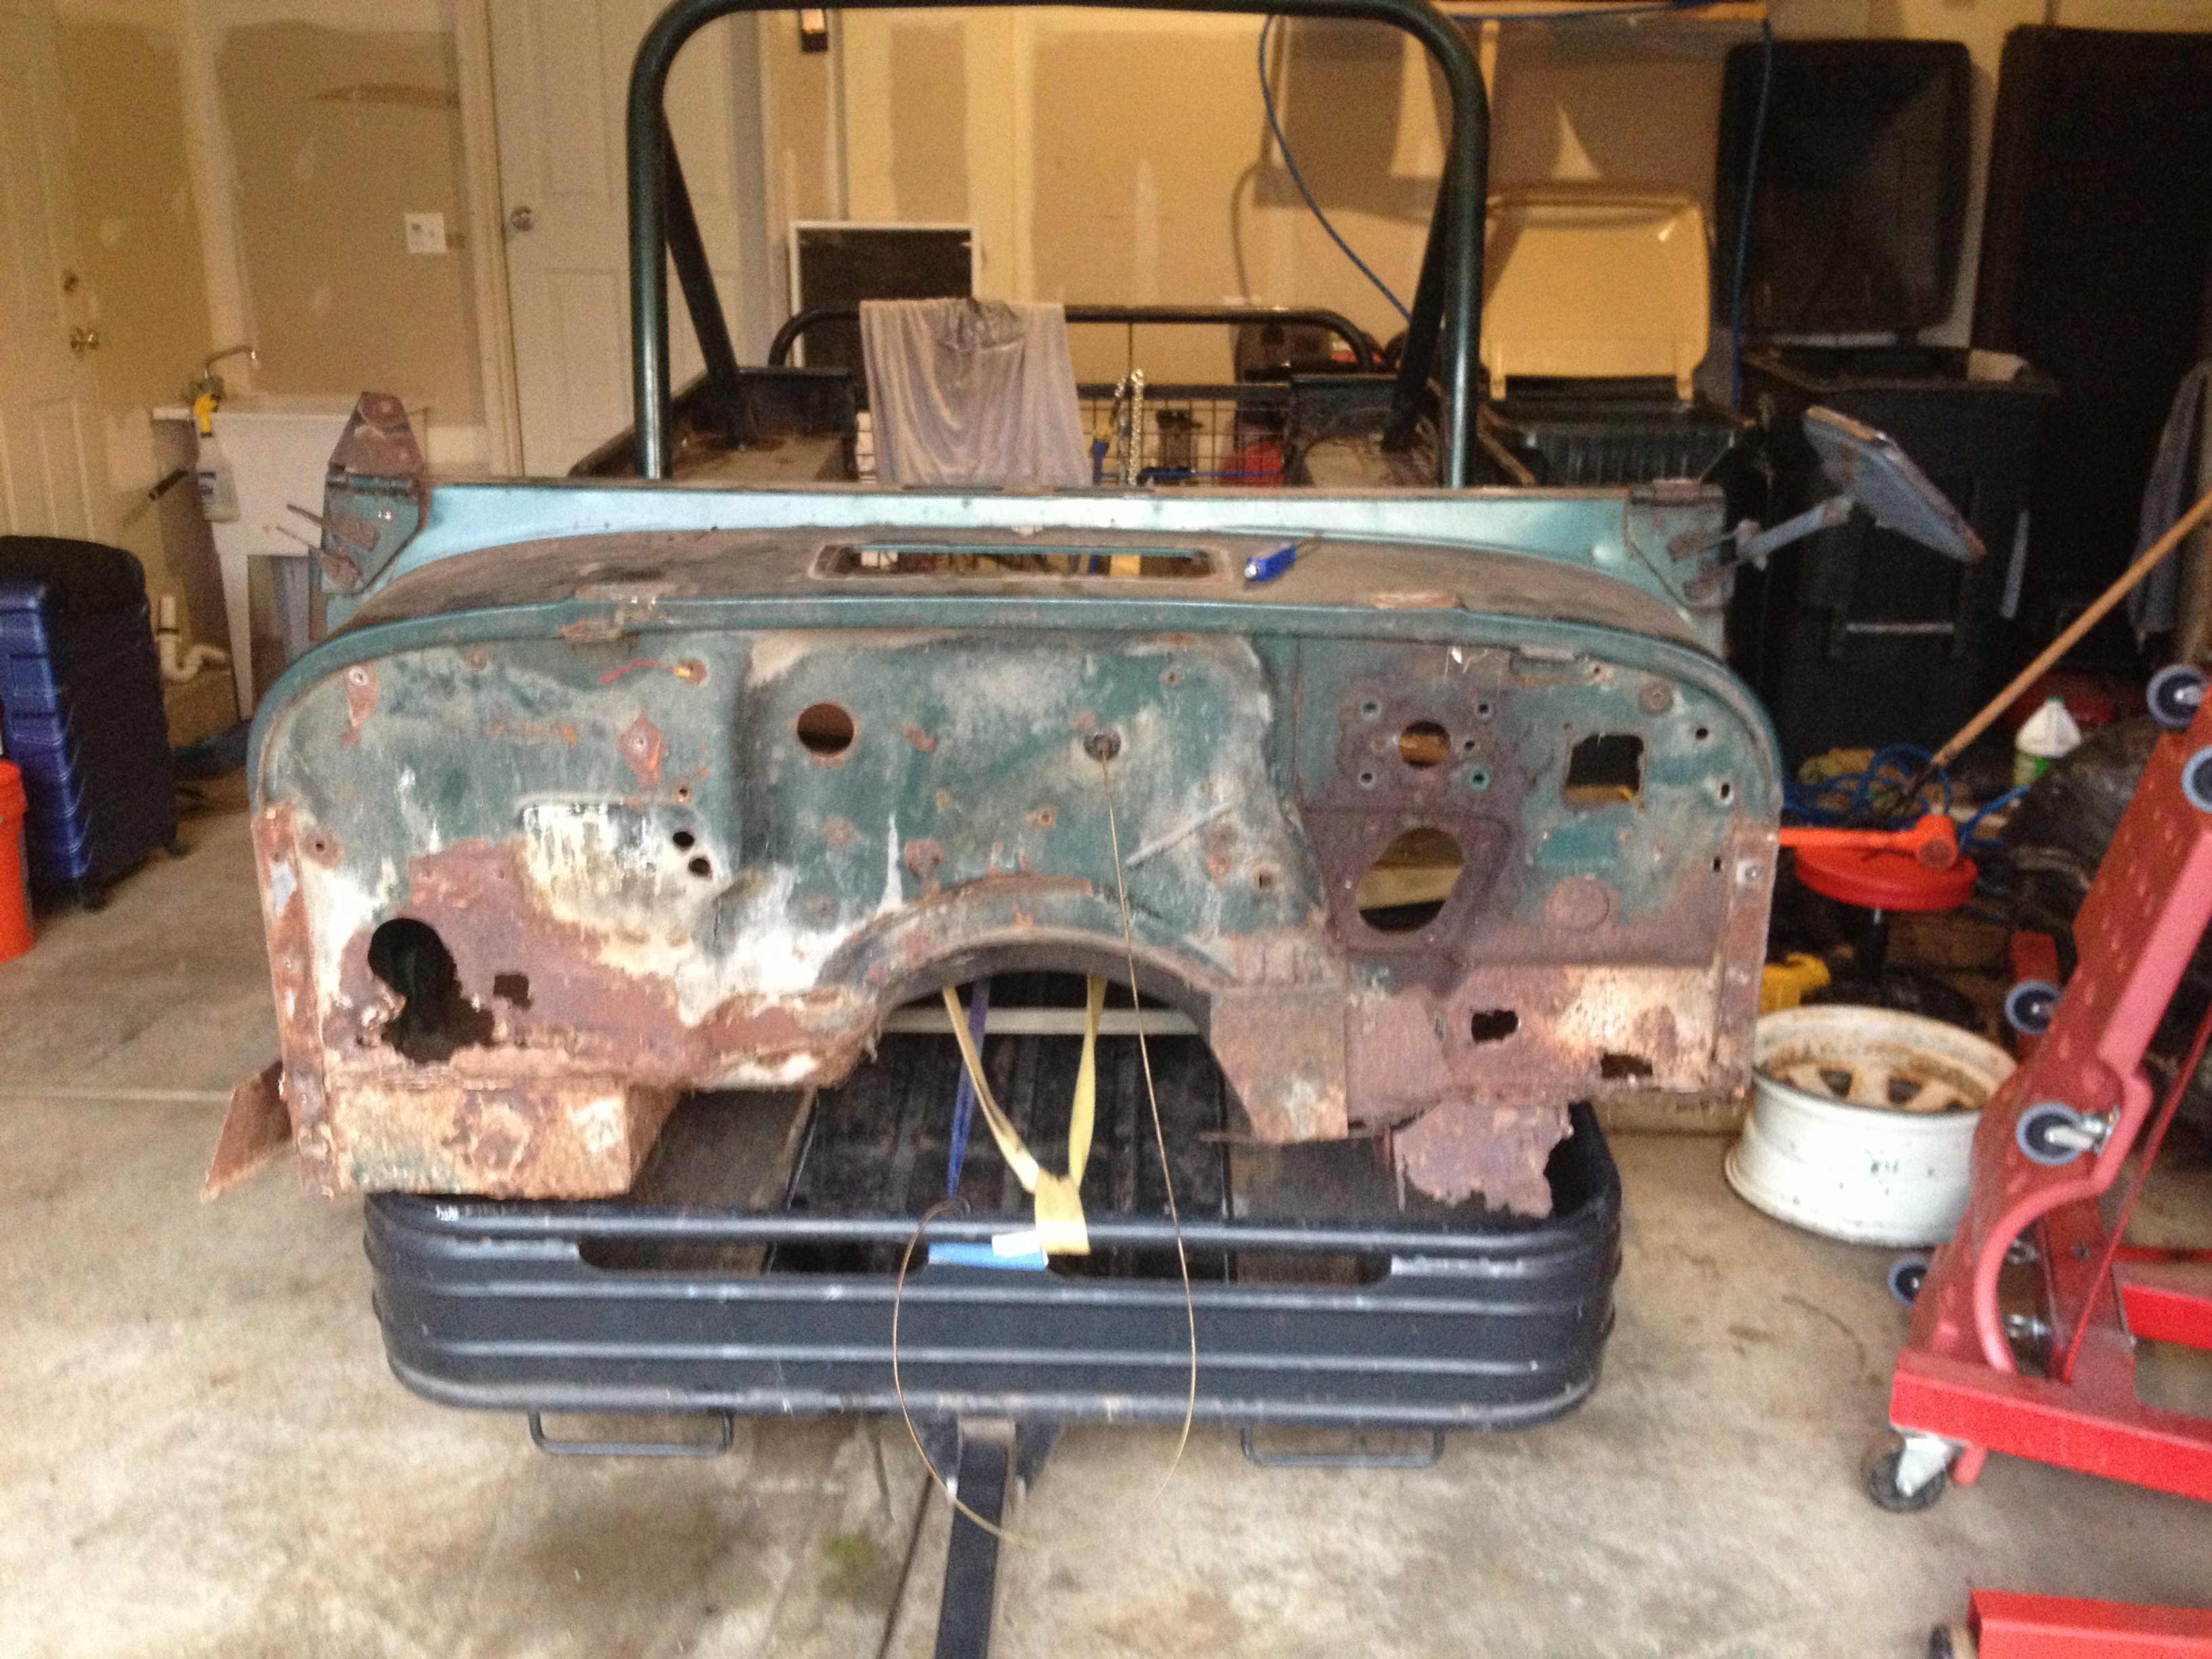
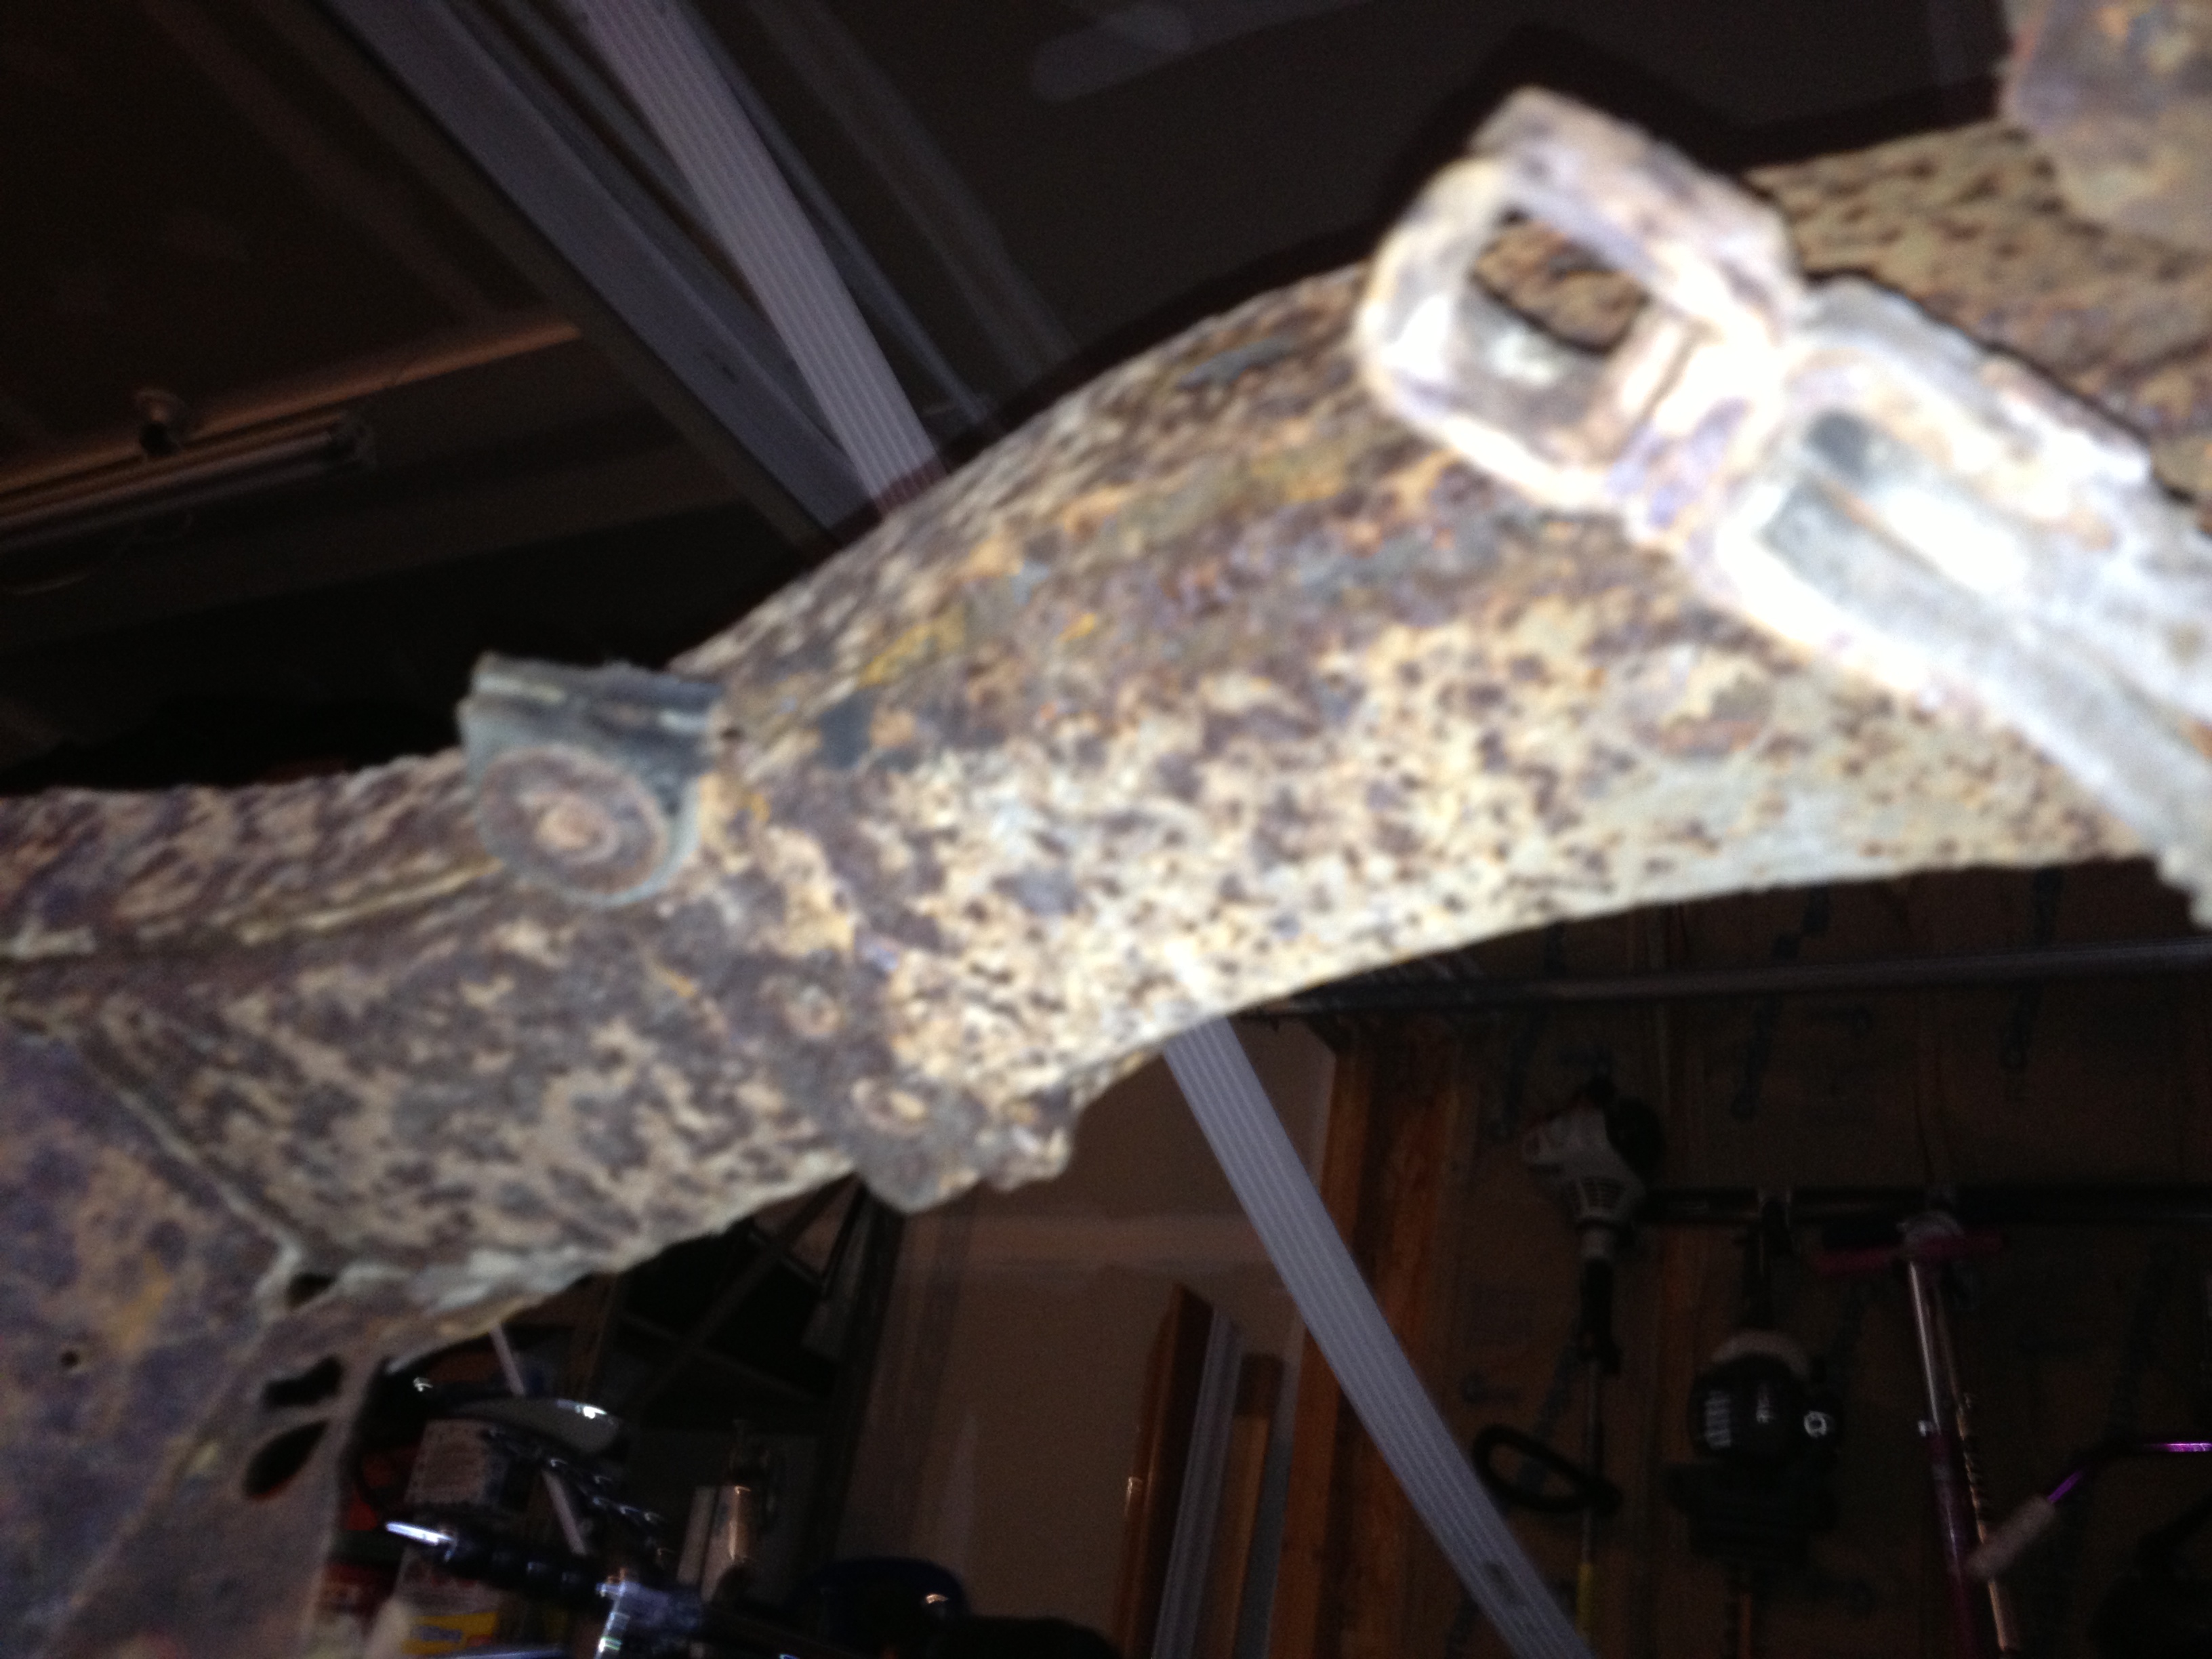
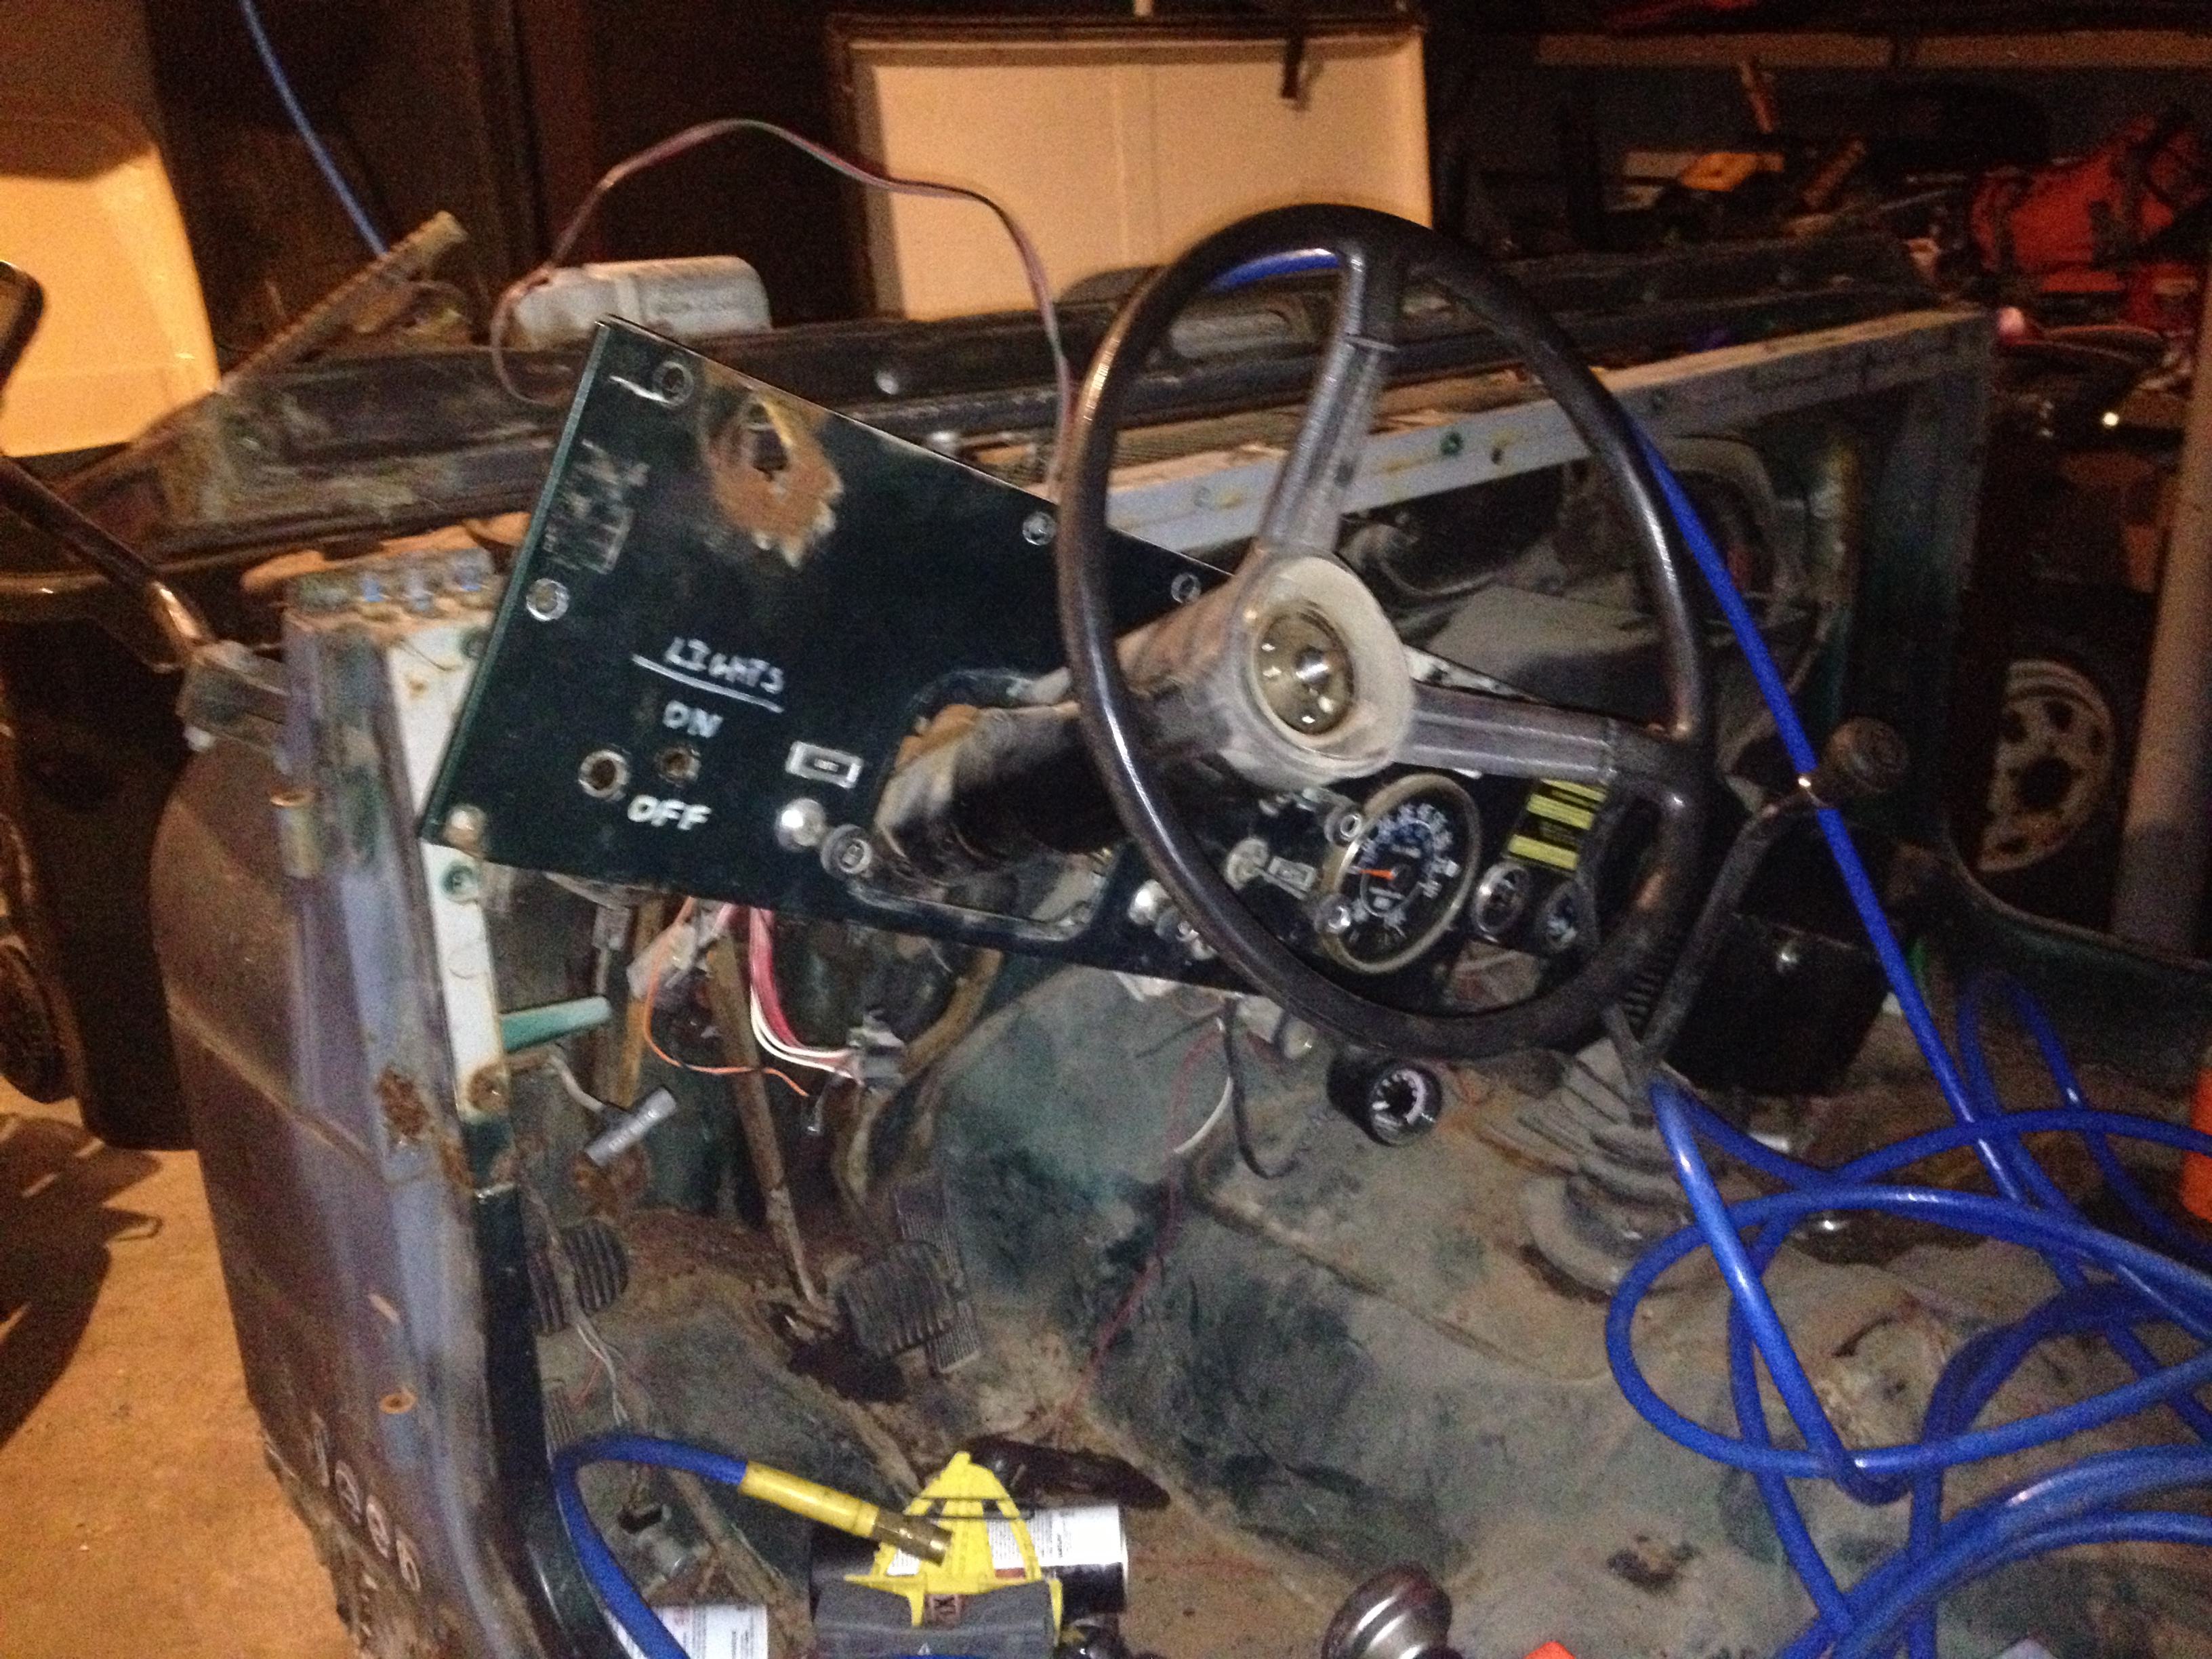
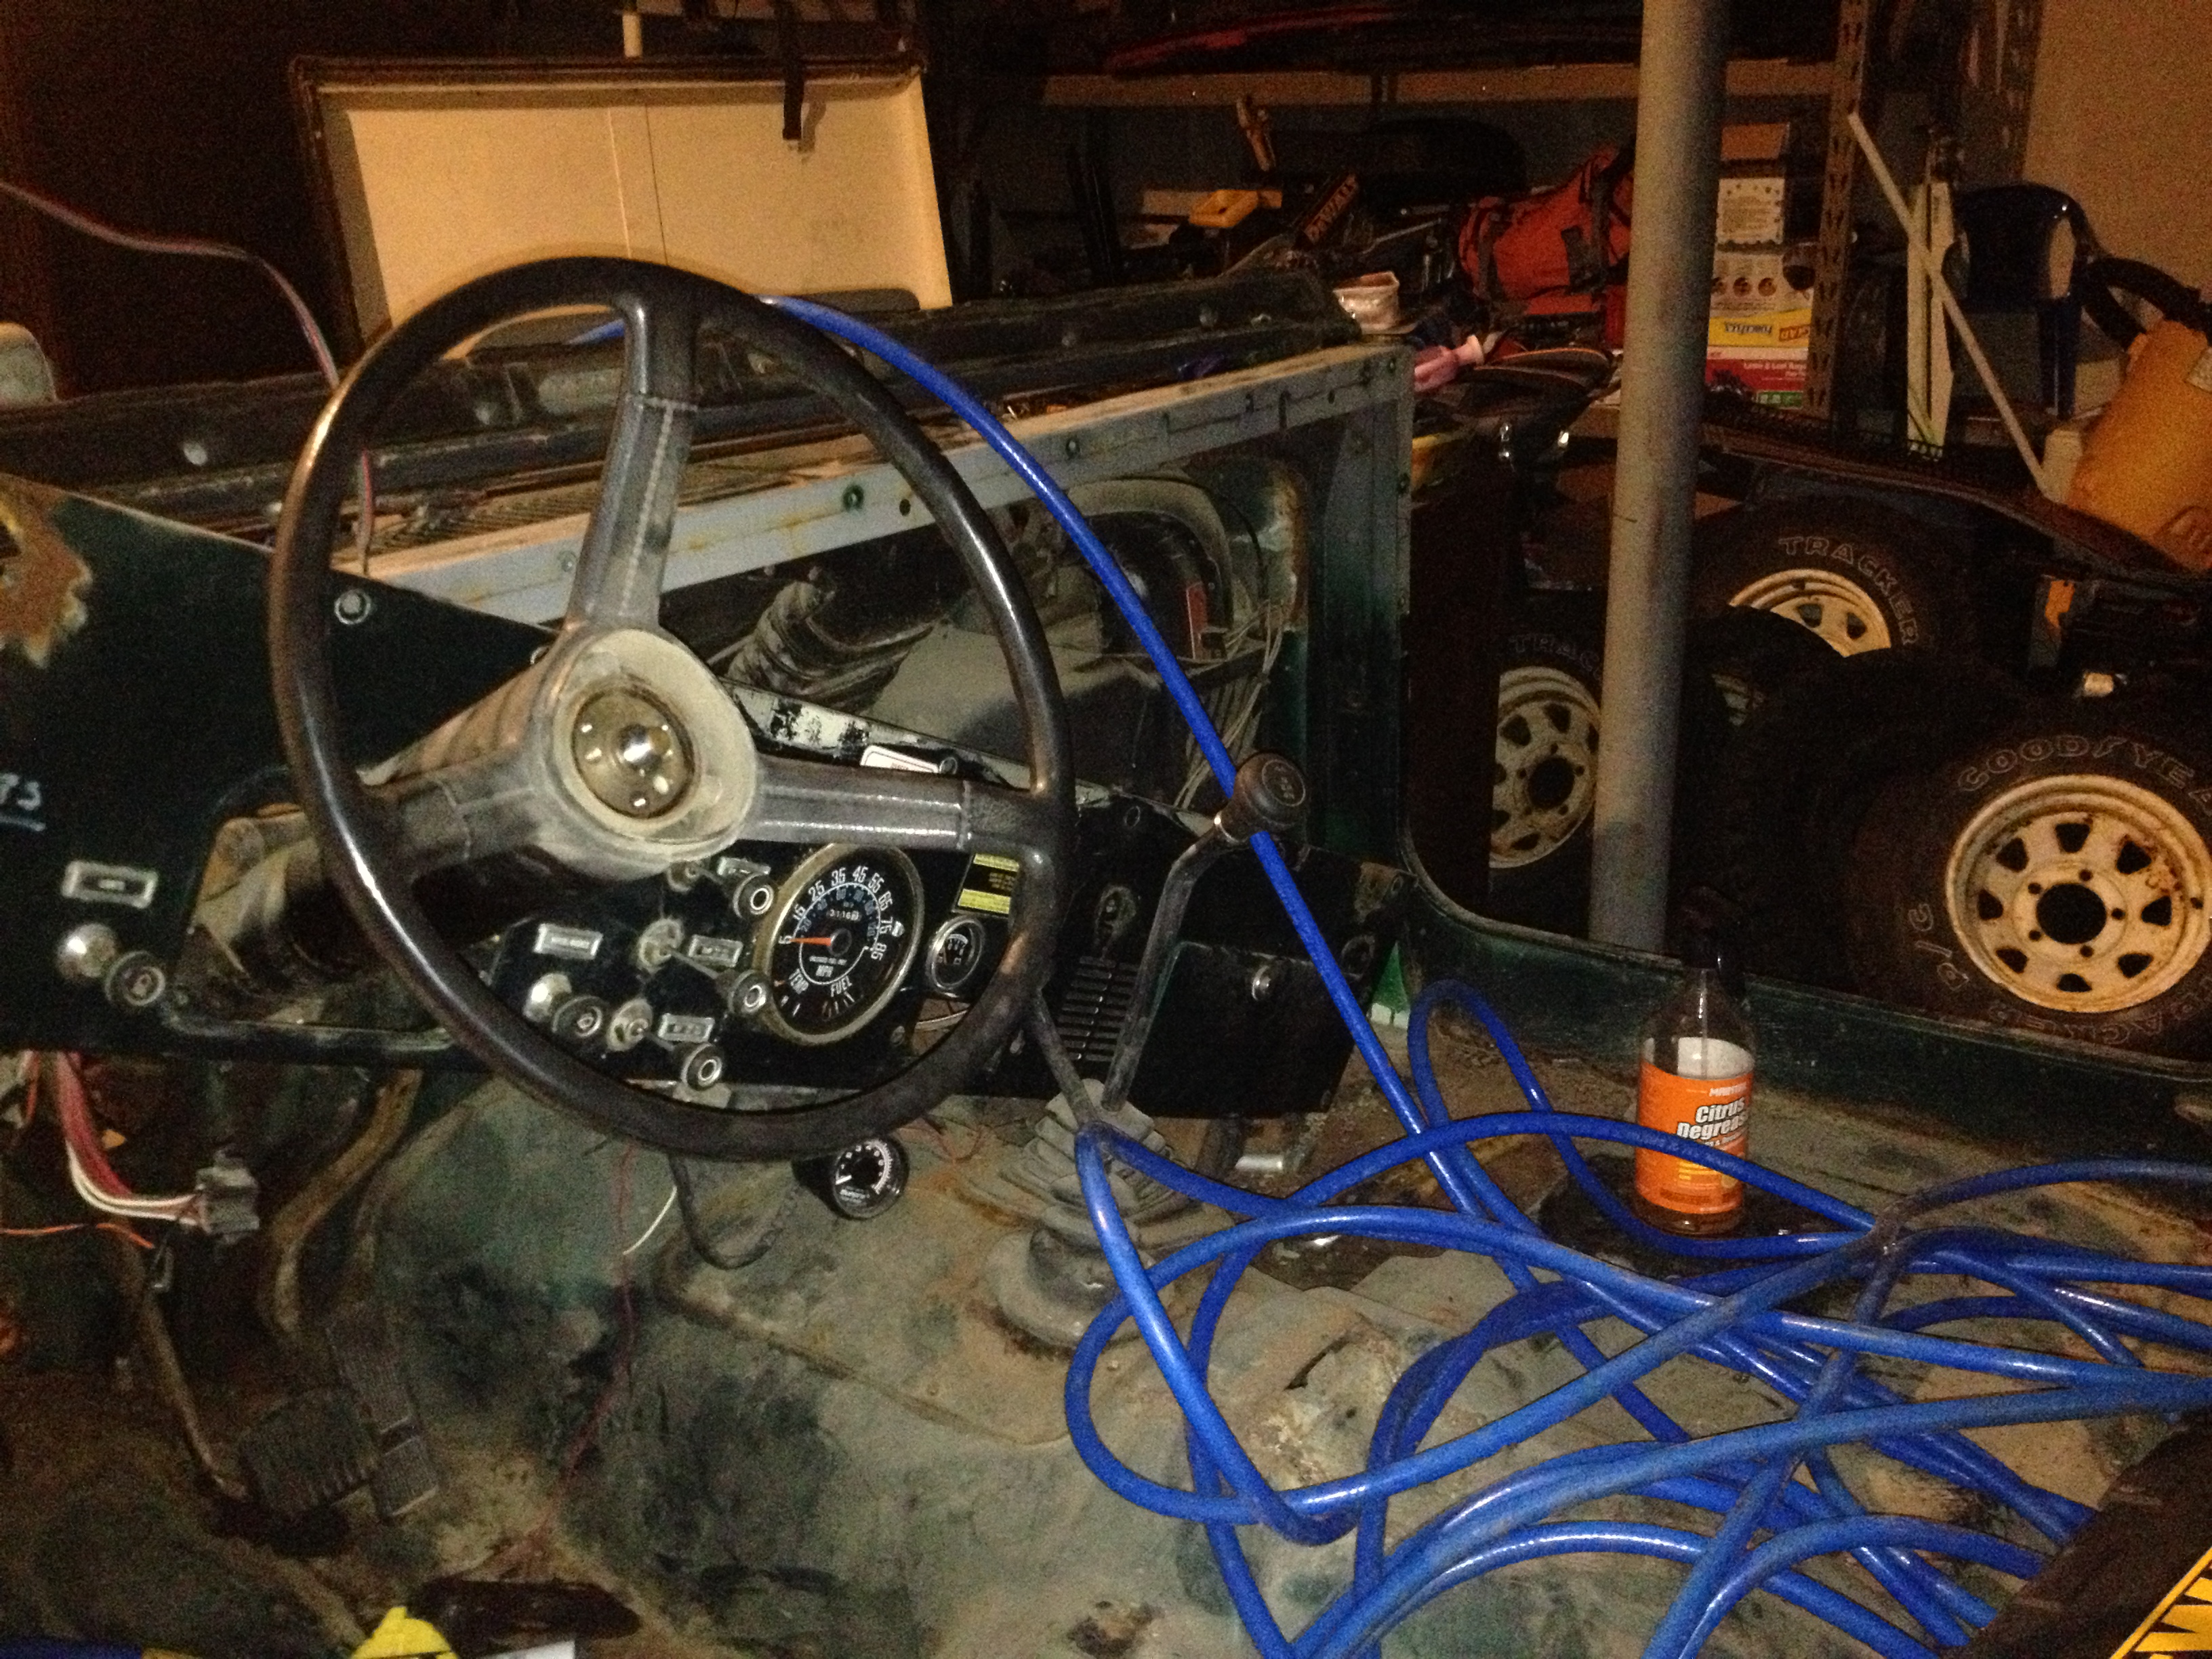
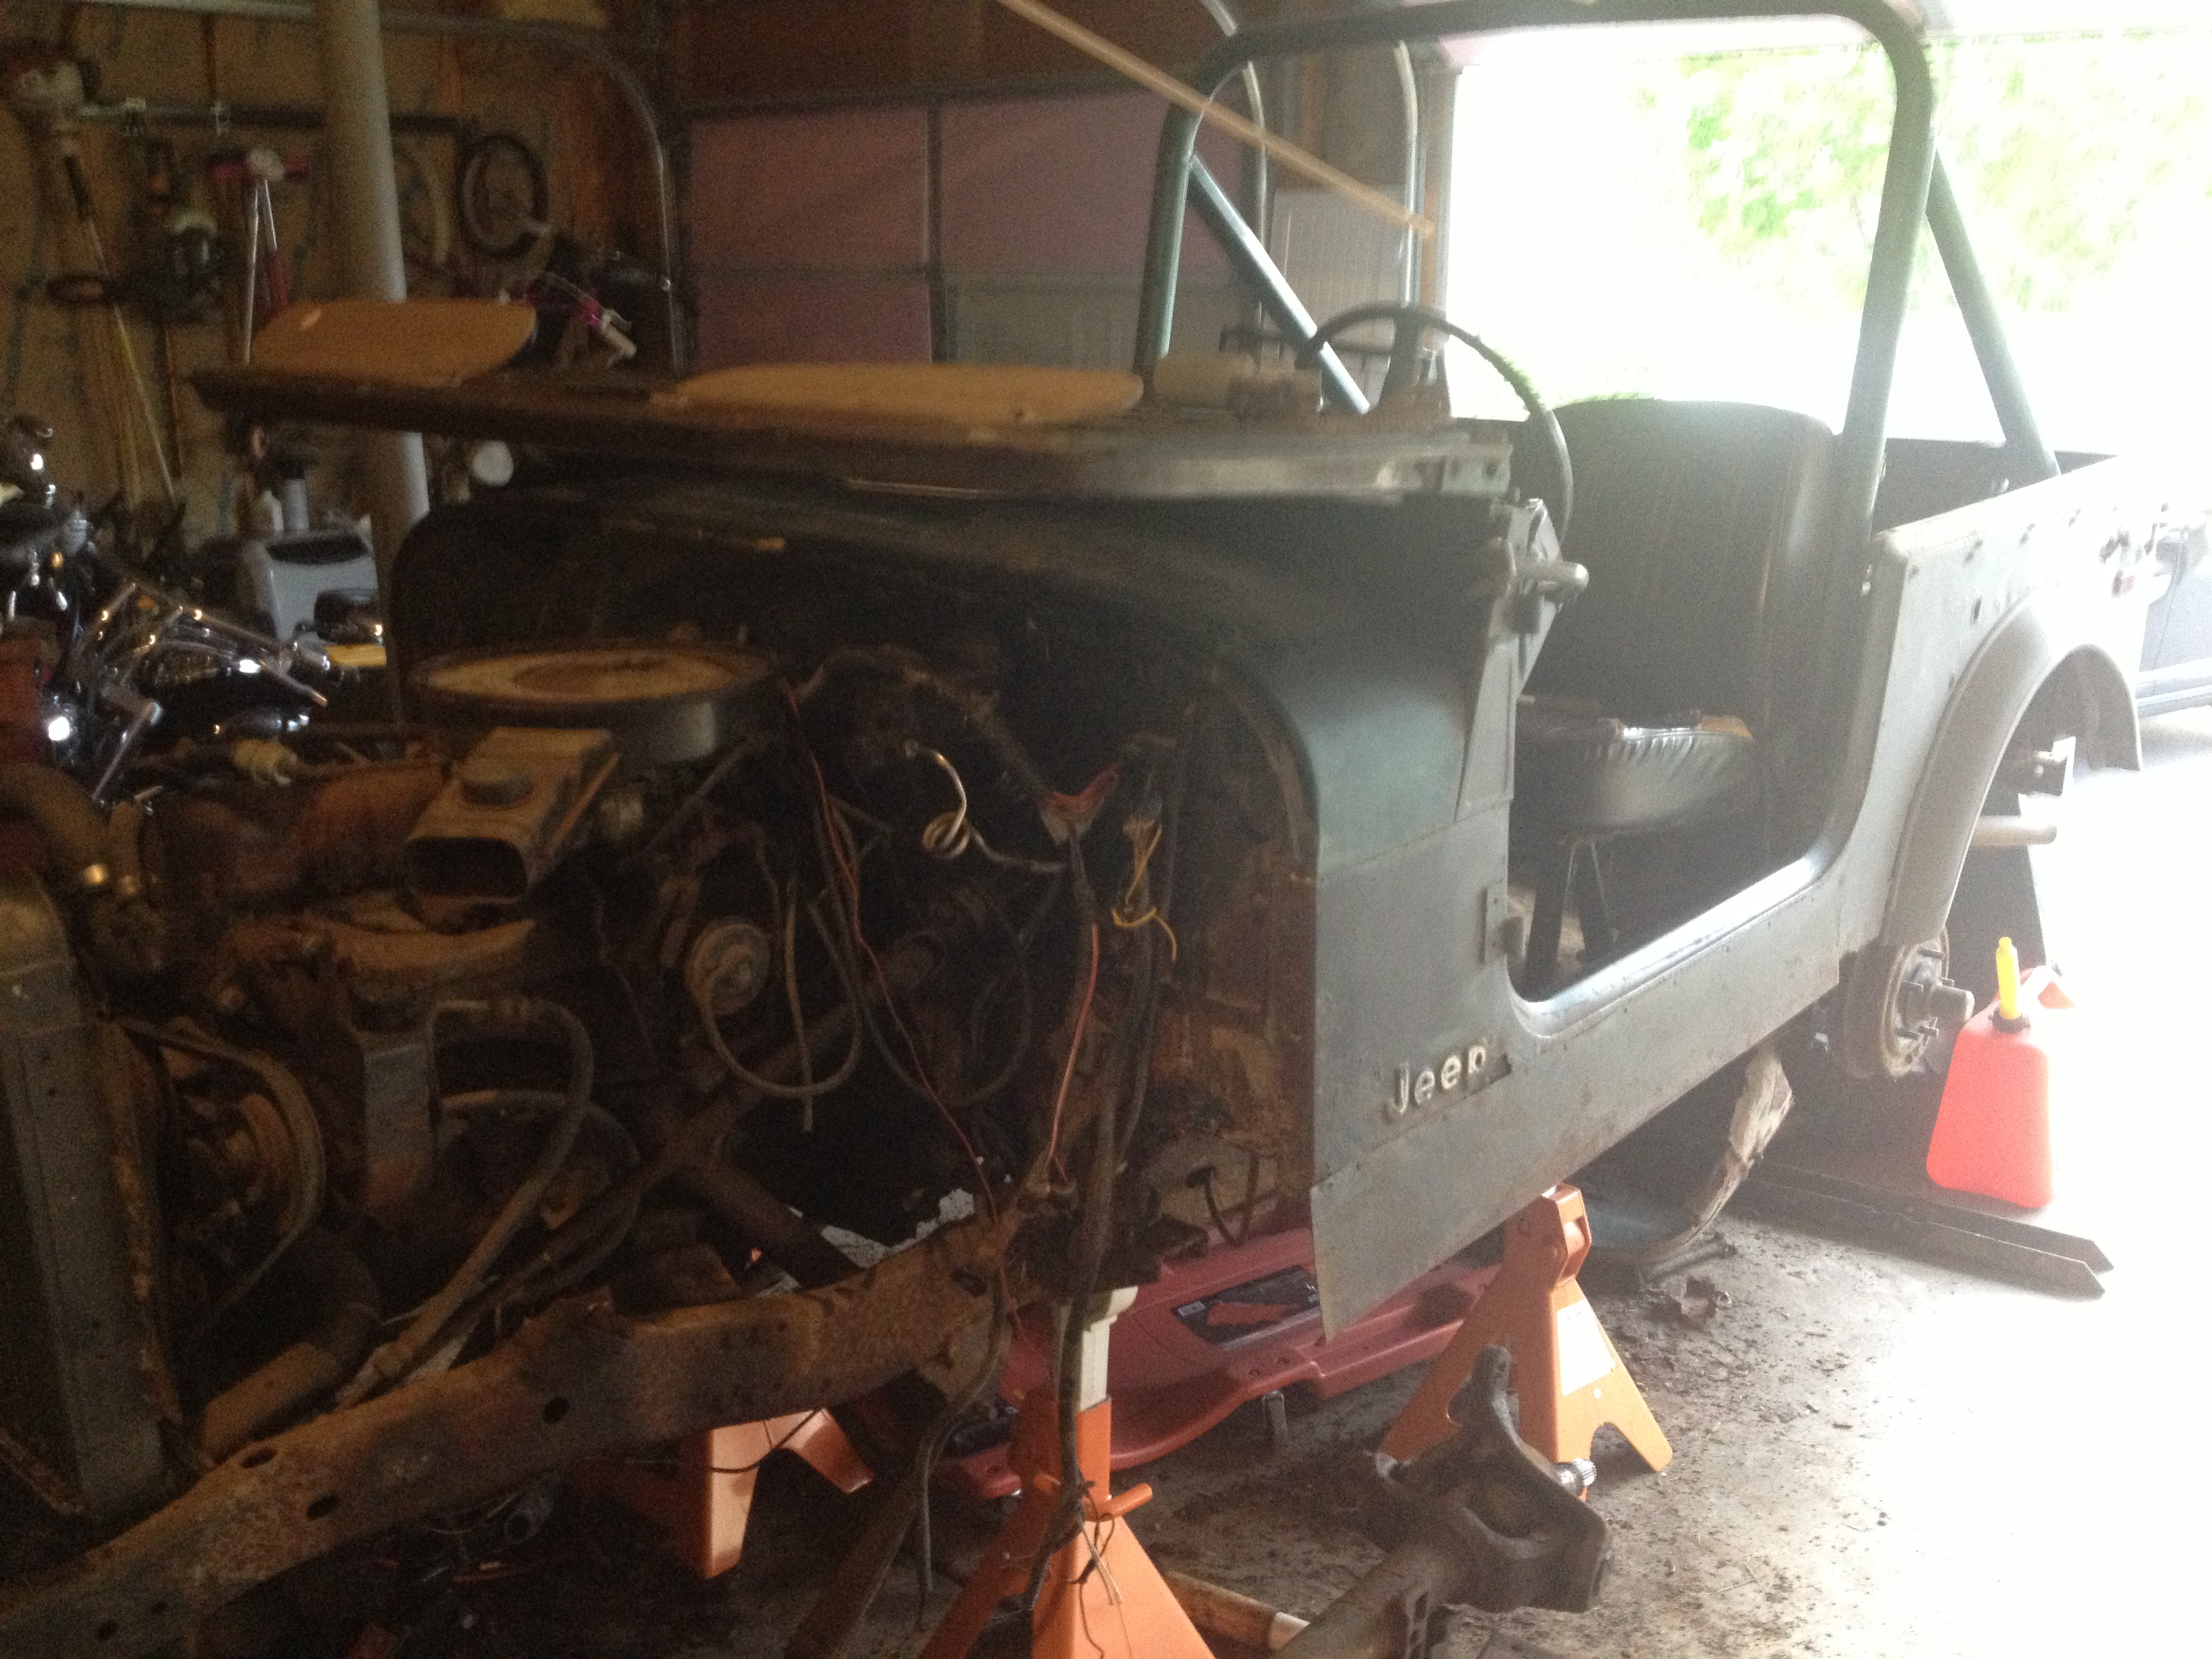
So after looking at this for a while I decided that getting it road worthy was not going to be as quick as I thought. I had planned on just replacing the fluids, brake system, and fixing the lights as the engine runs great. I then also noticed that the temperature, gas and oil gauges were not operational. Still not too tough to fix so I thought. Upon further inspection the oil pressure gauge does not work because the adapter was broke off where it connects to the block. The wiring is totally not up to par and the gas tank while it holds fuel, has a hack wiring and pump system buggered up.

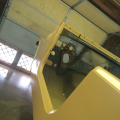
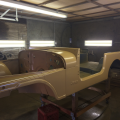
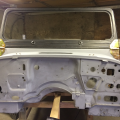
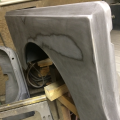
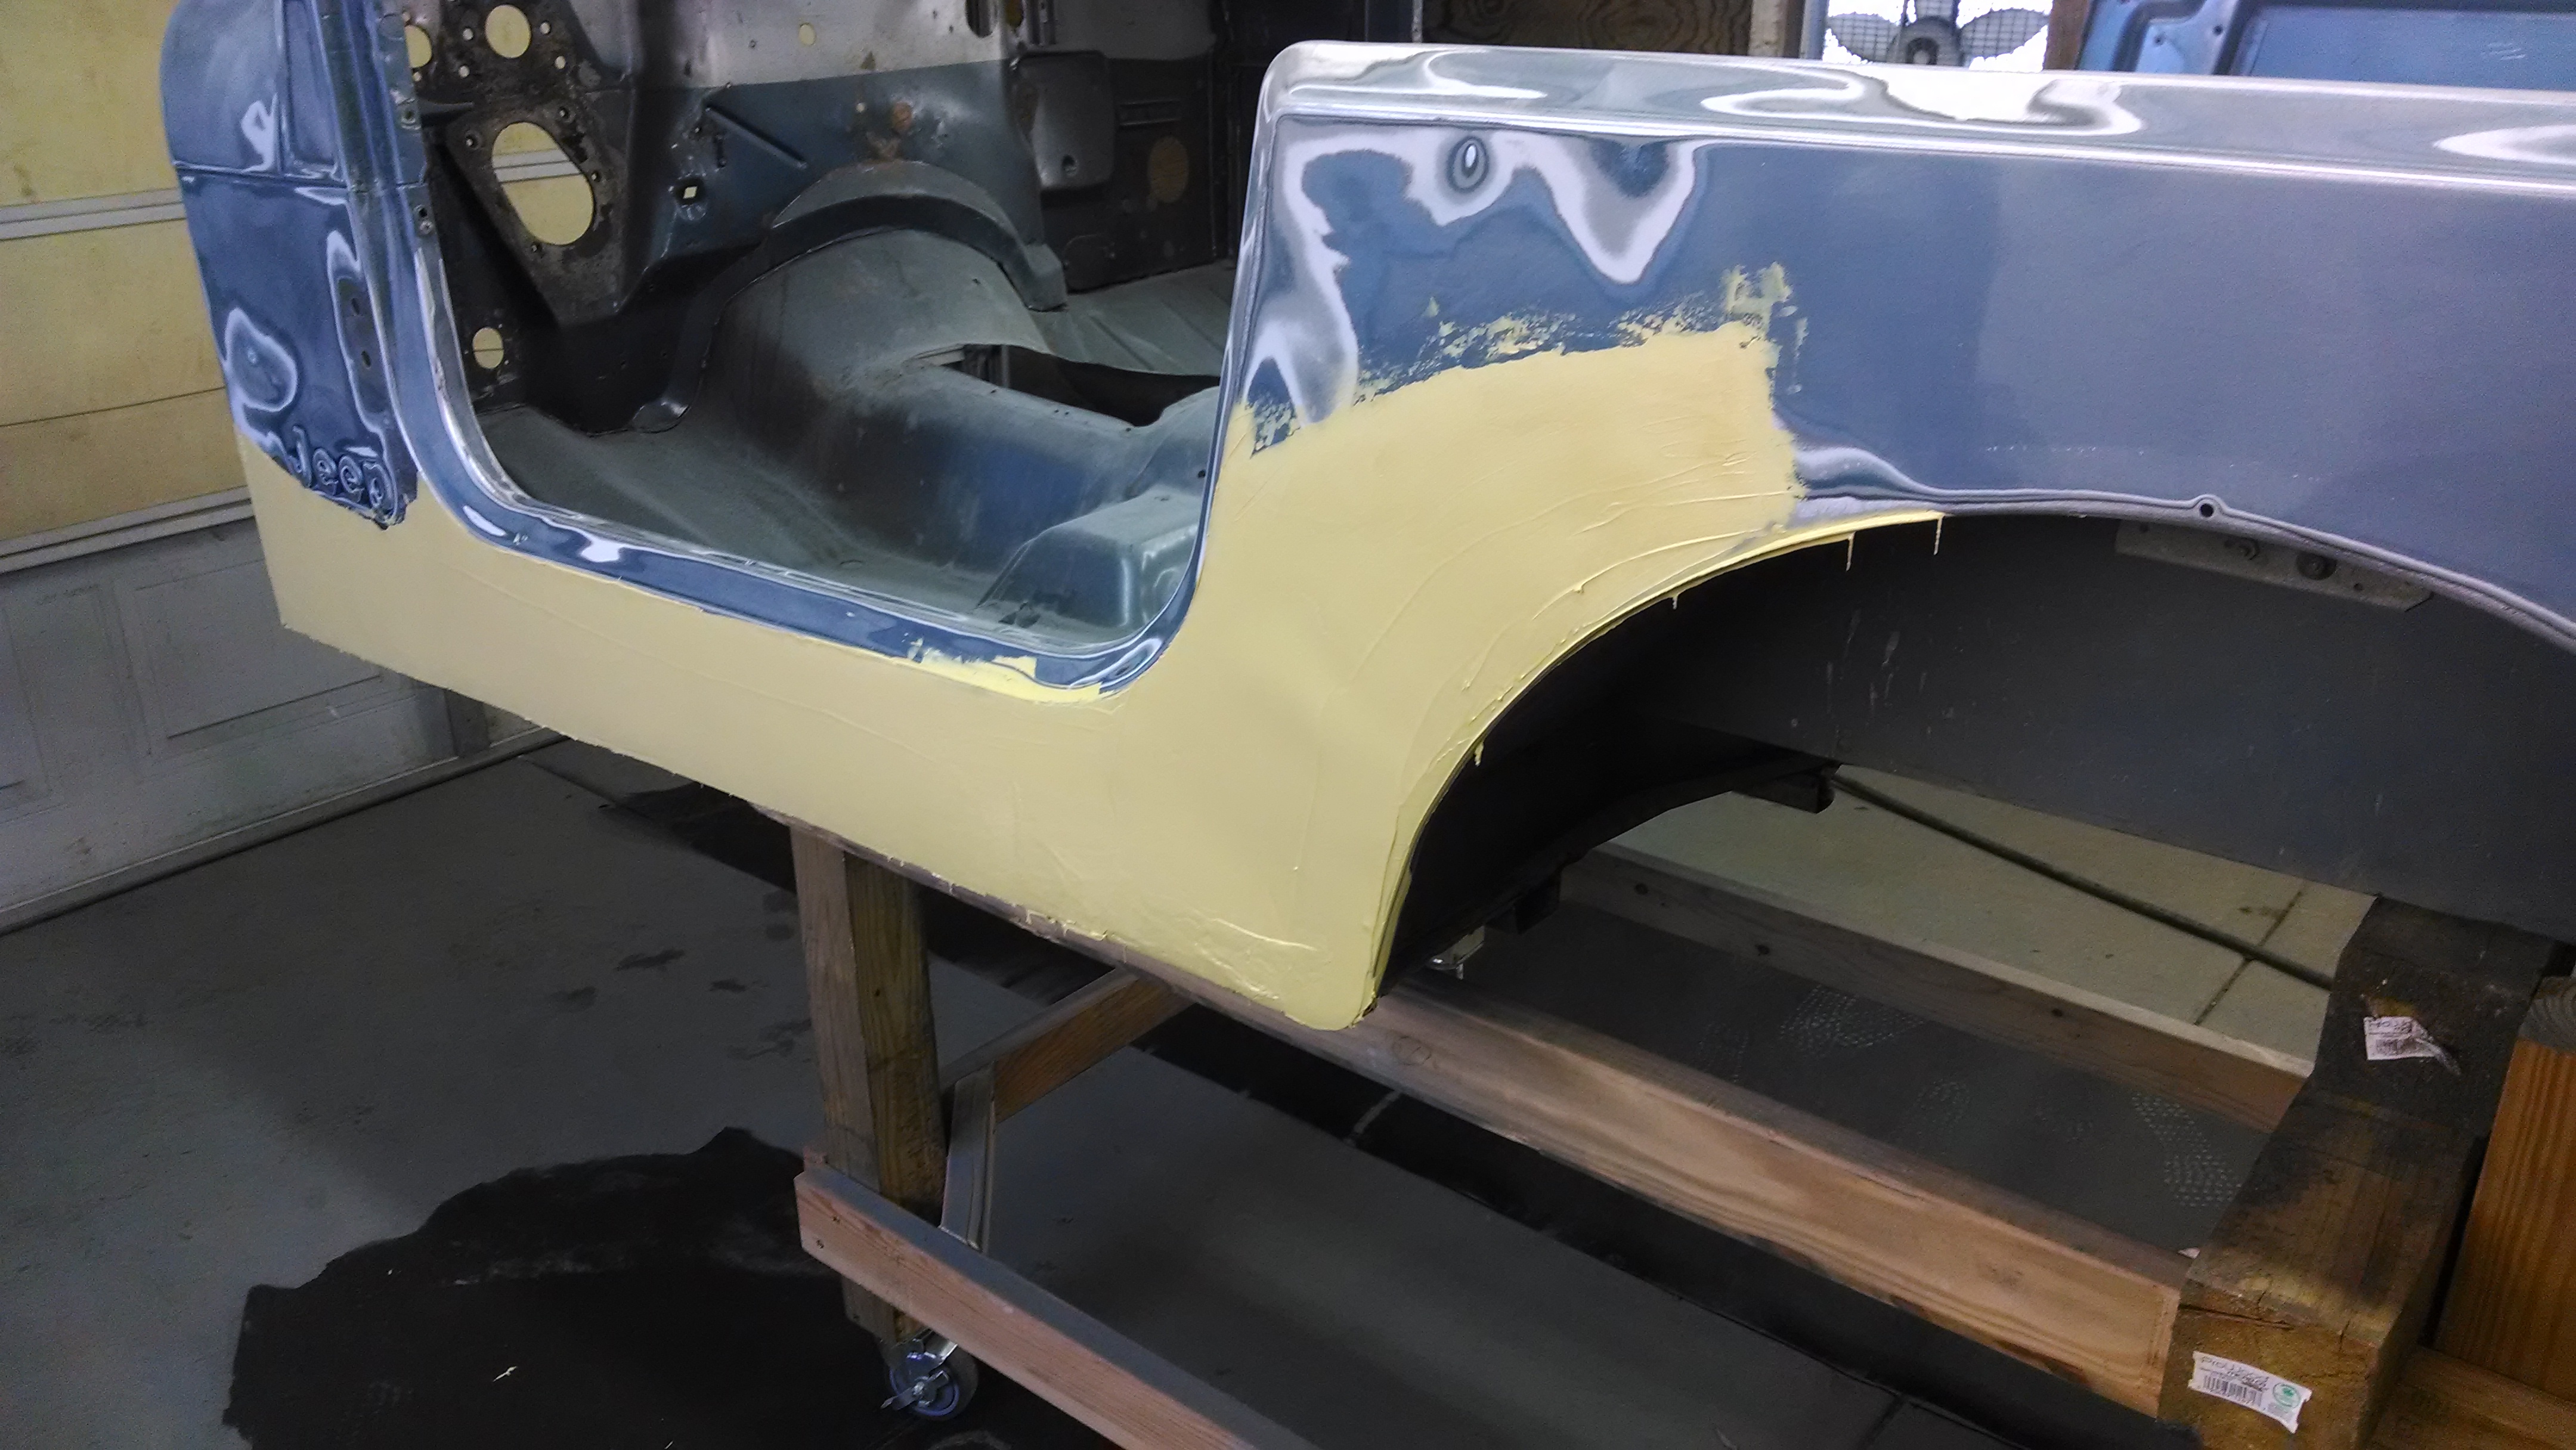
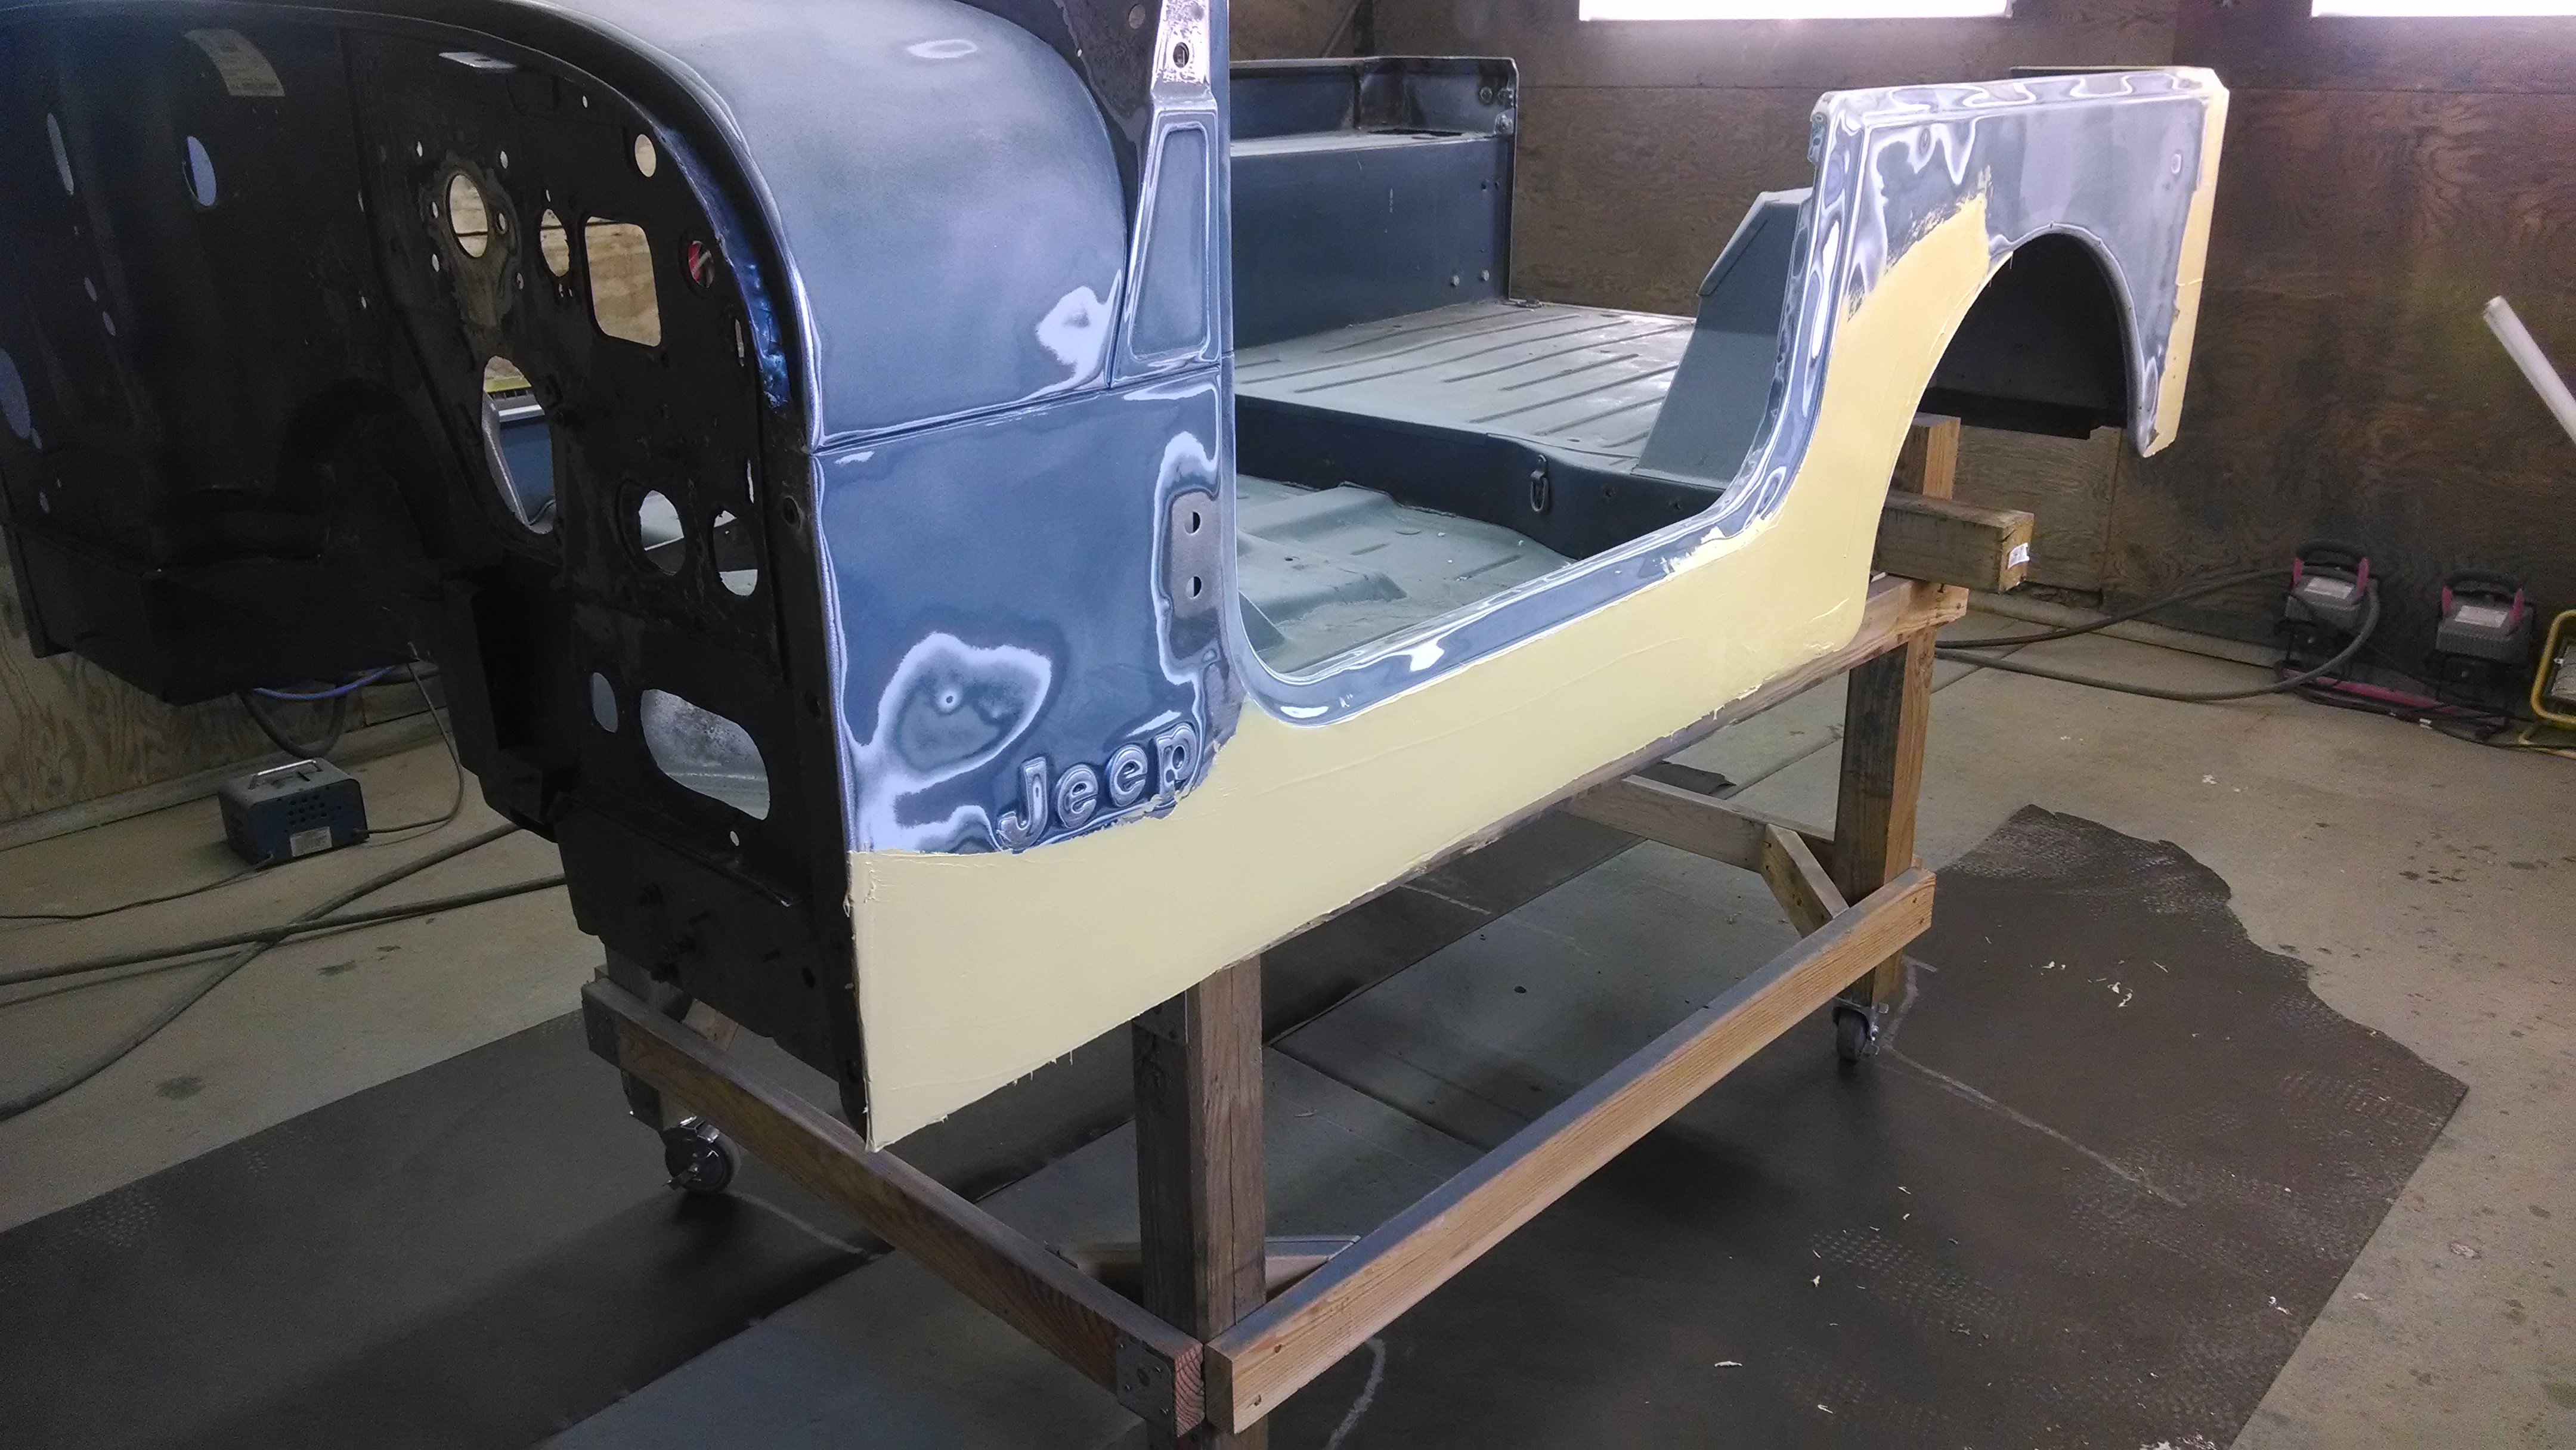
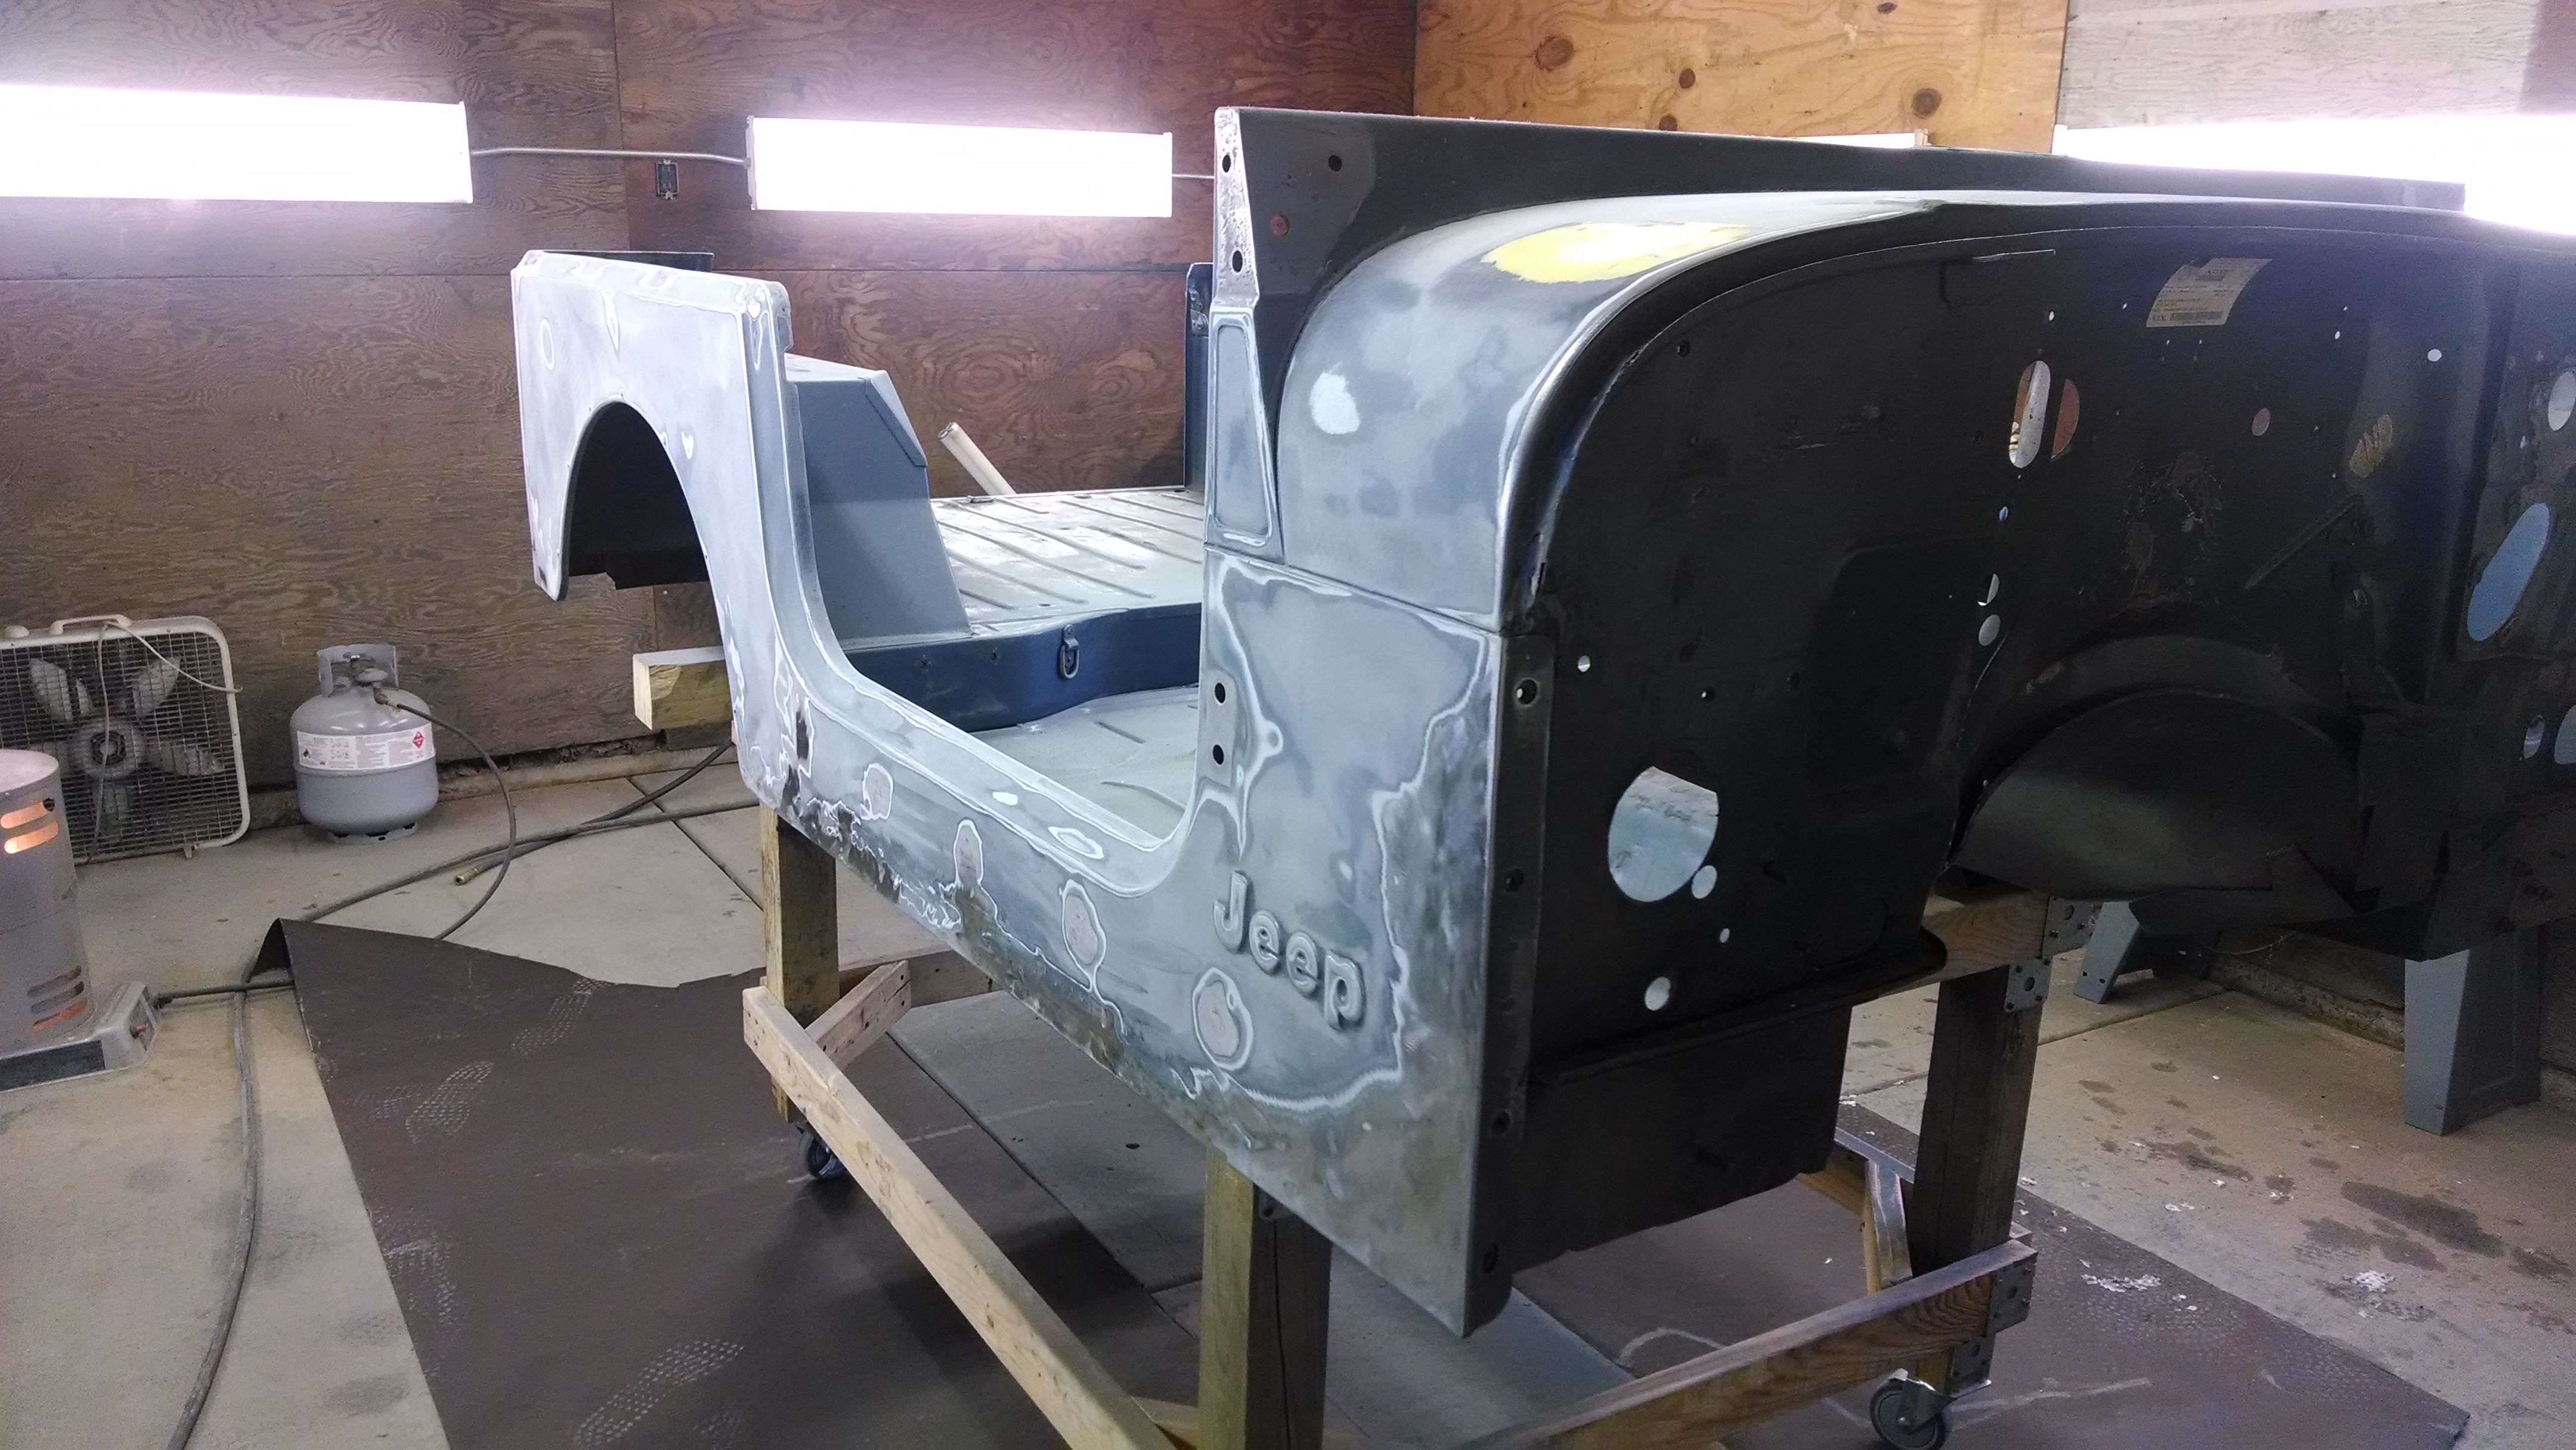
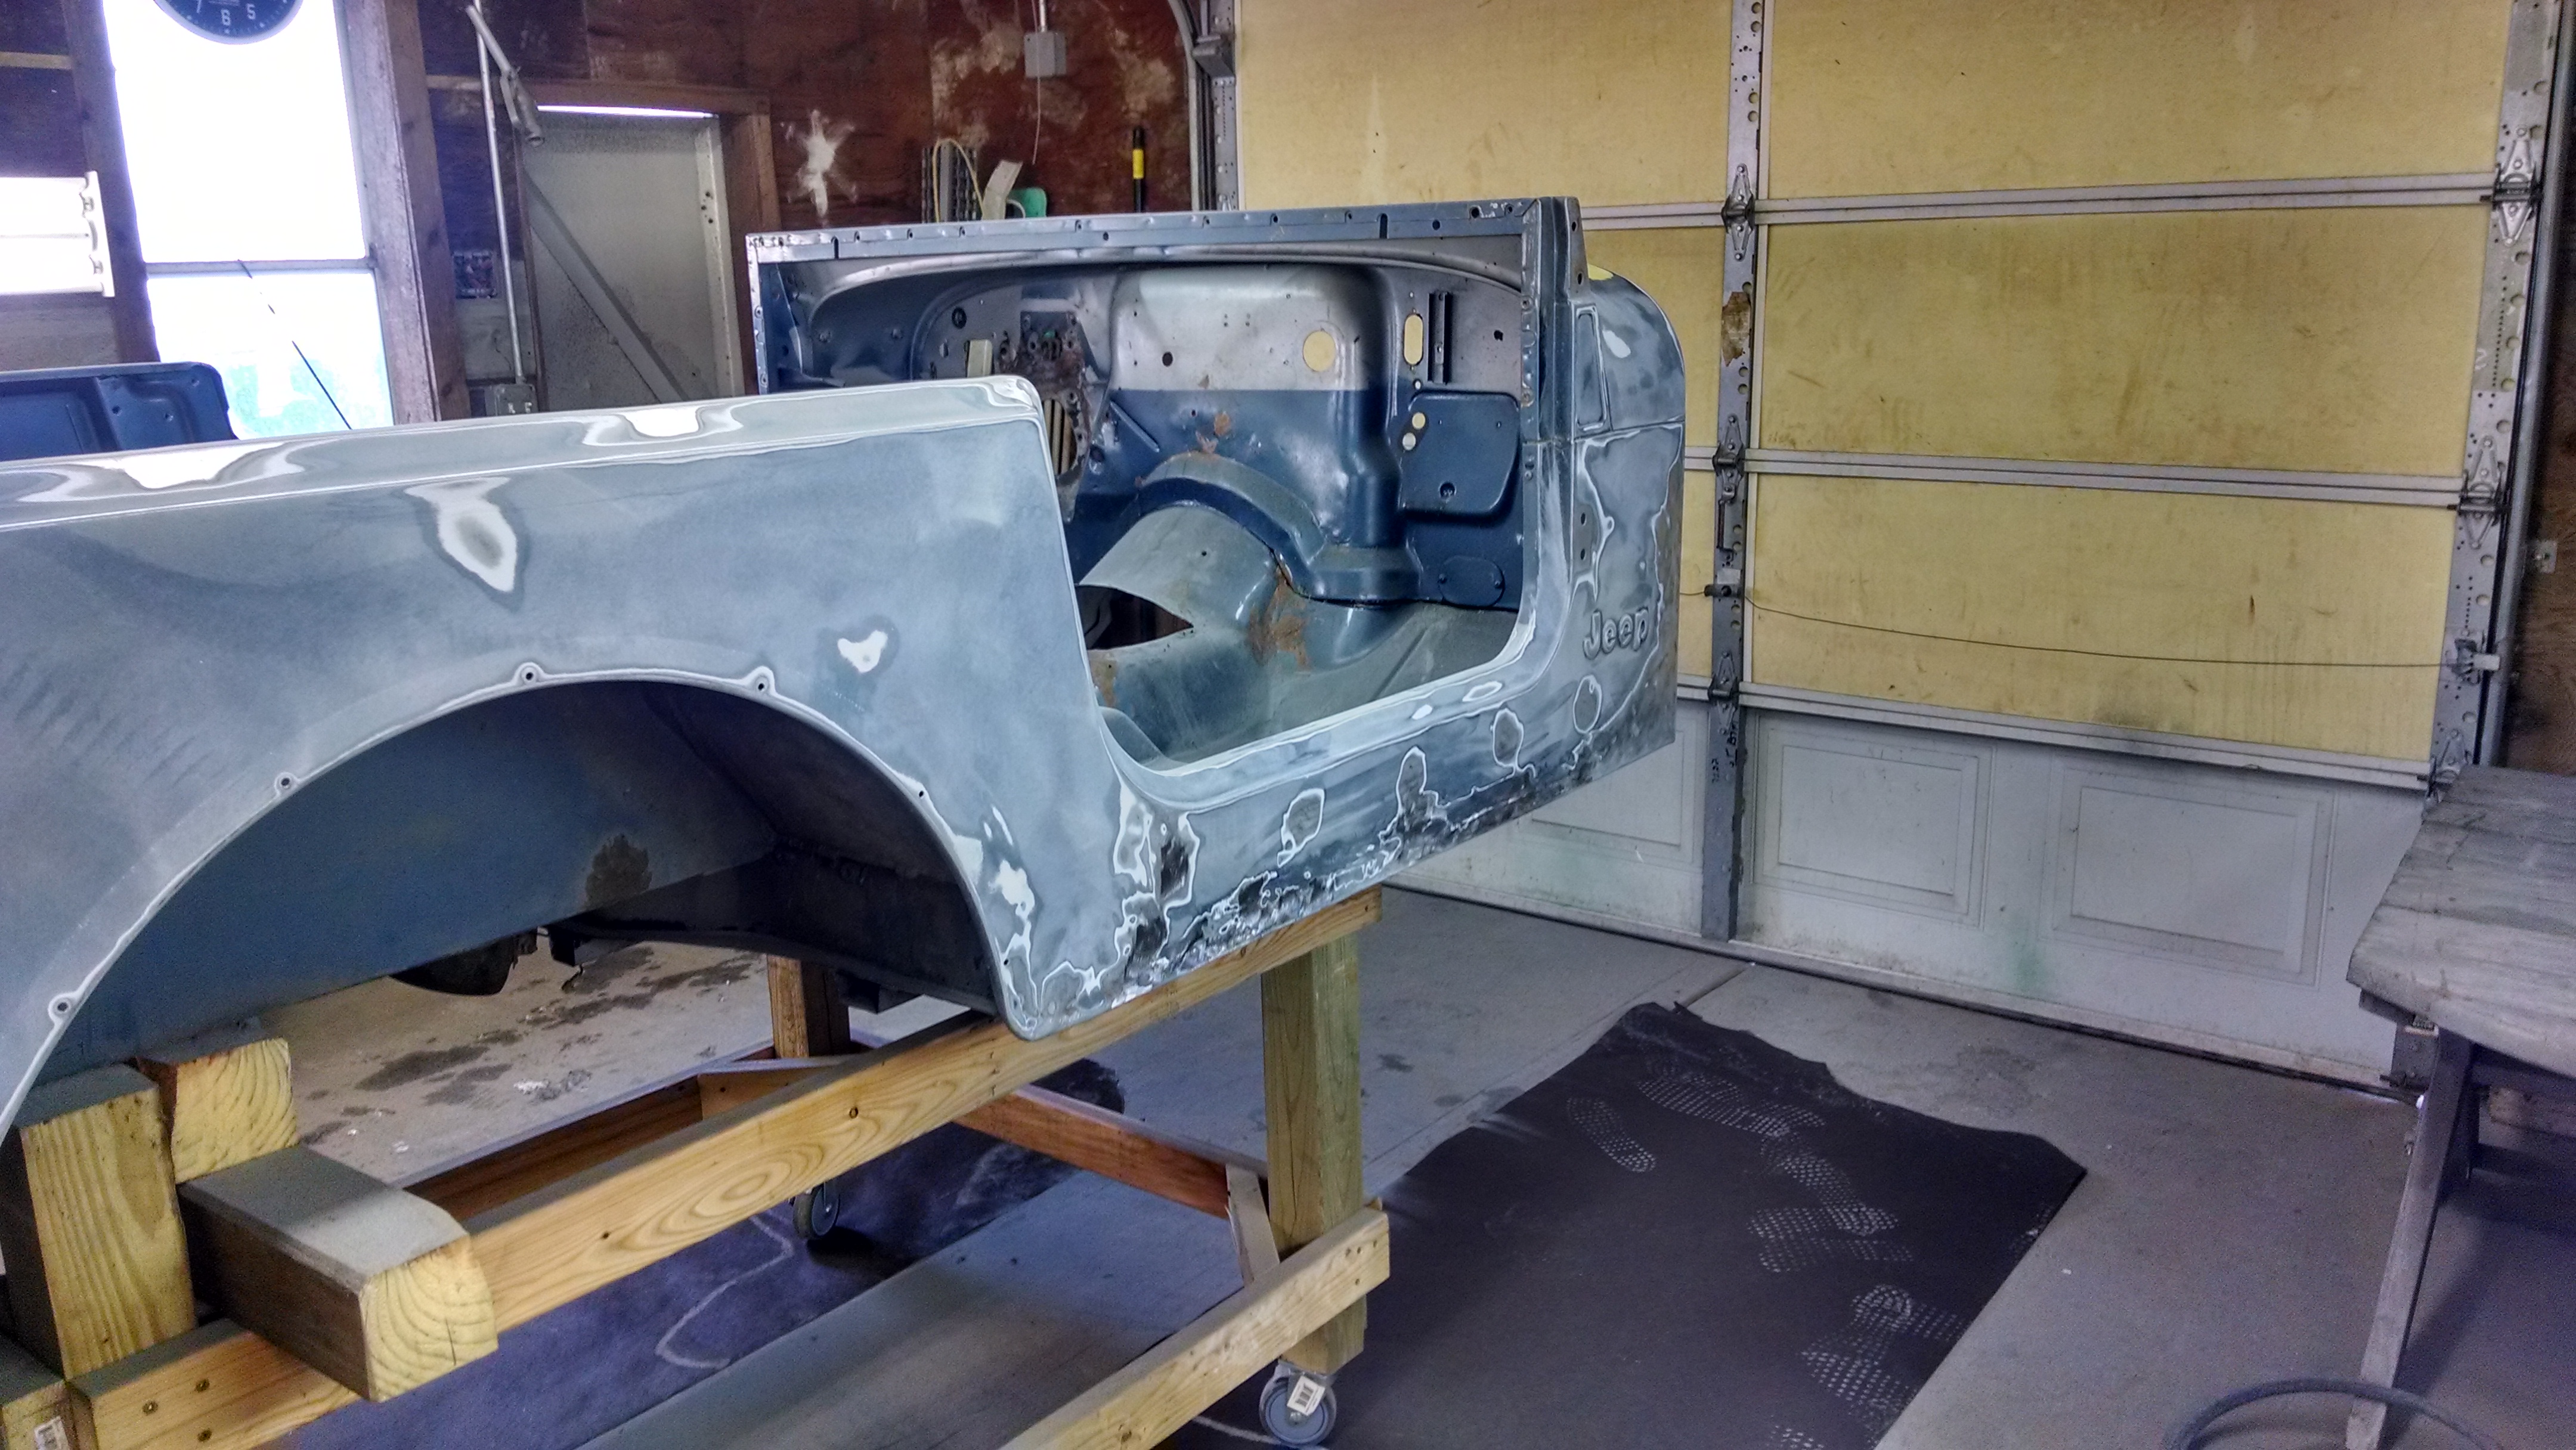
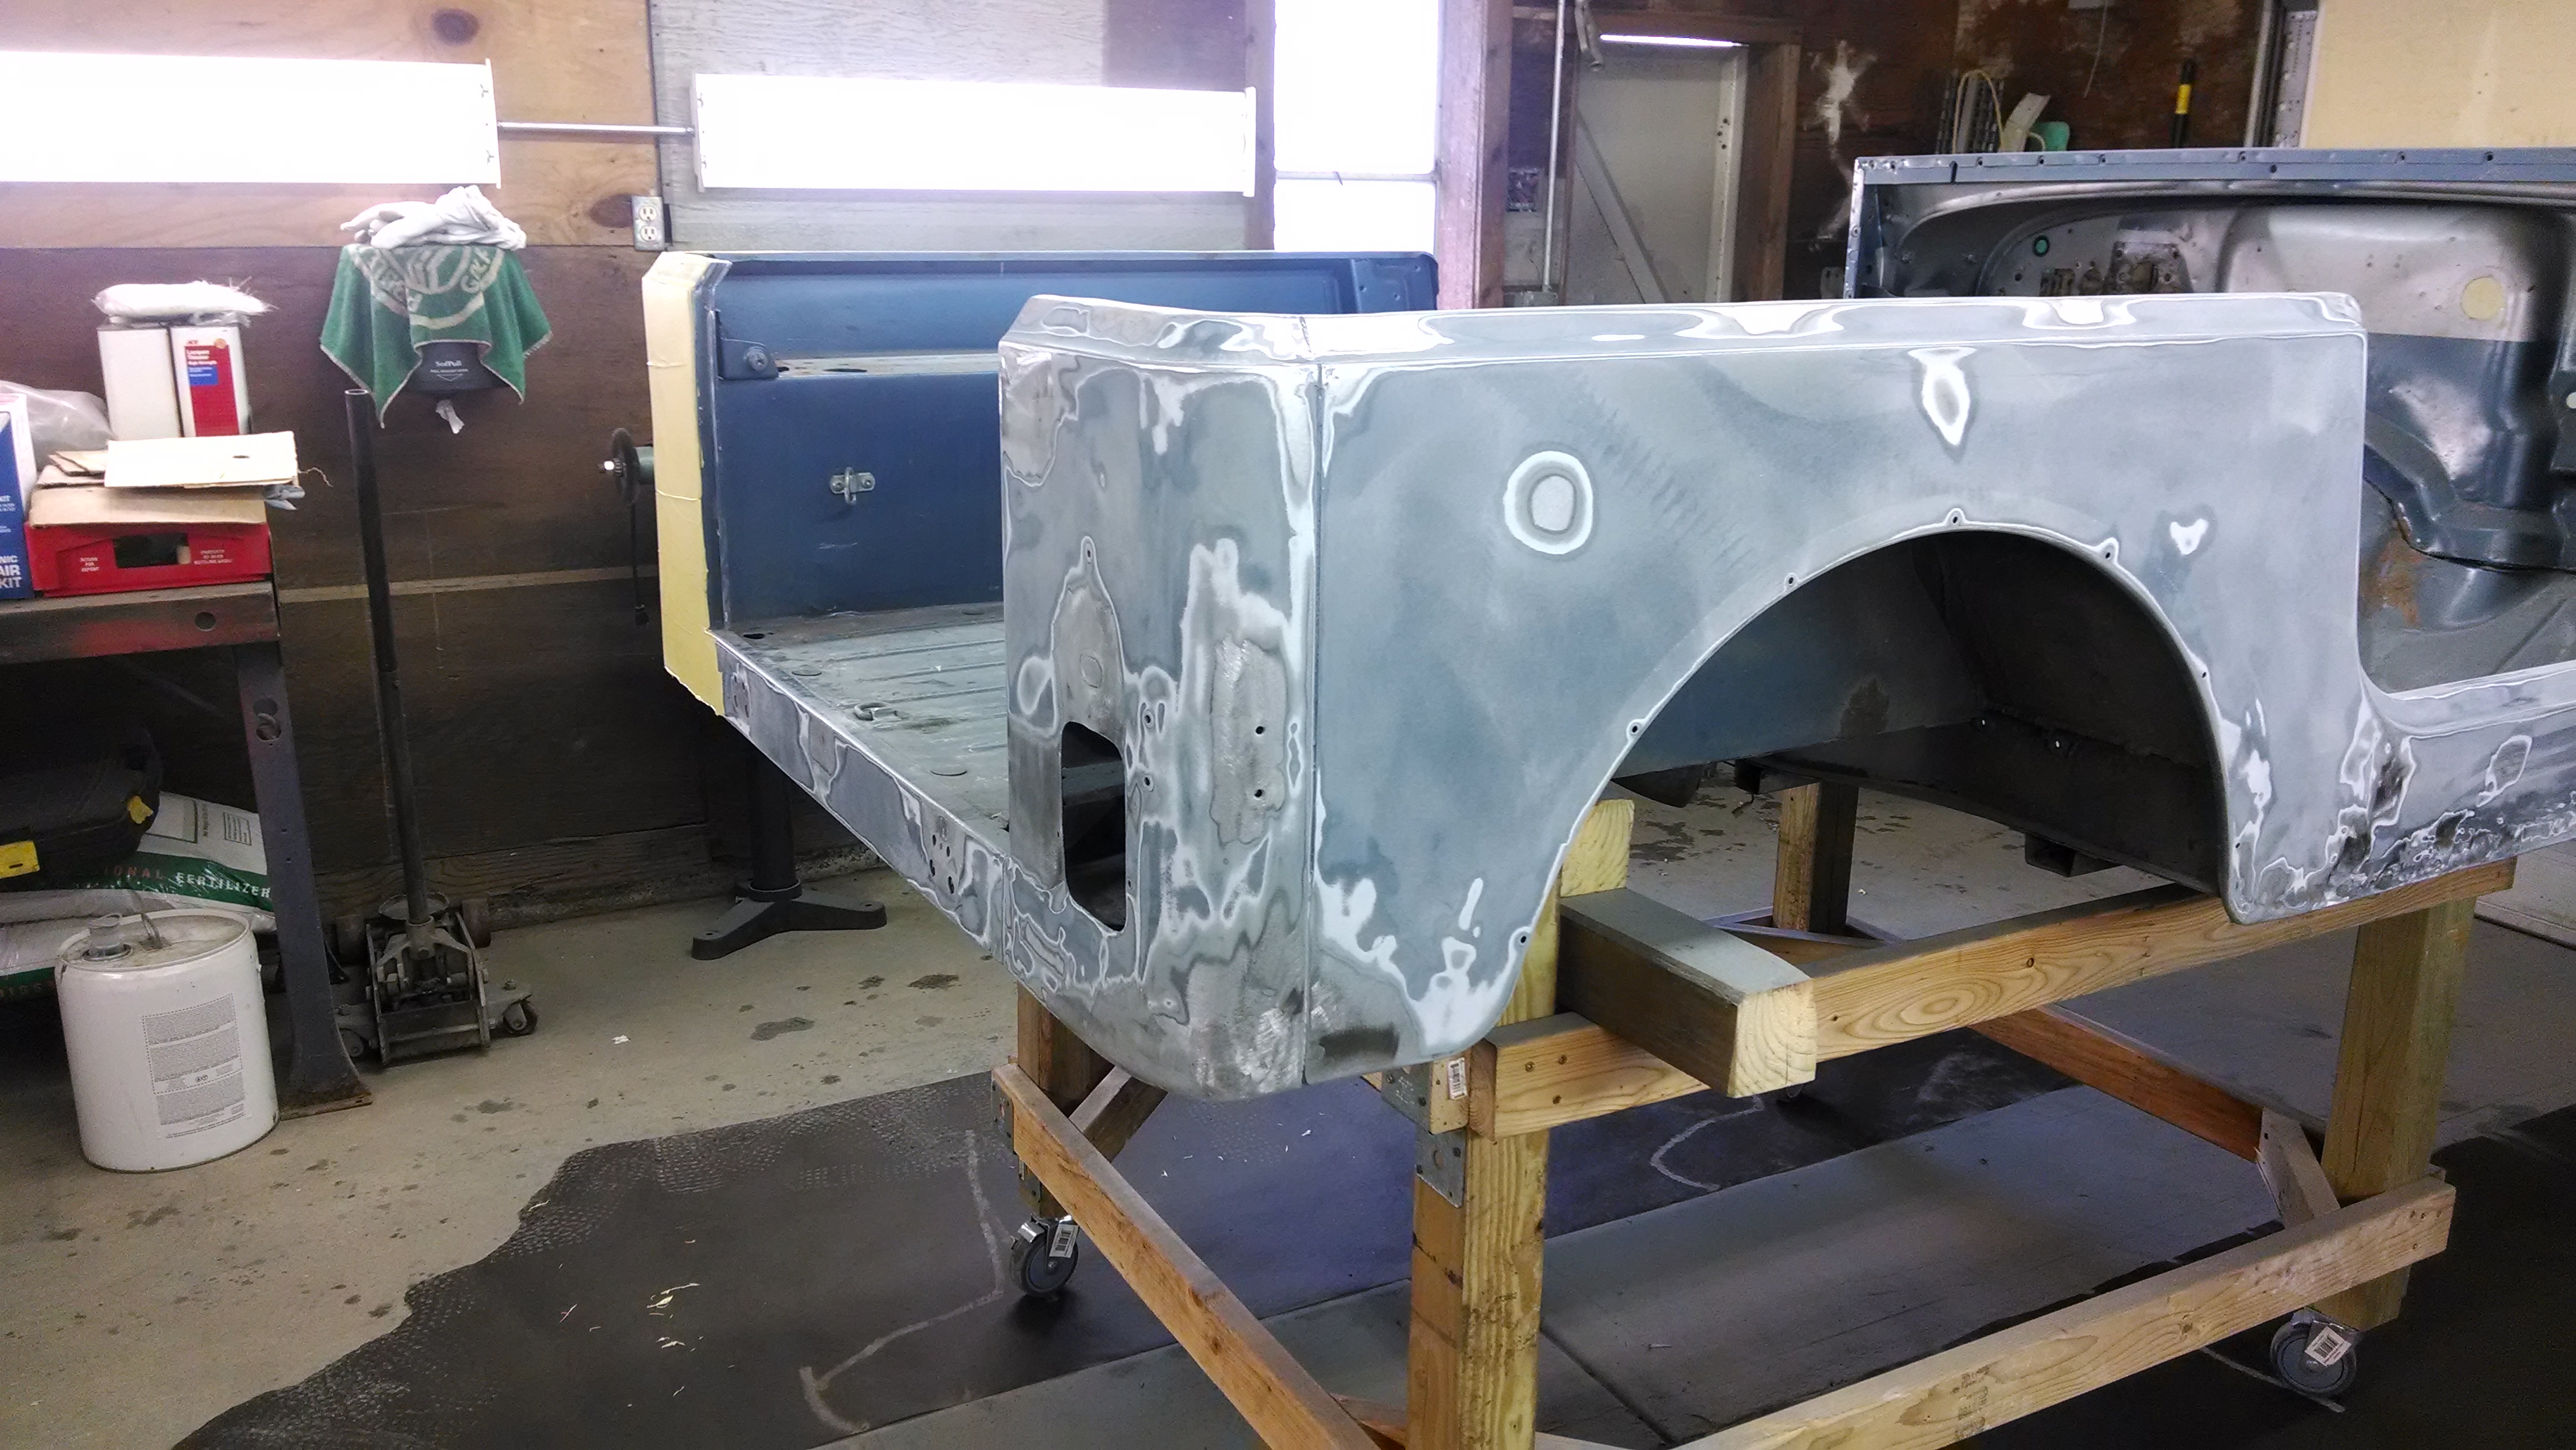
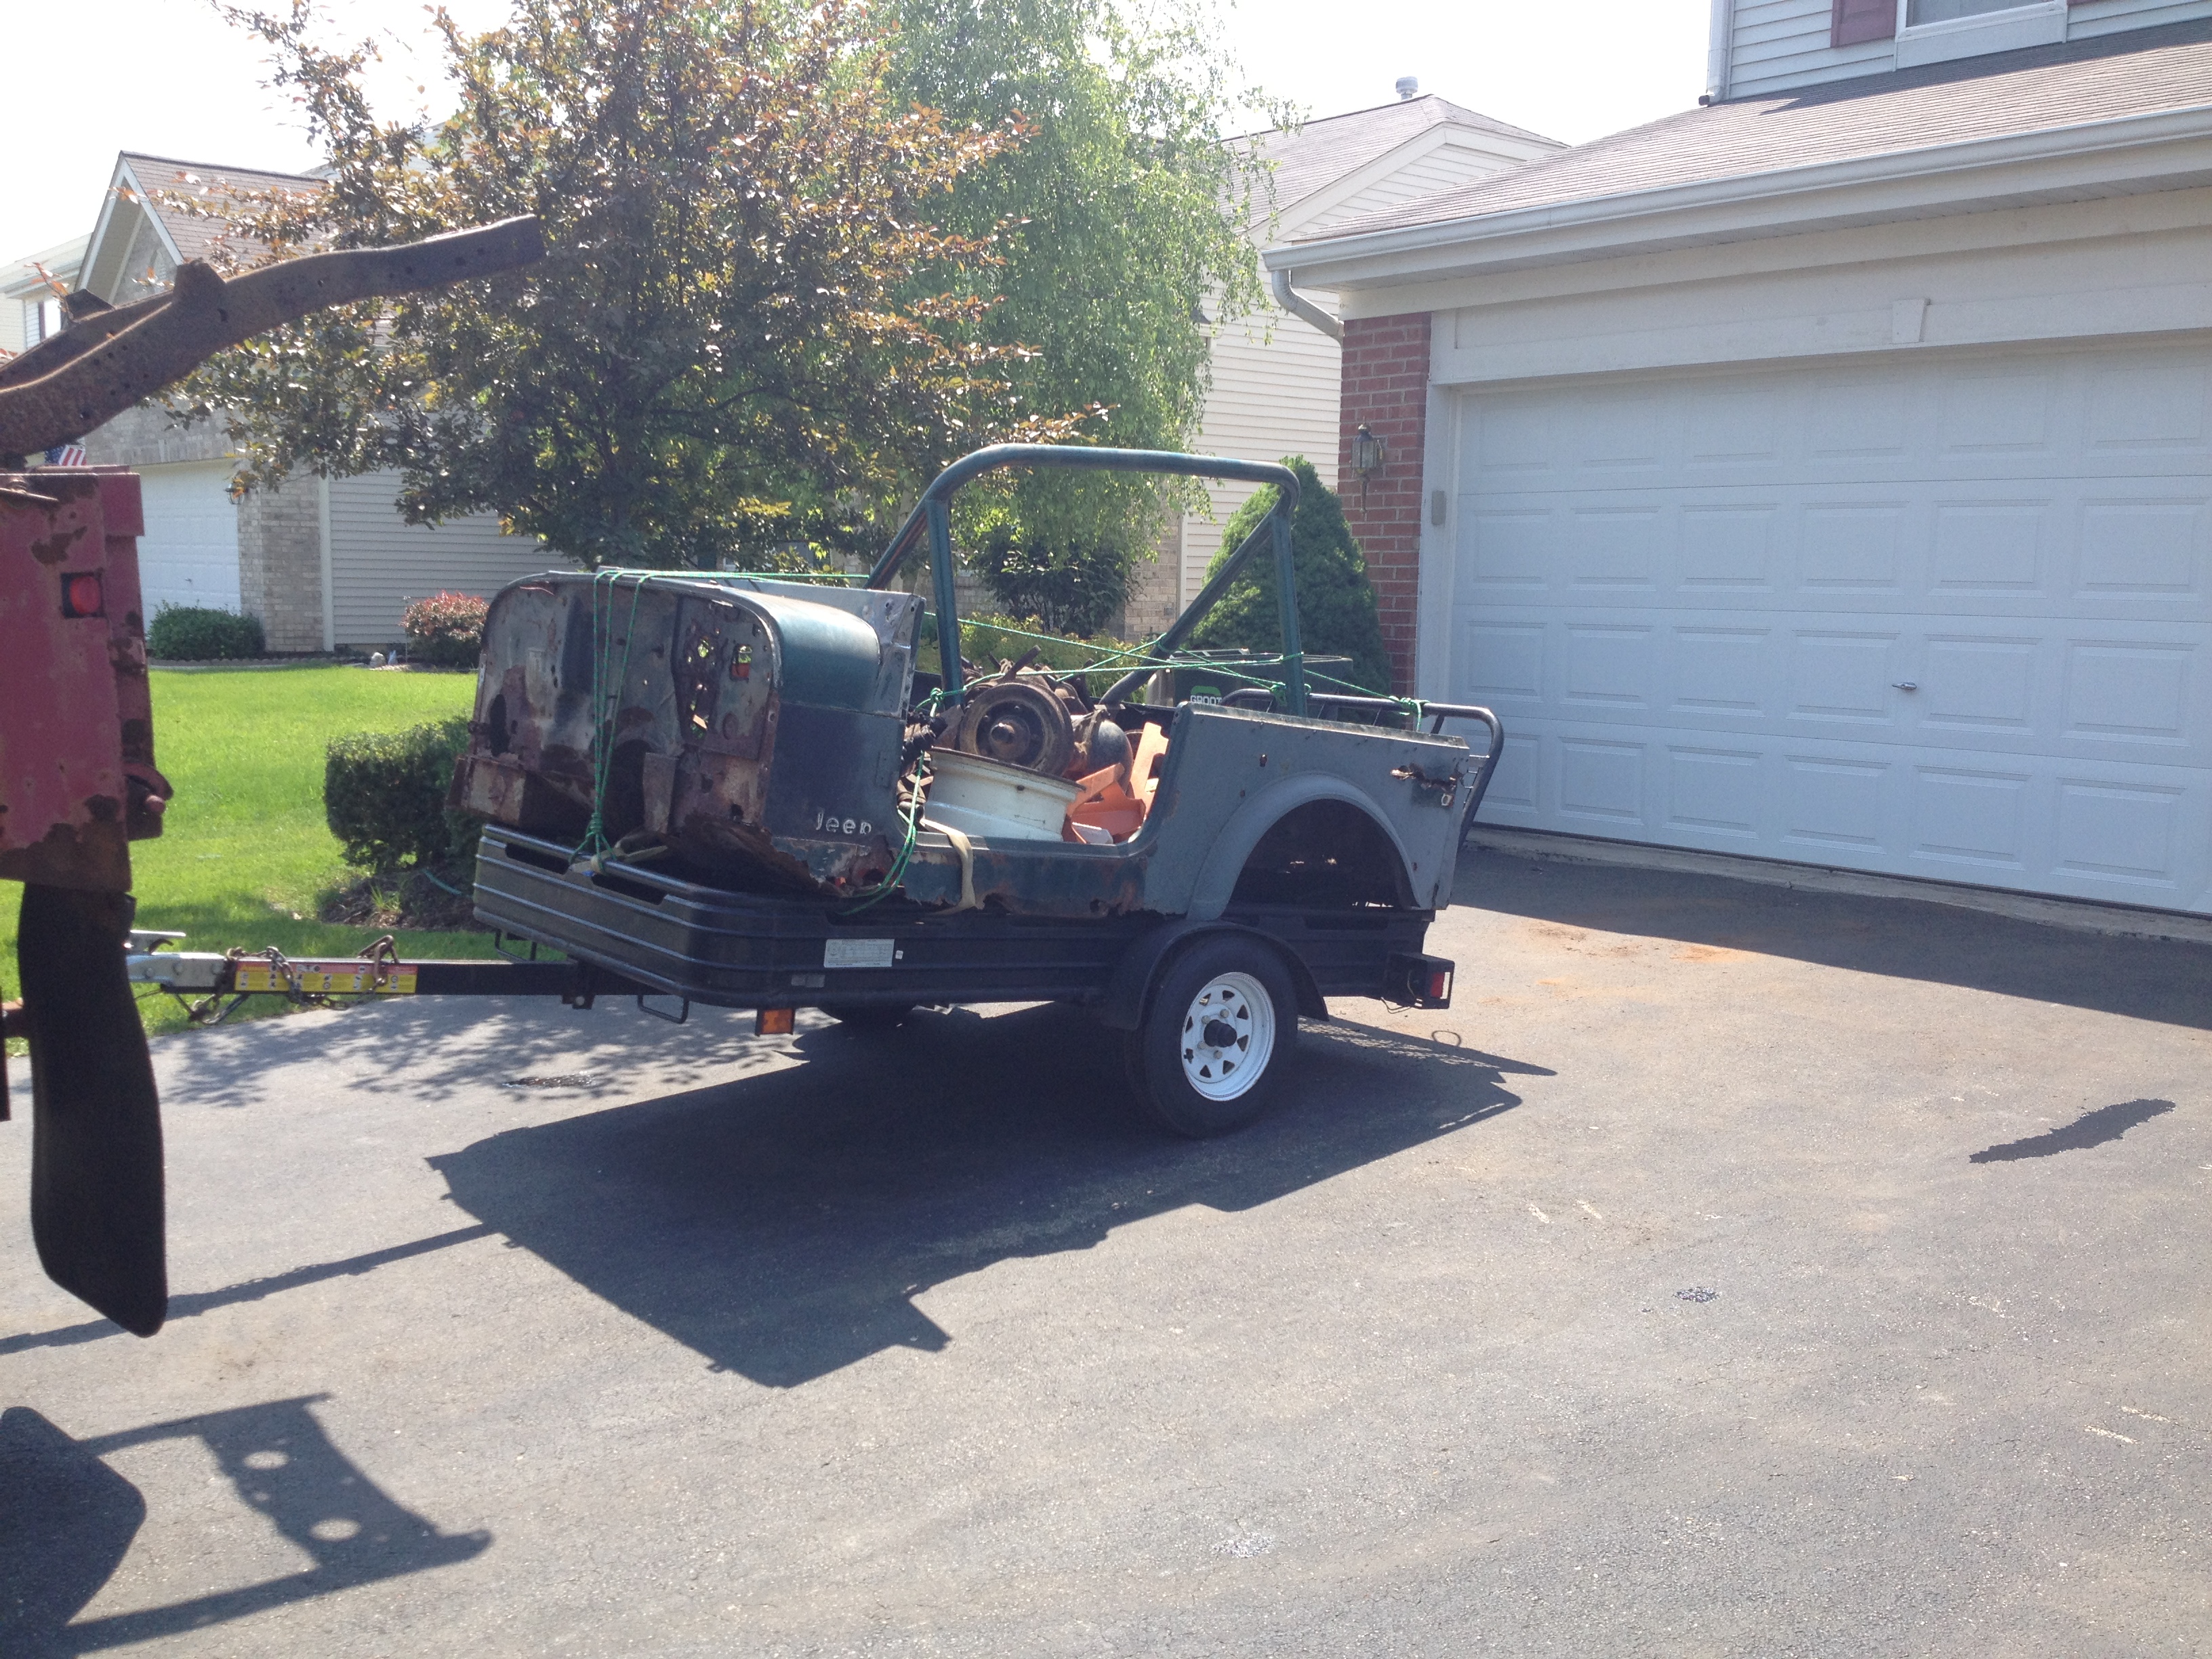
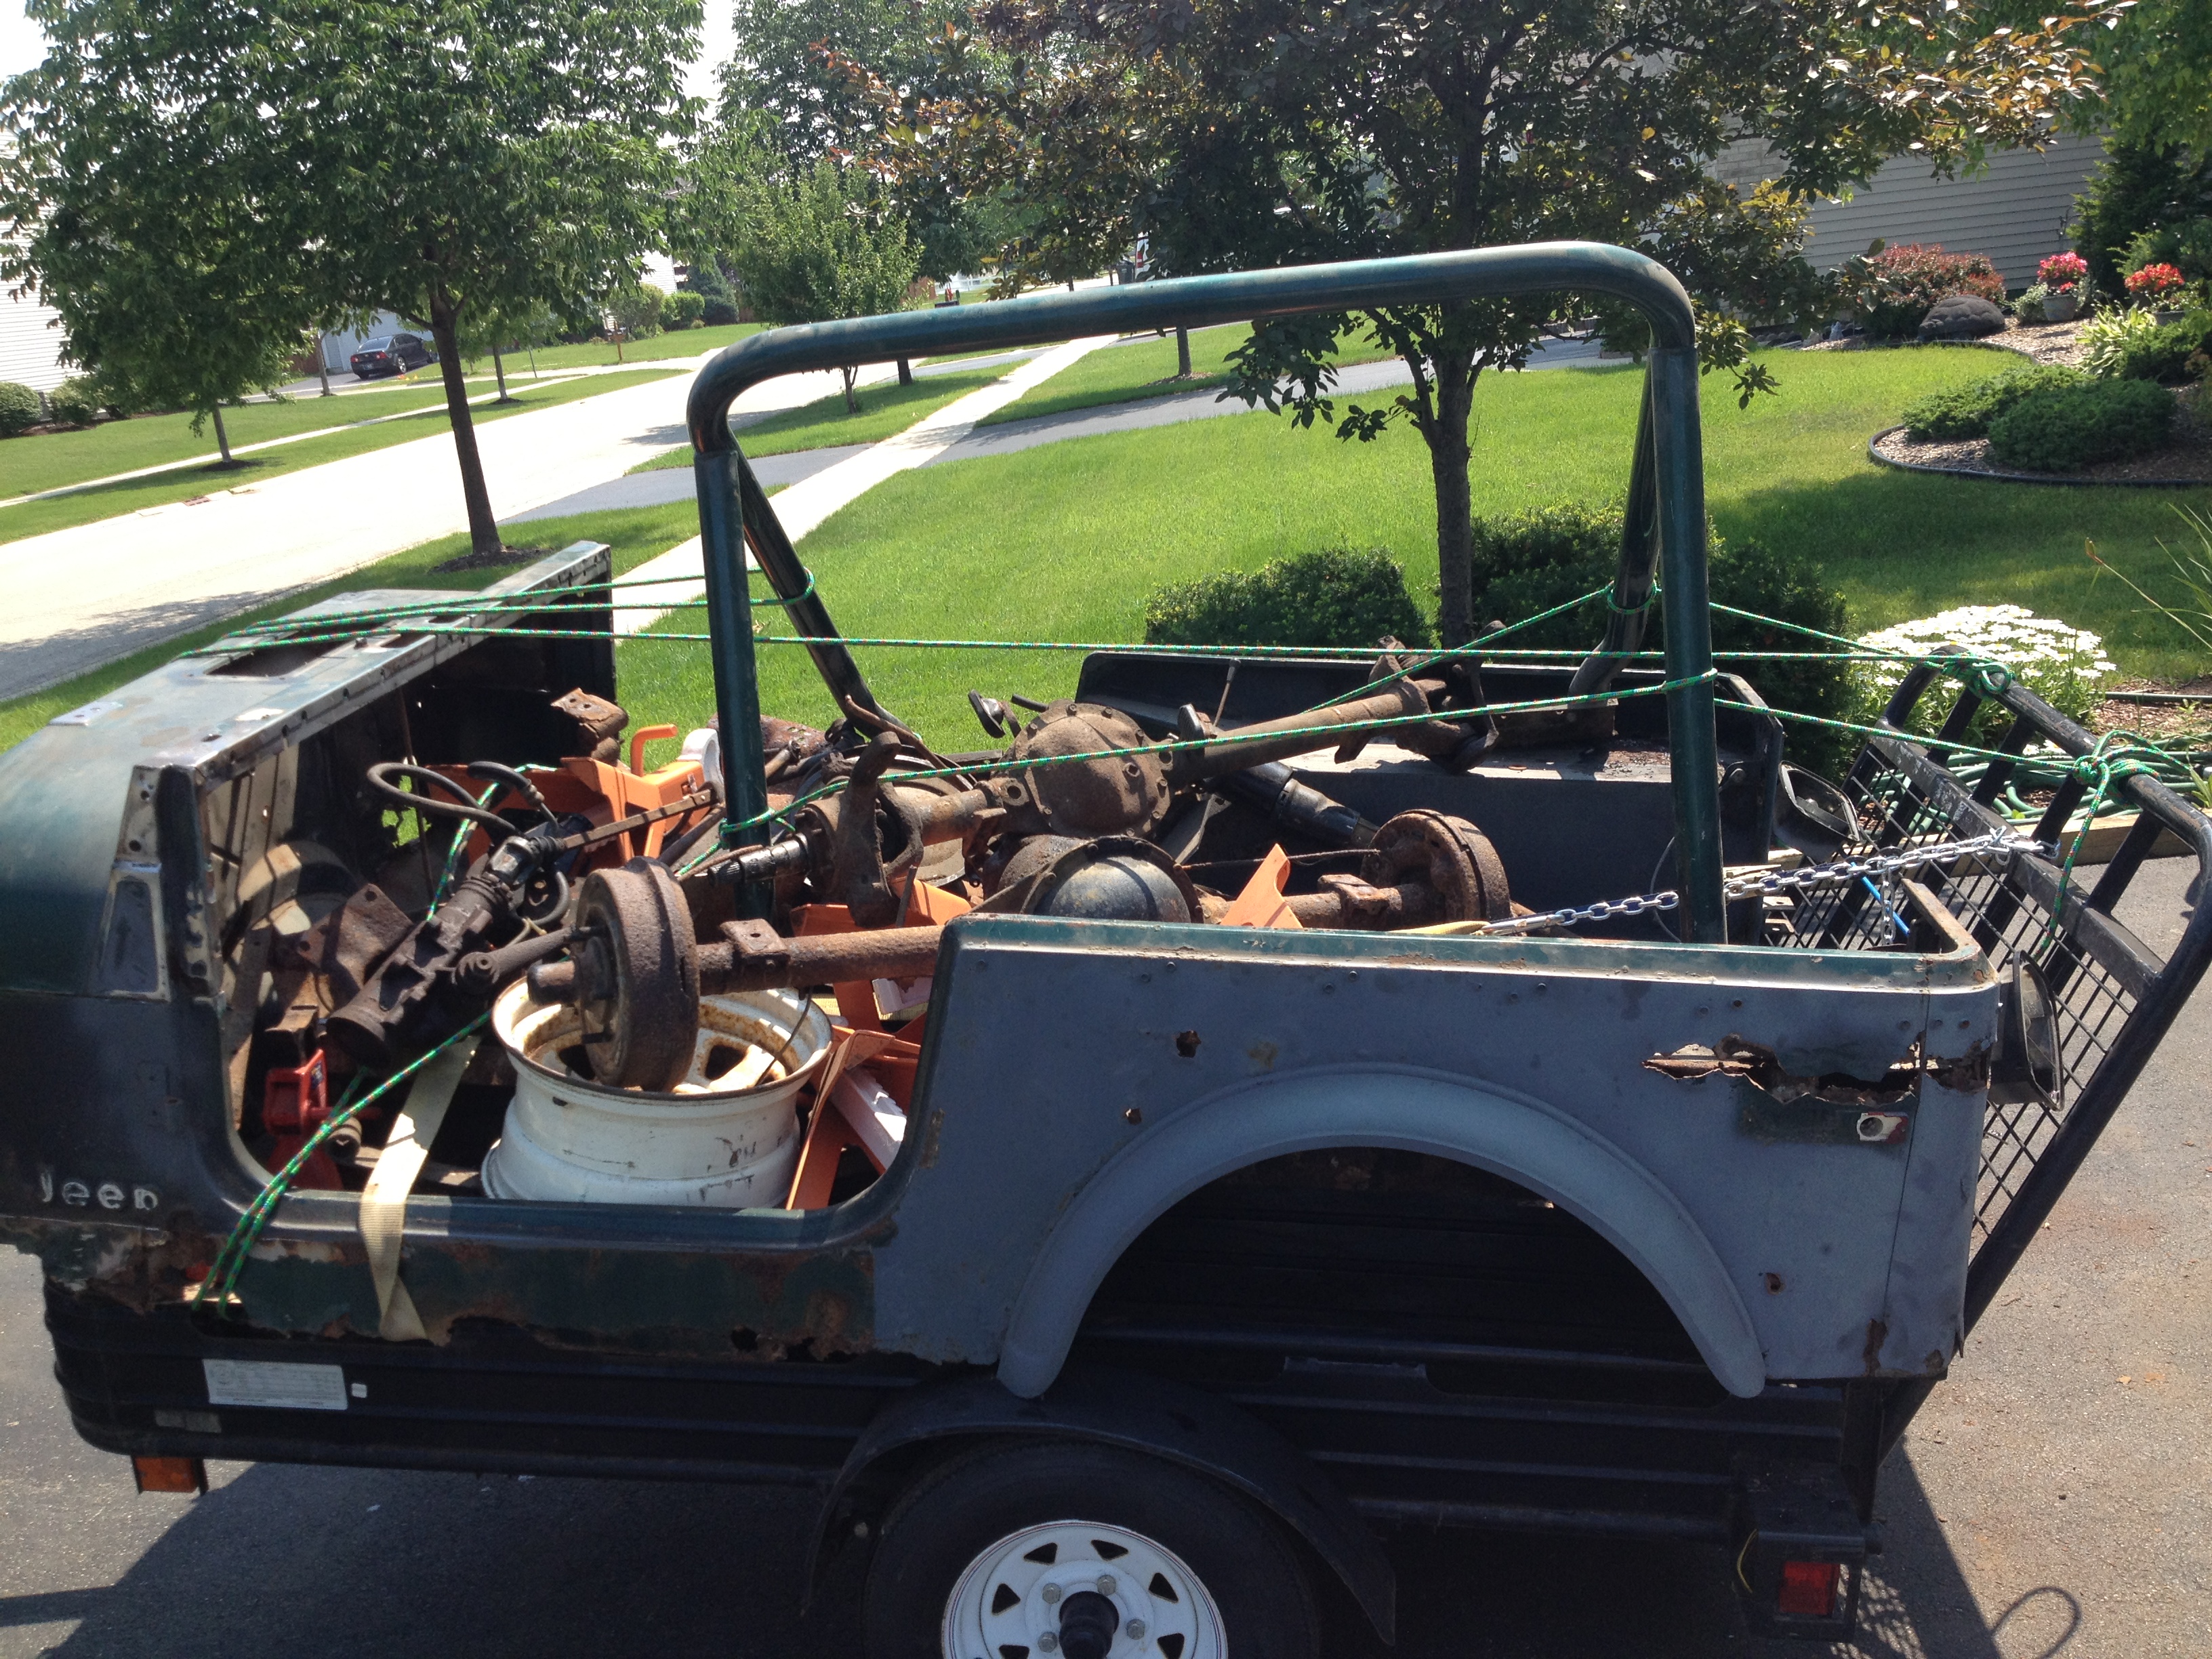
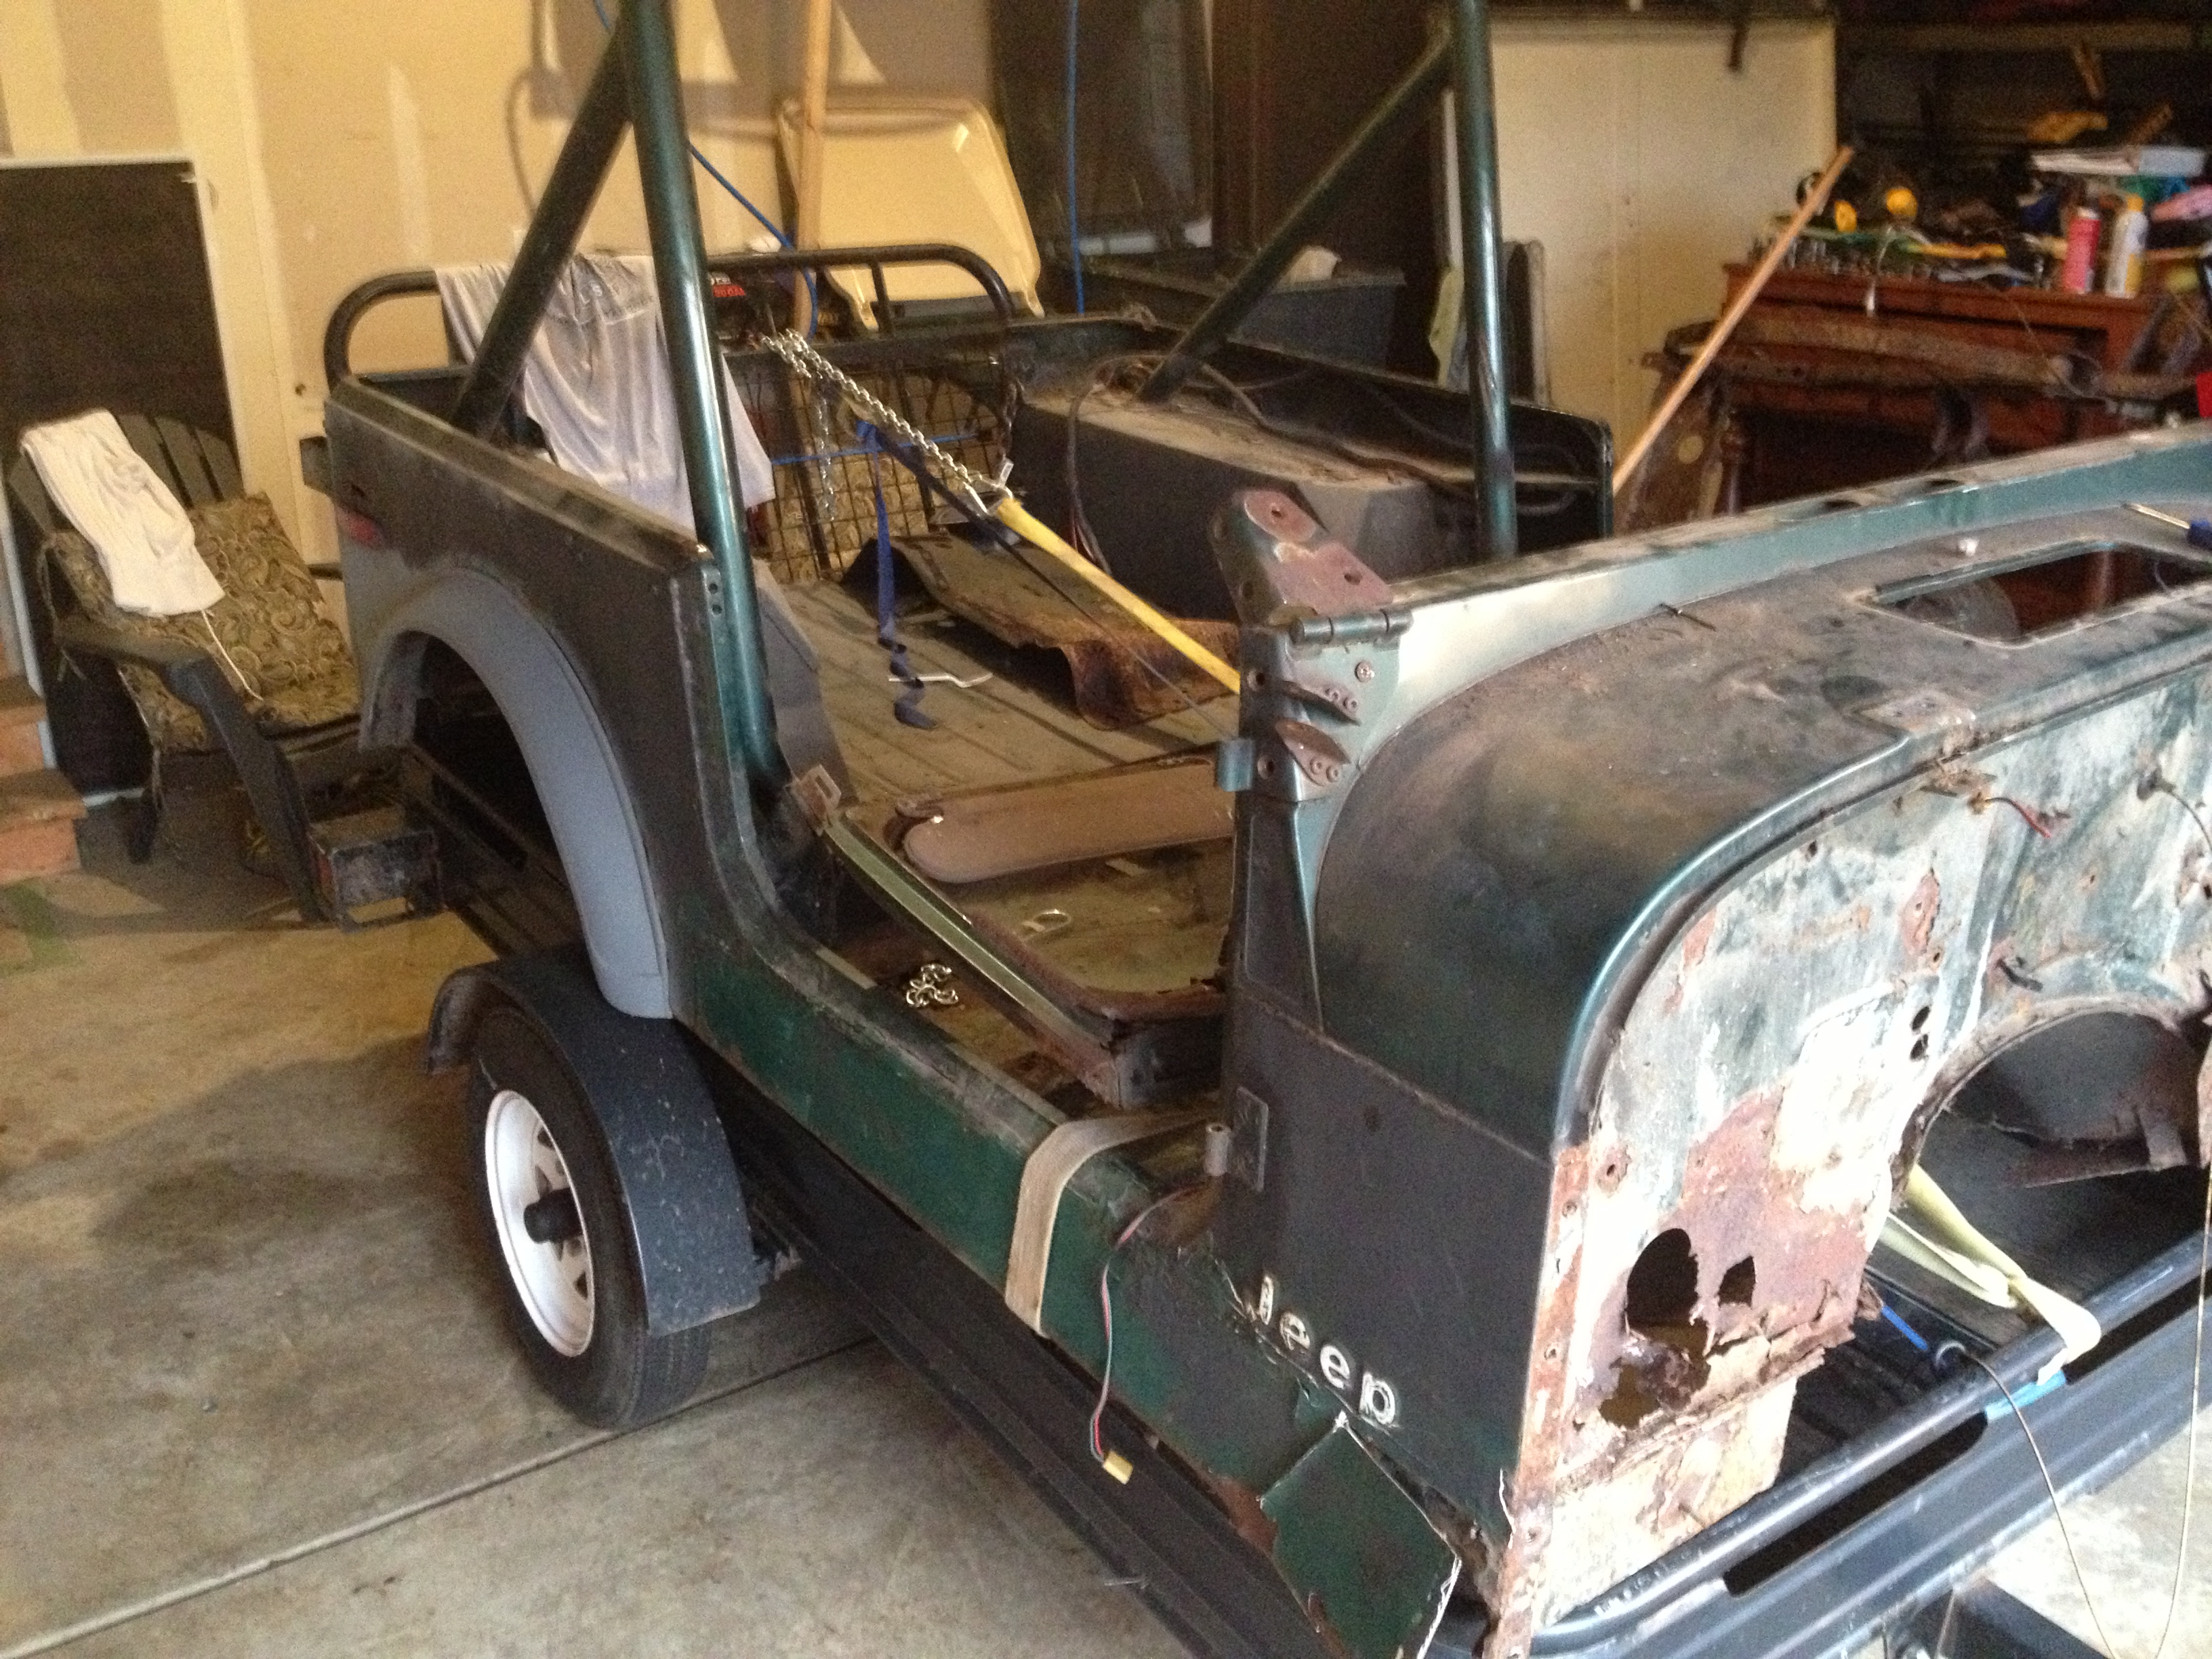
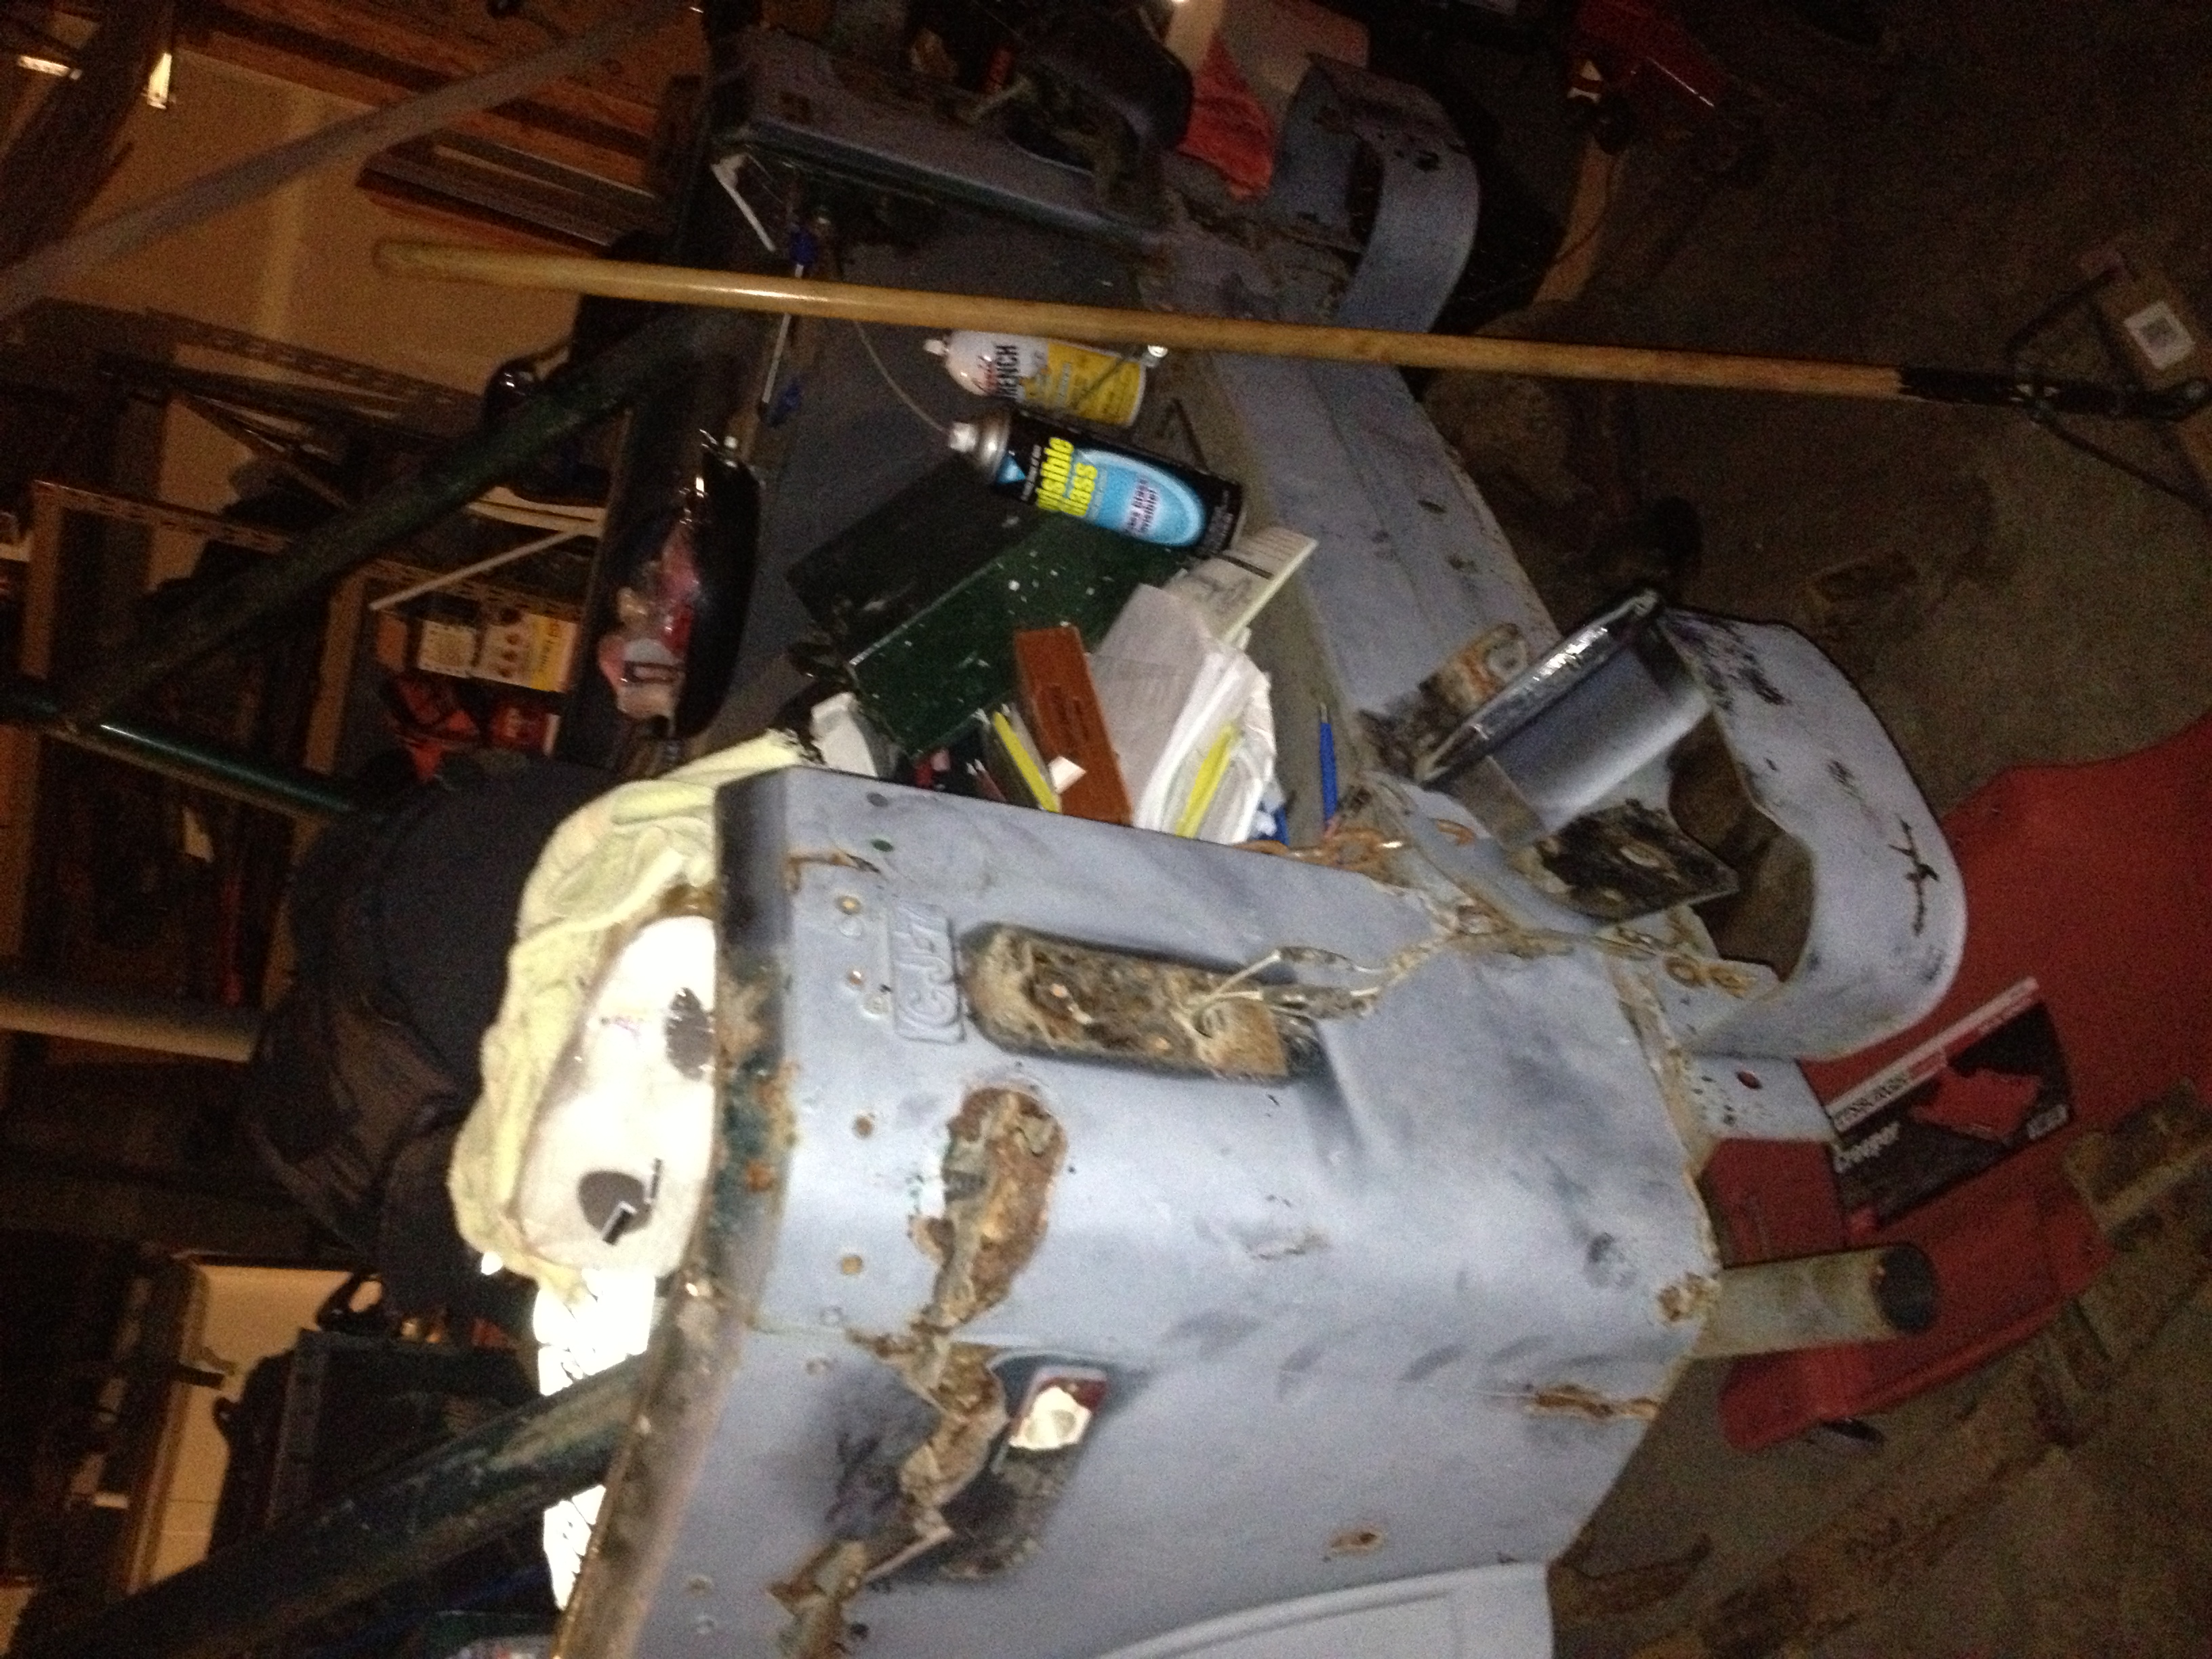
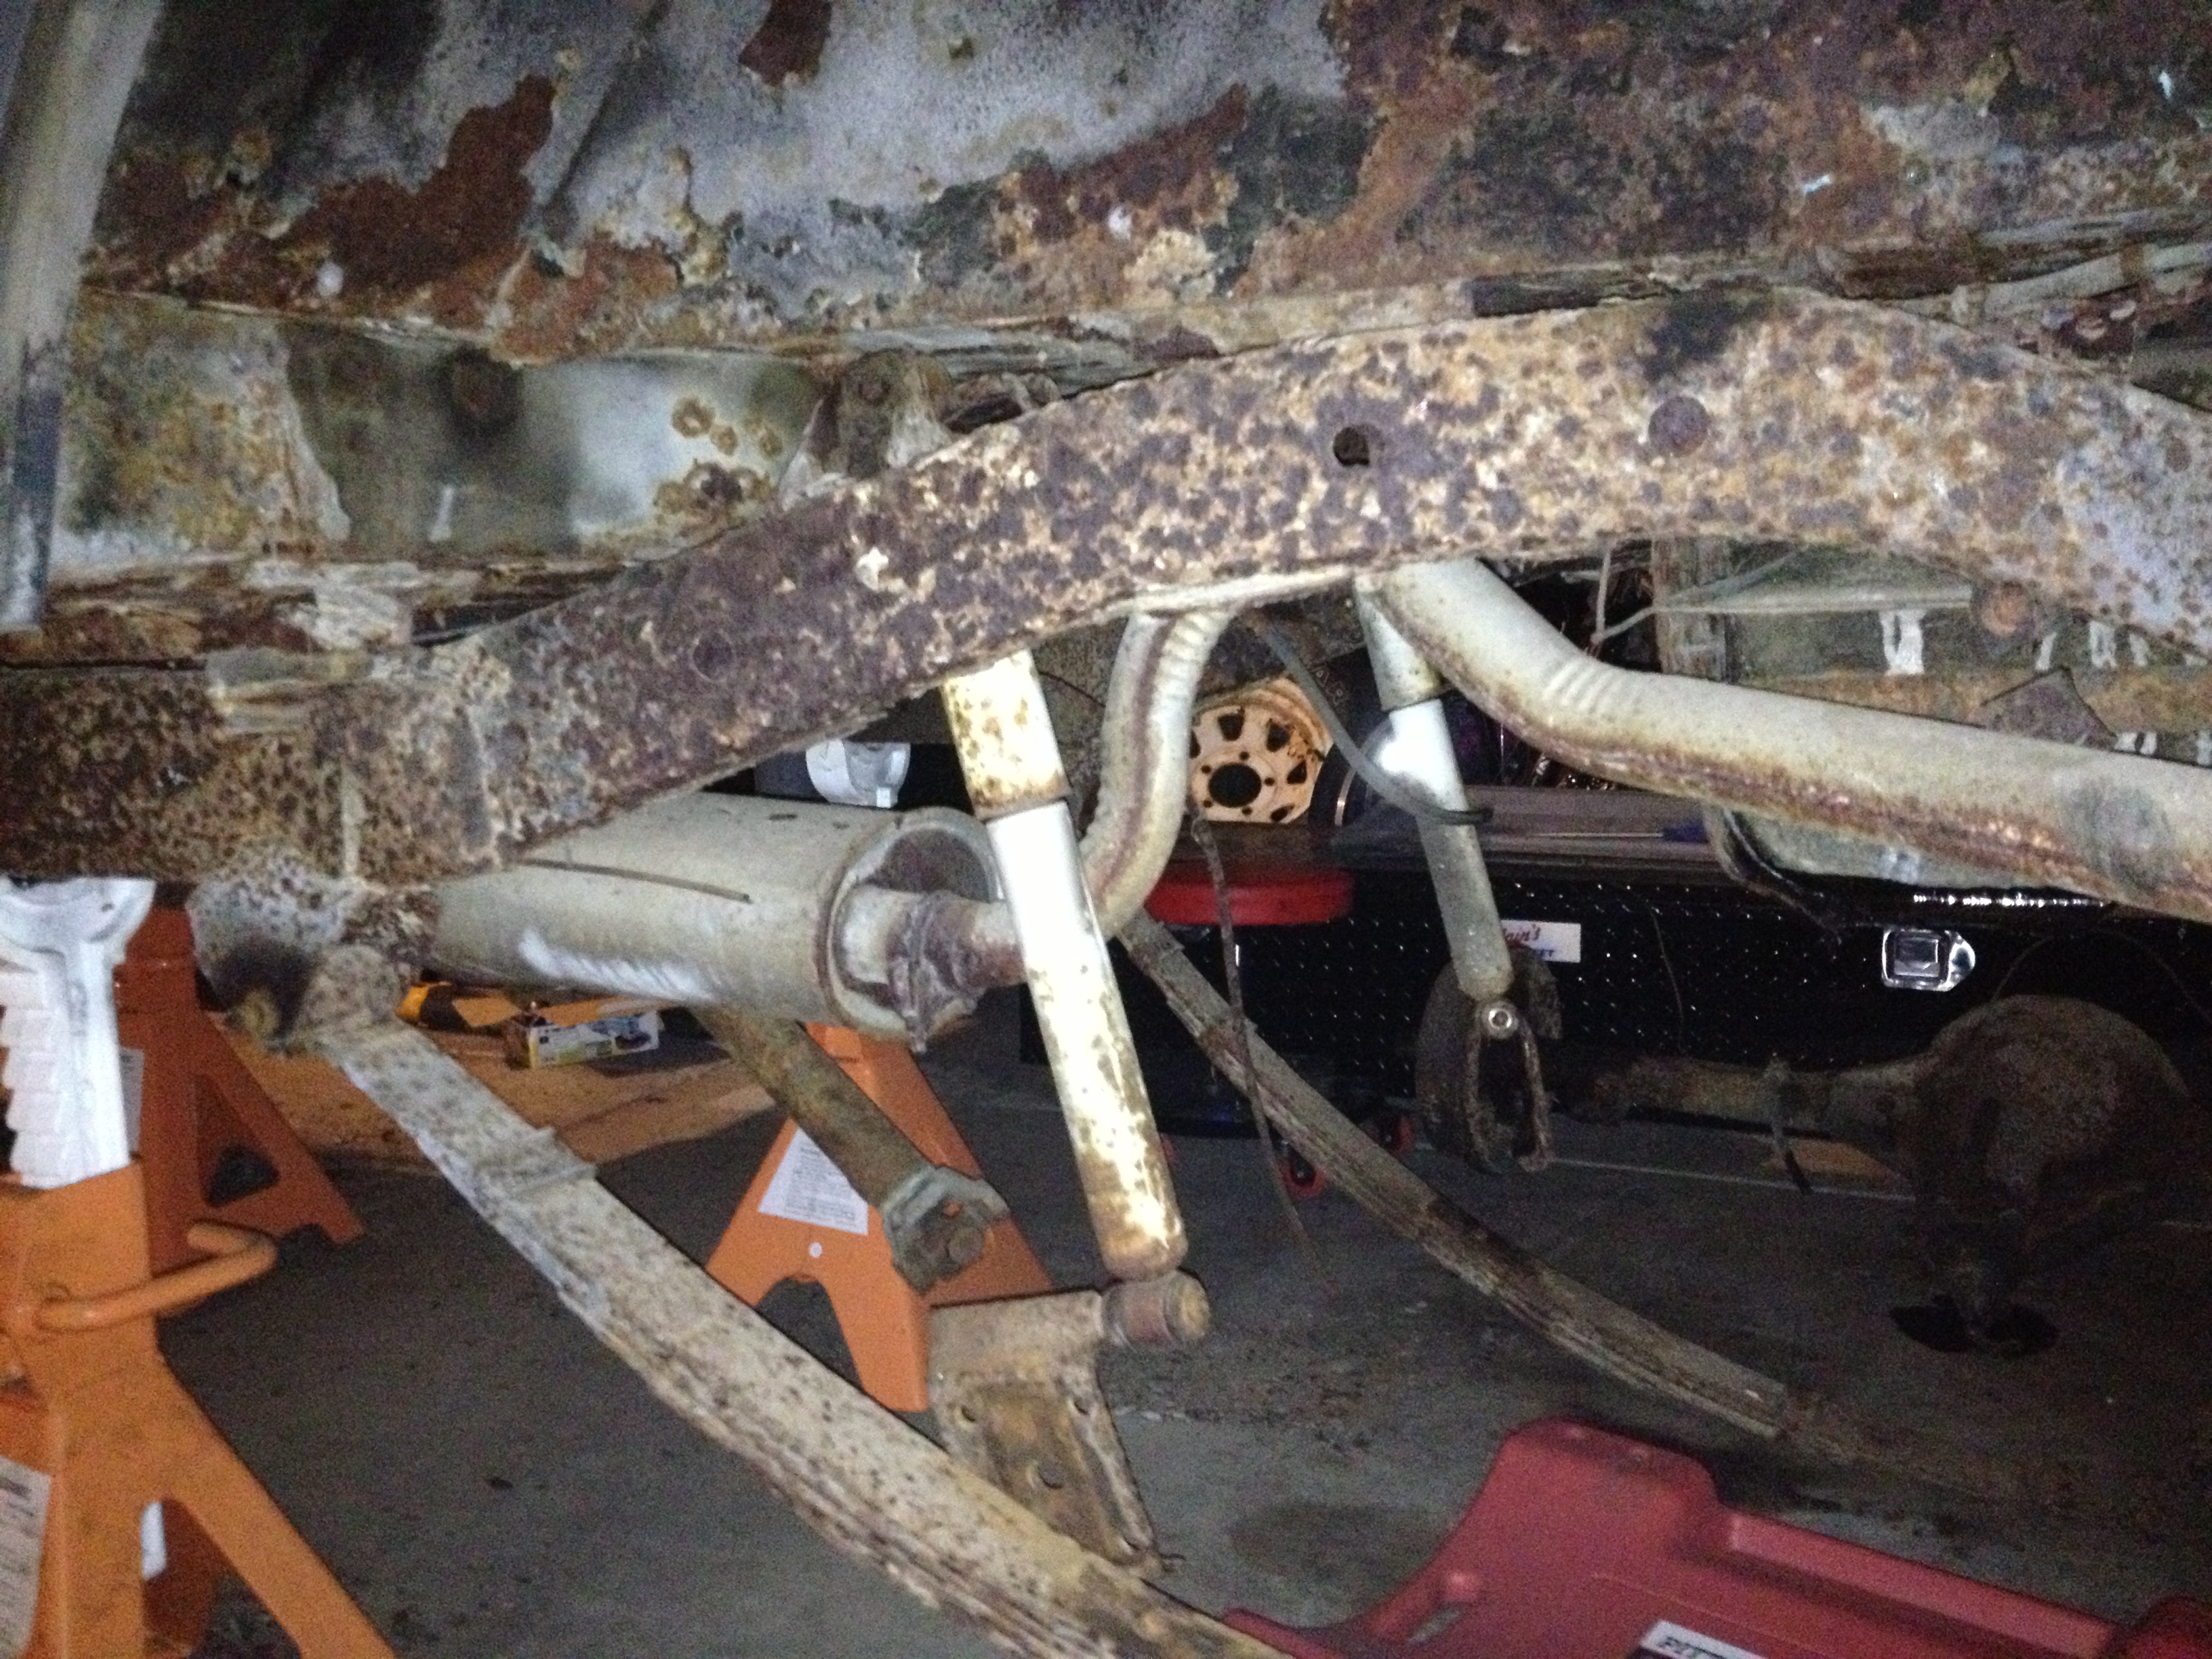
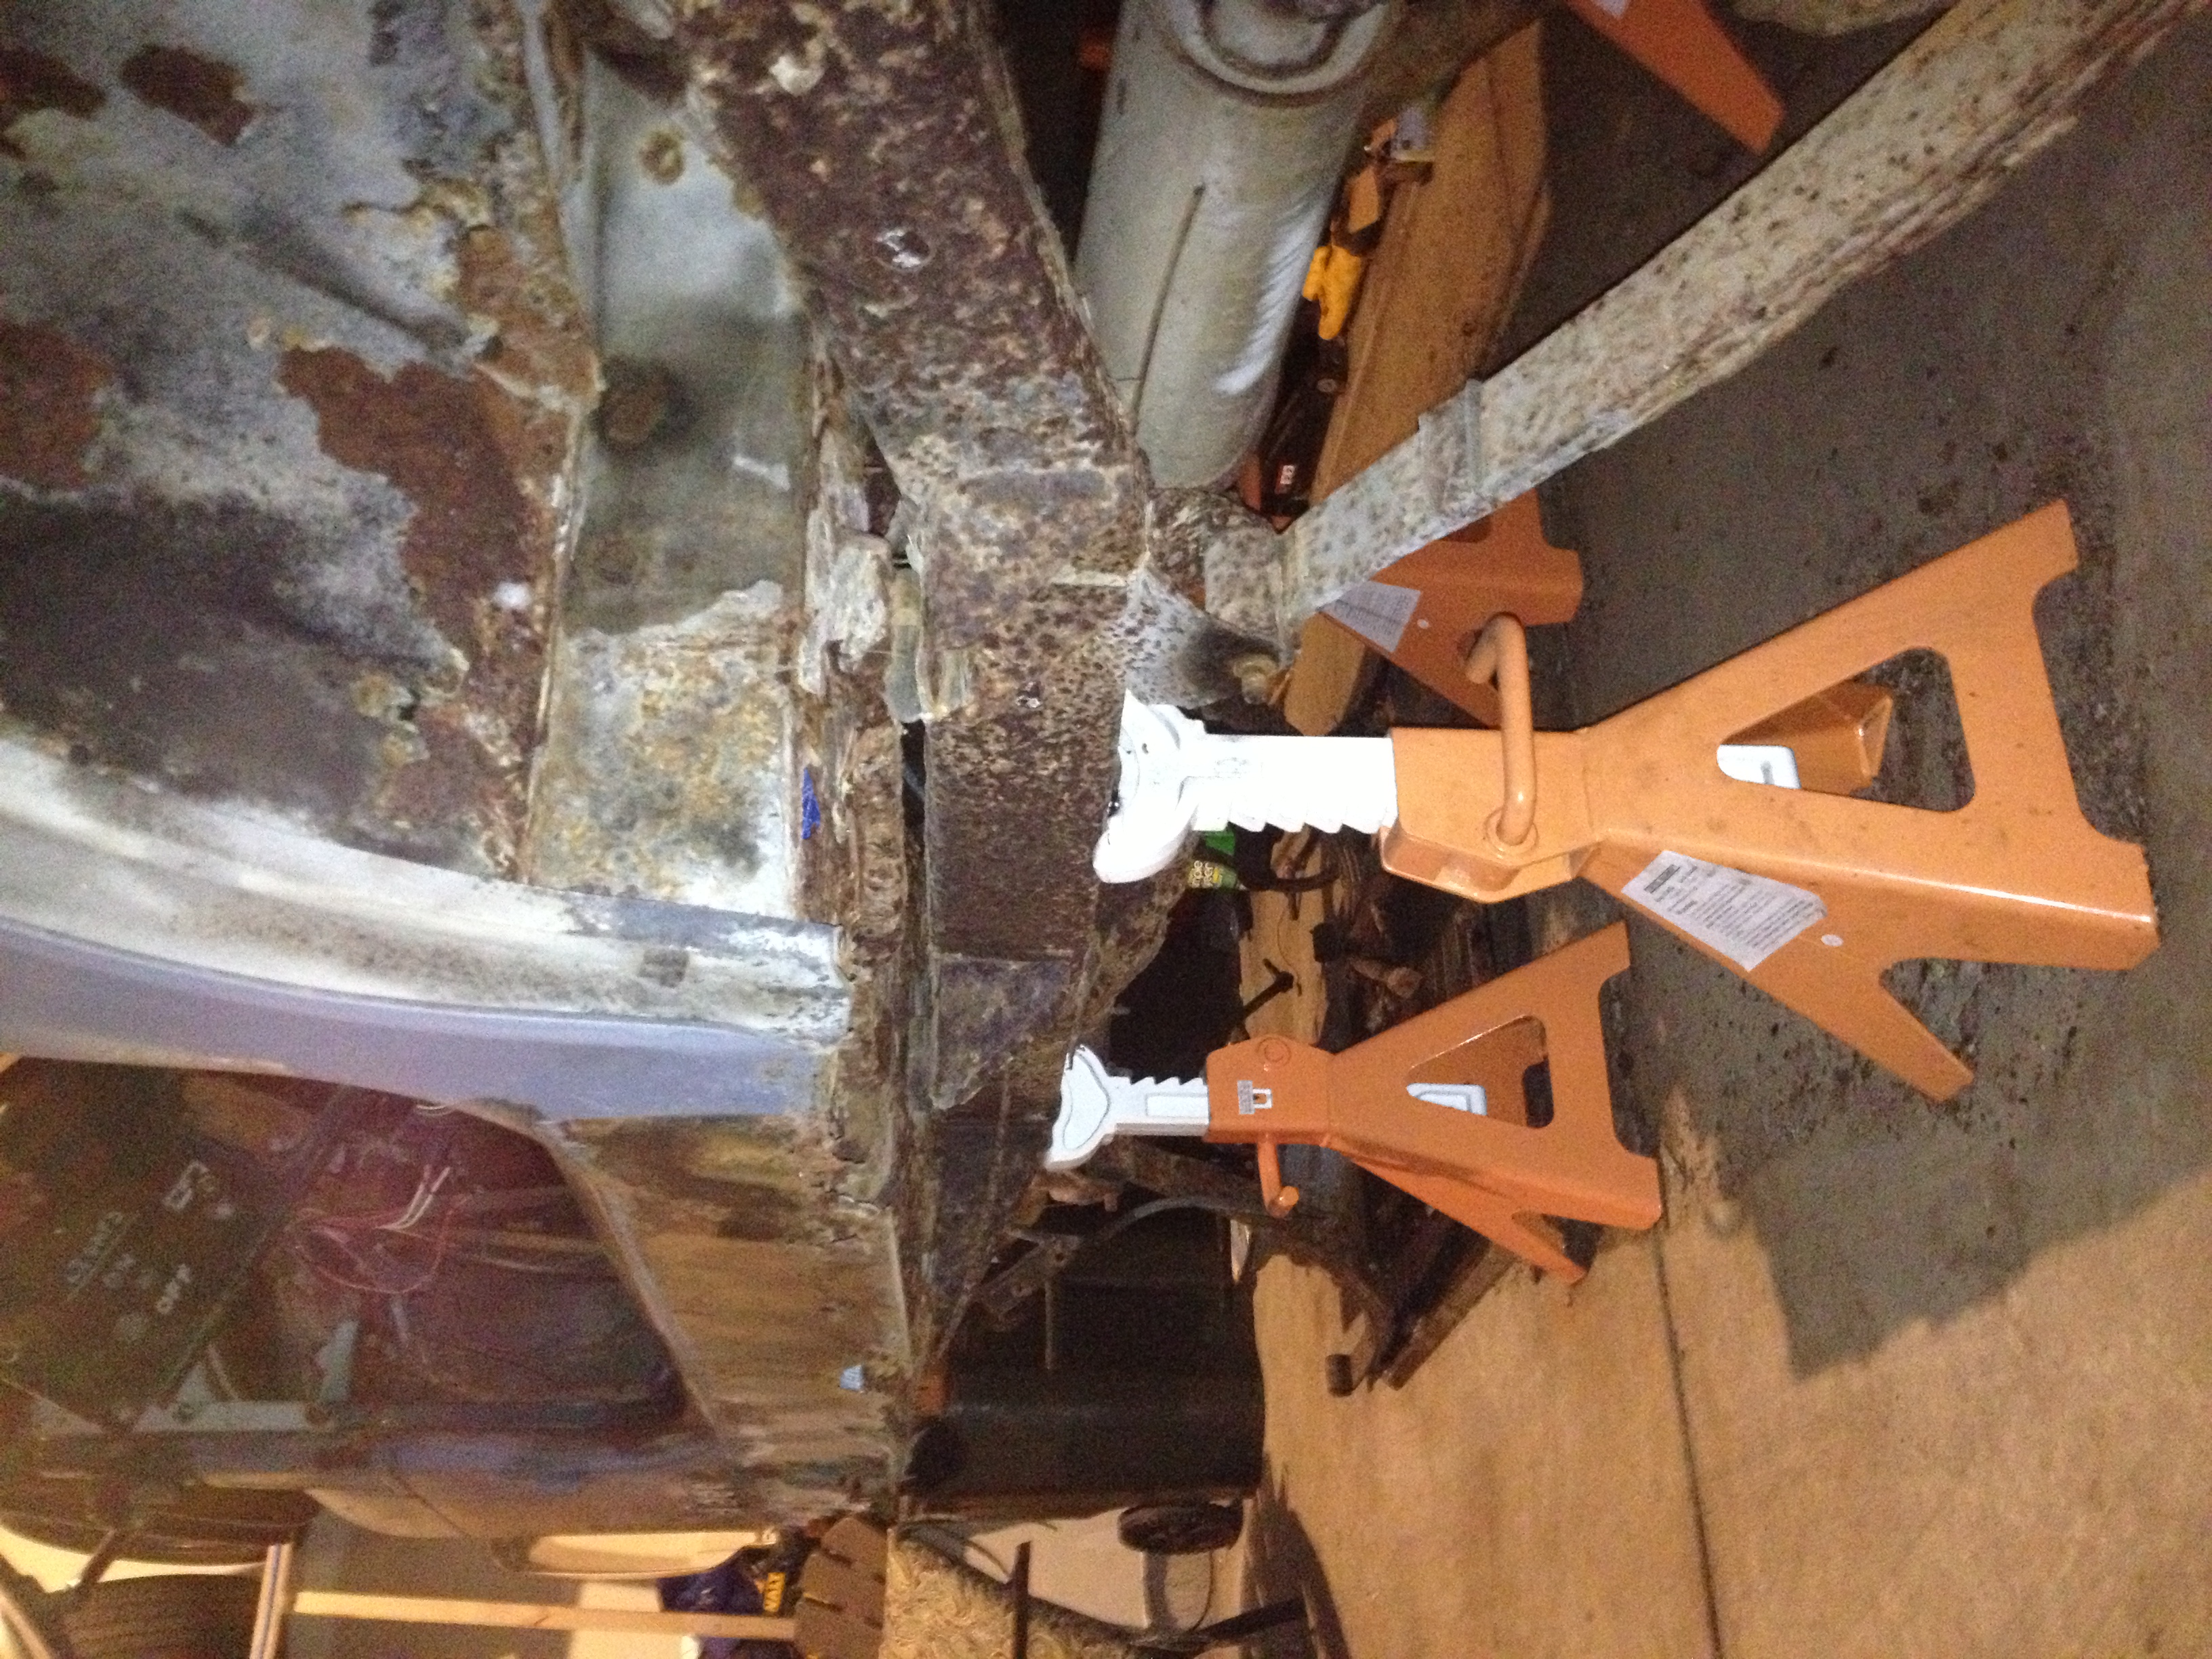
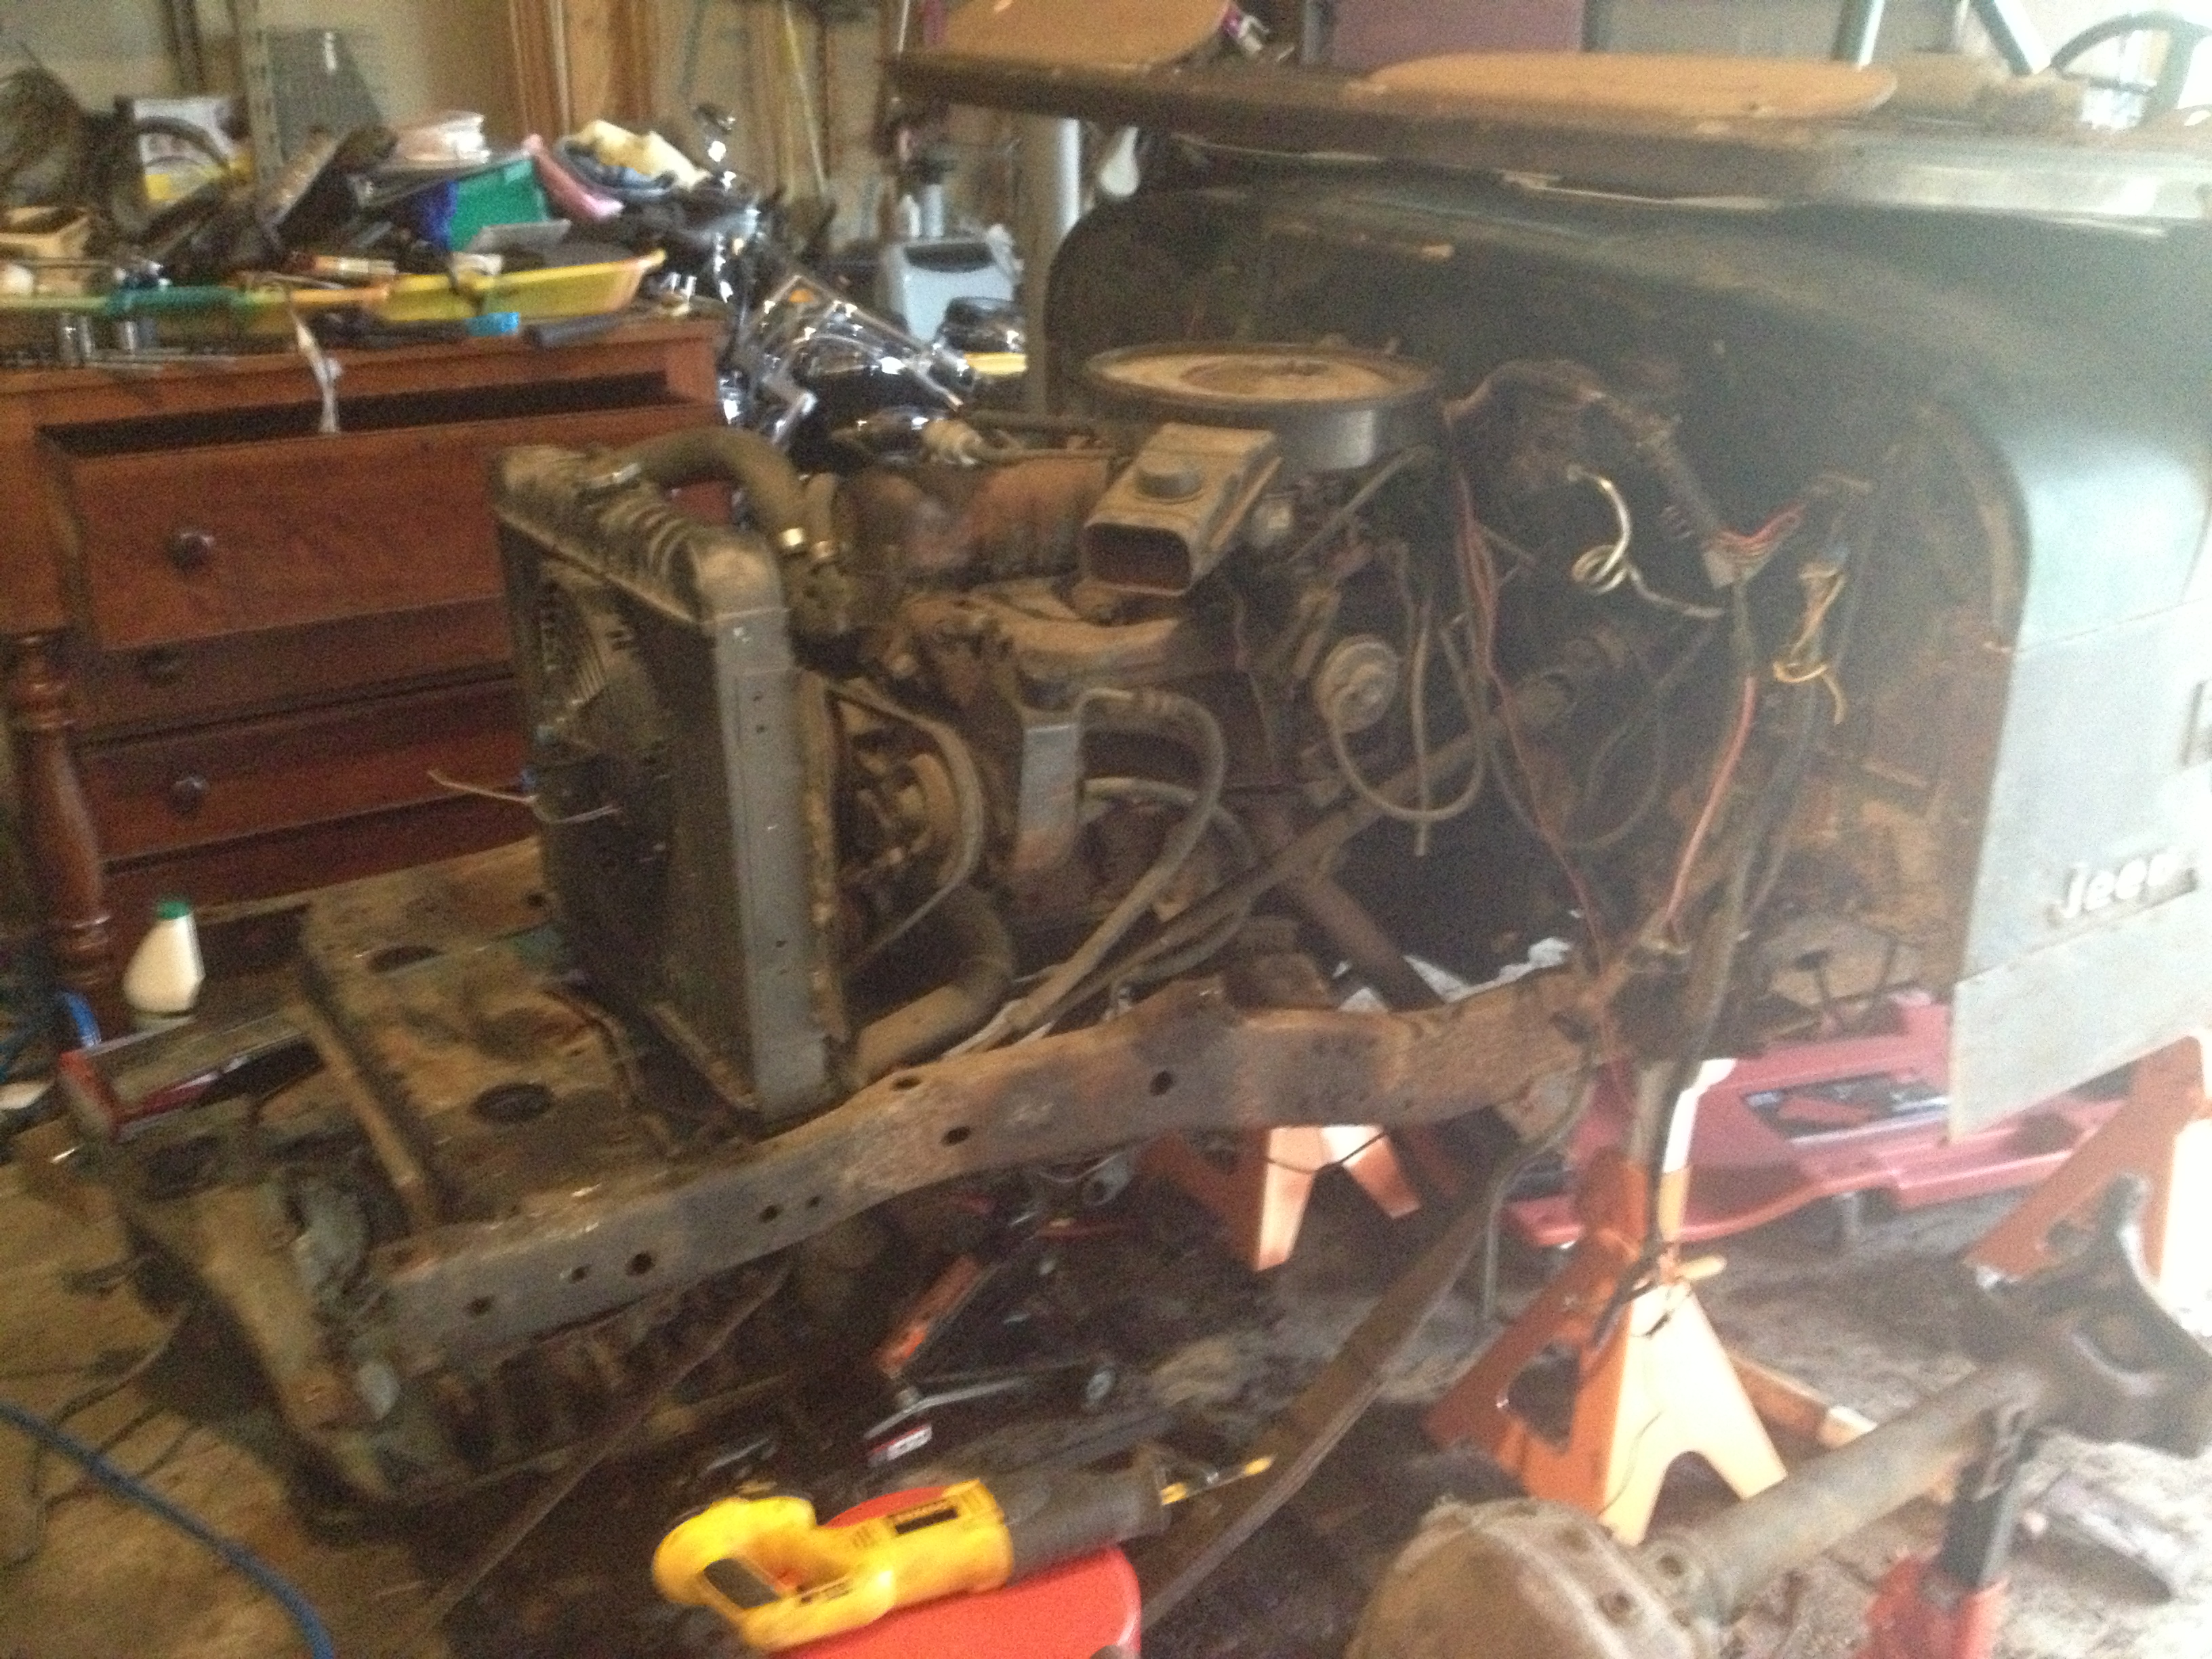
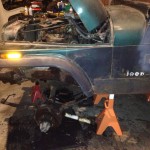
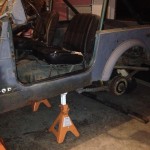
I decided I had two choices, part it out, or tear it down and completely rebuild it. Being a glutton for punishment, and always biting off more than I can chew, I decided to do a frame off complete rebuild. So step one… Up on the jack stands and begin to dissemble…..

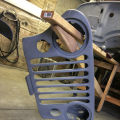
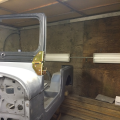
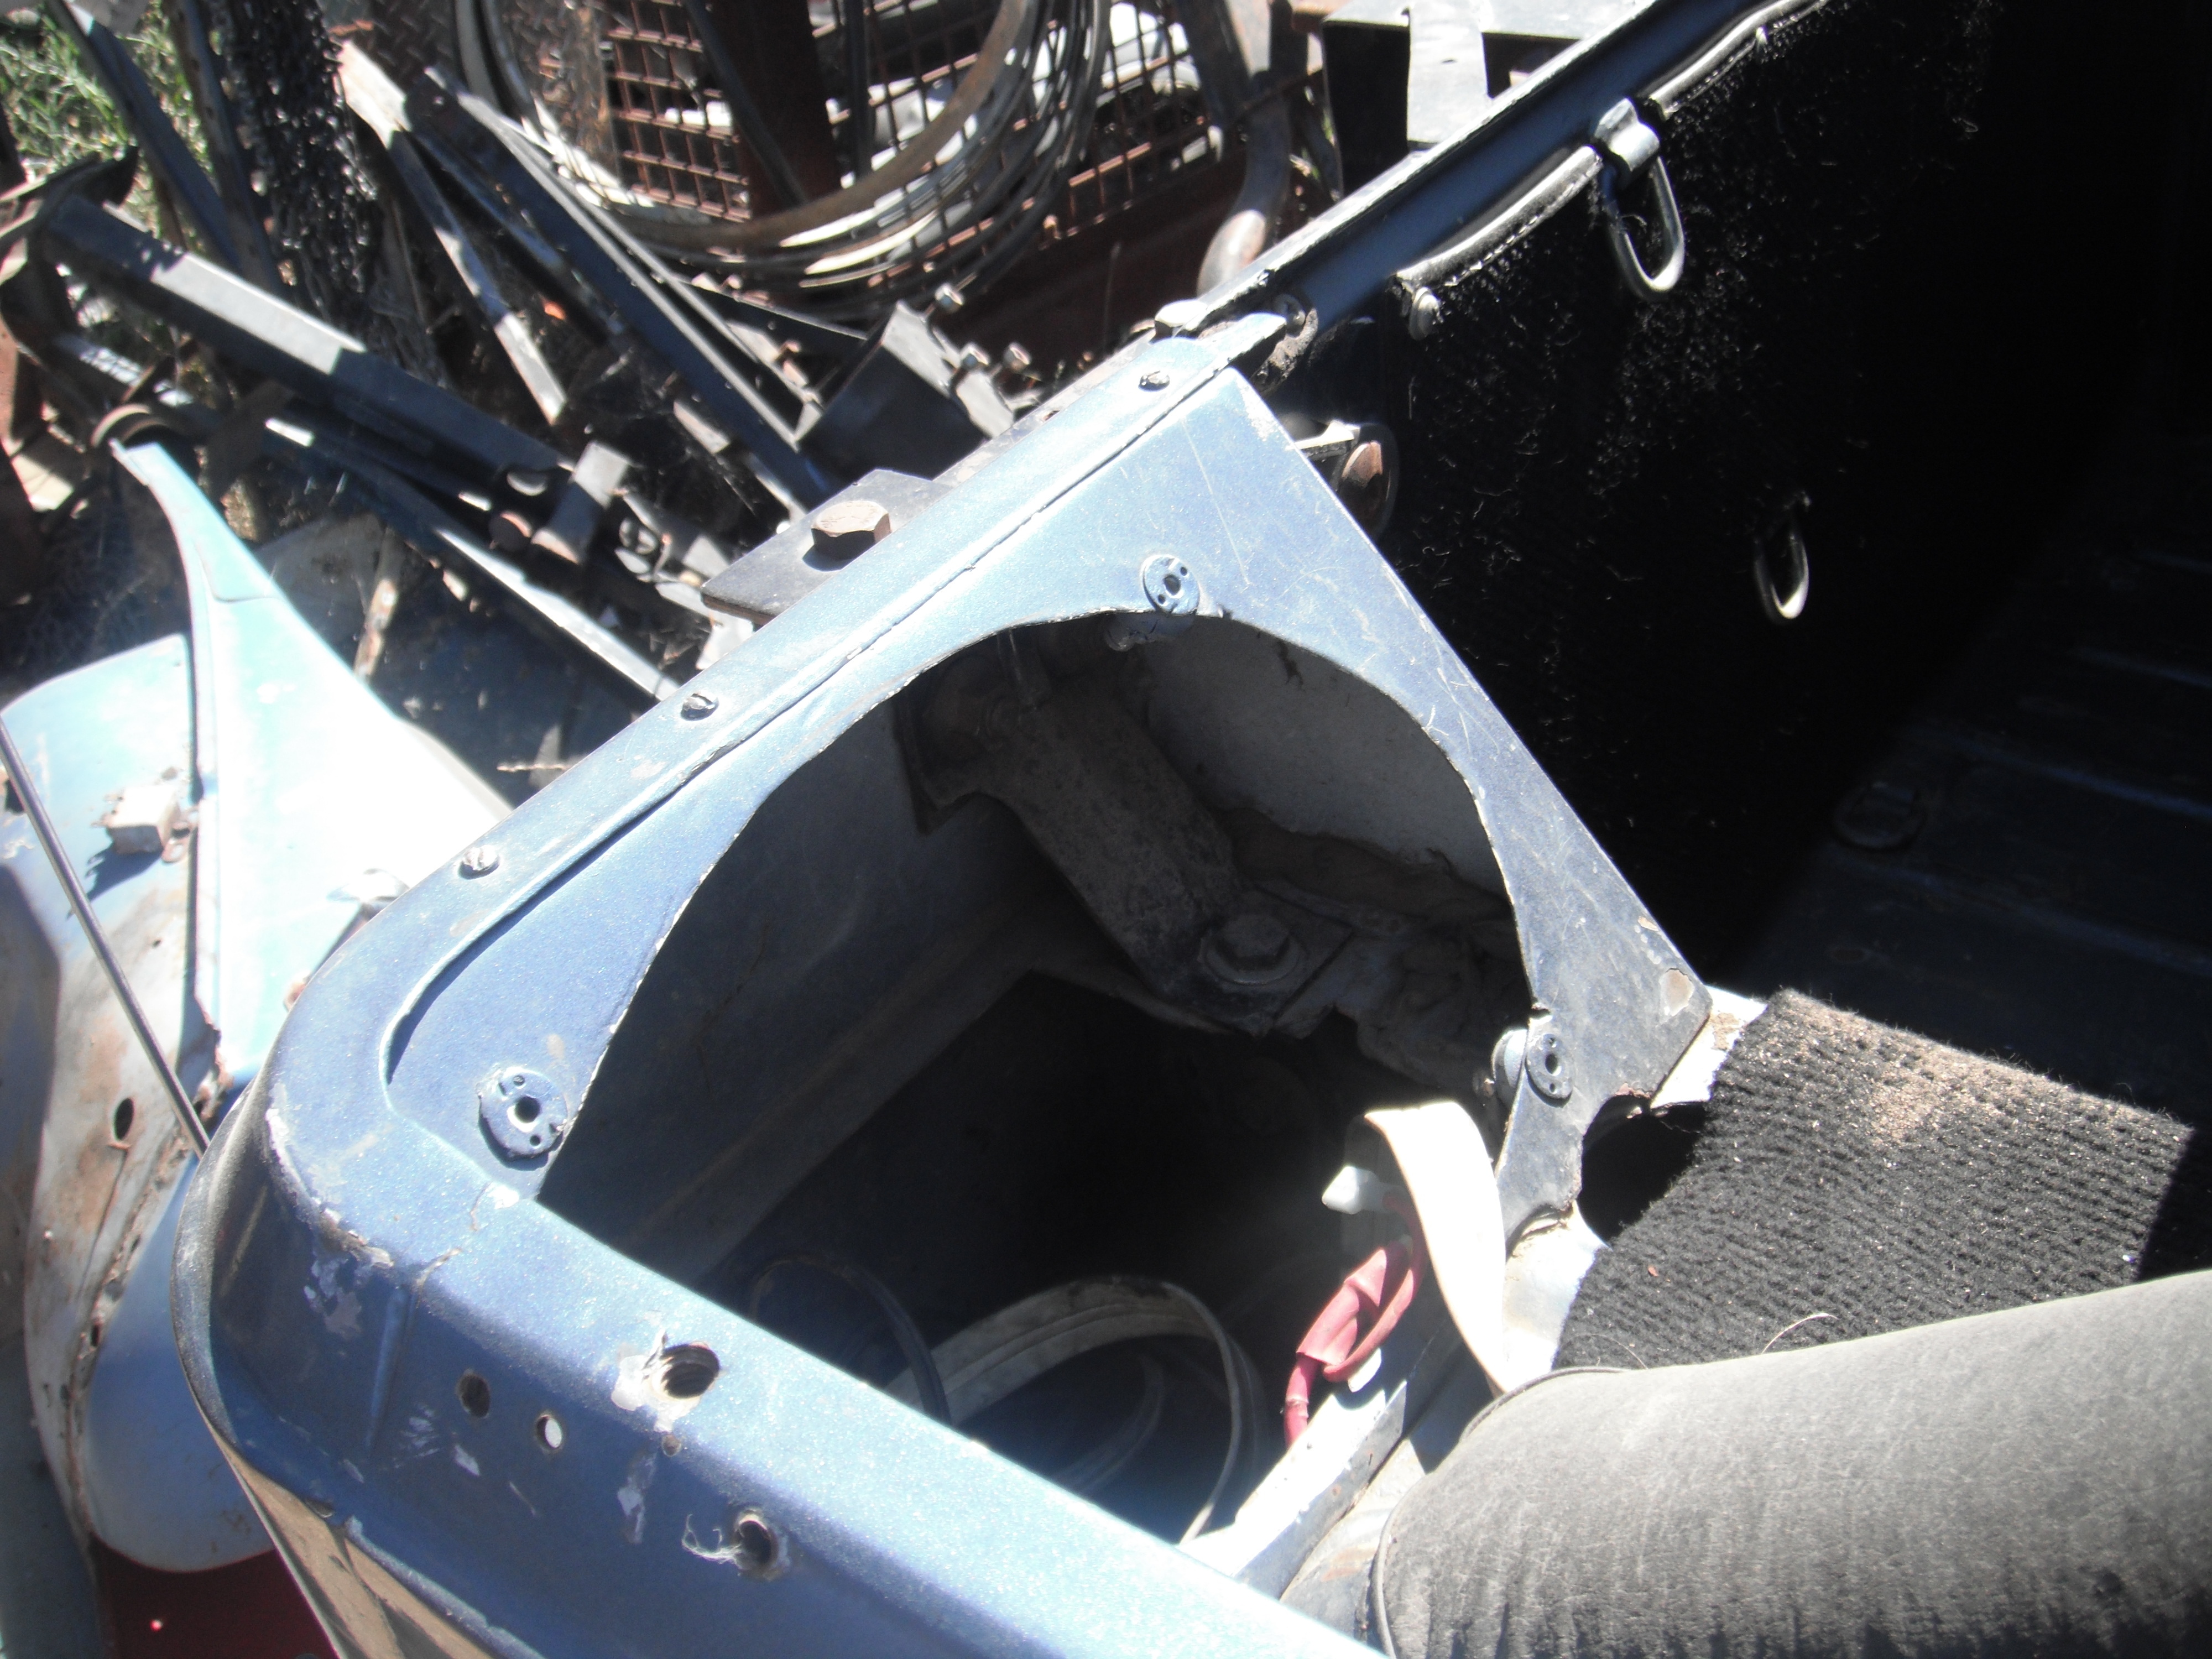
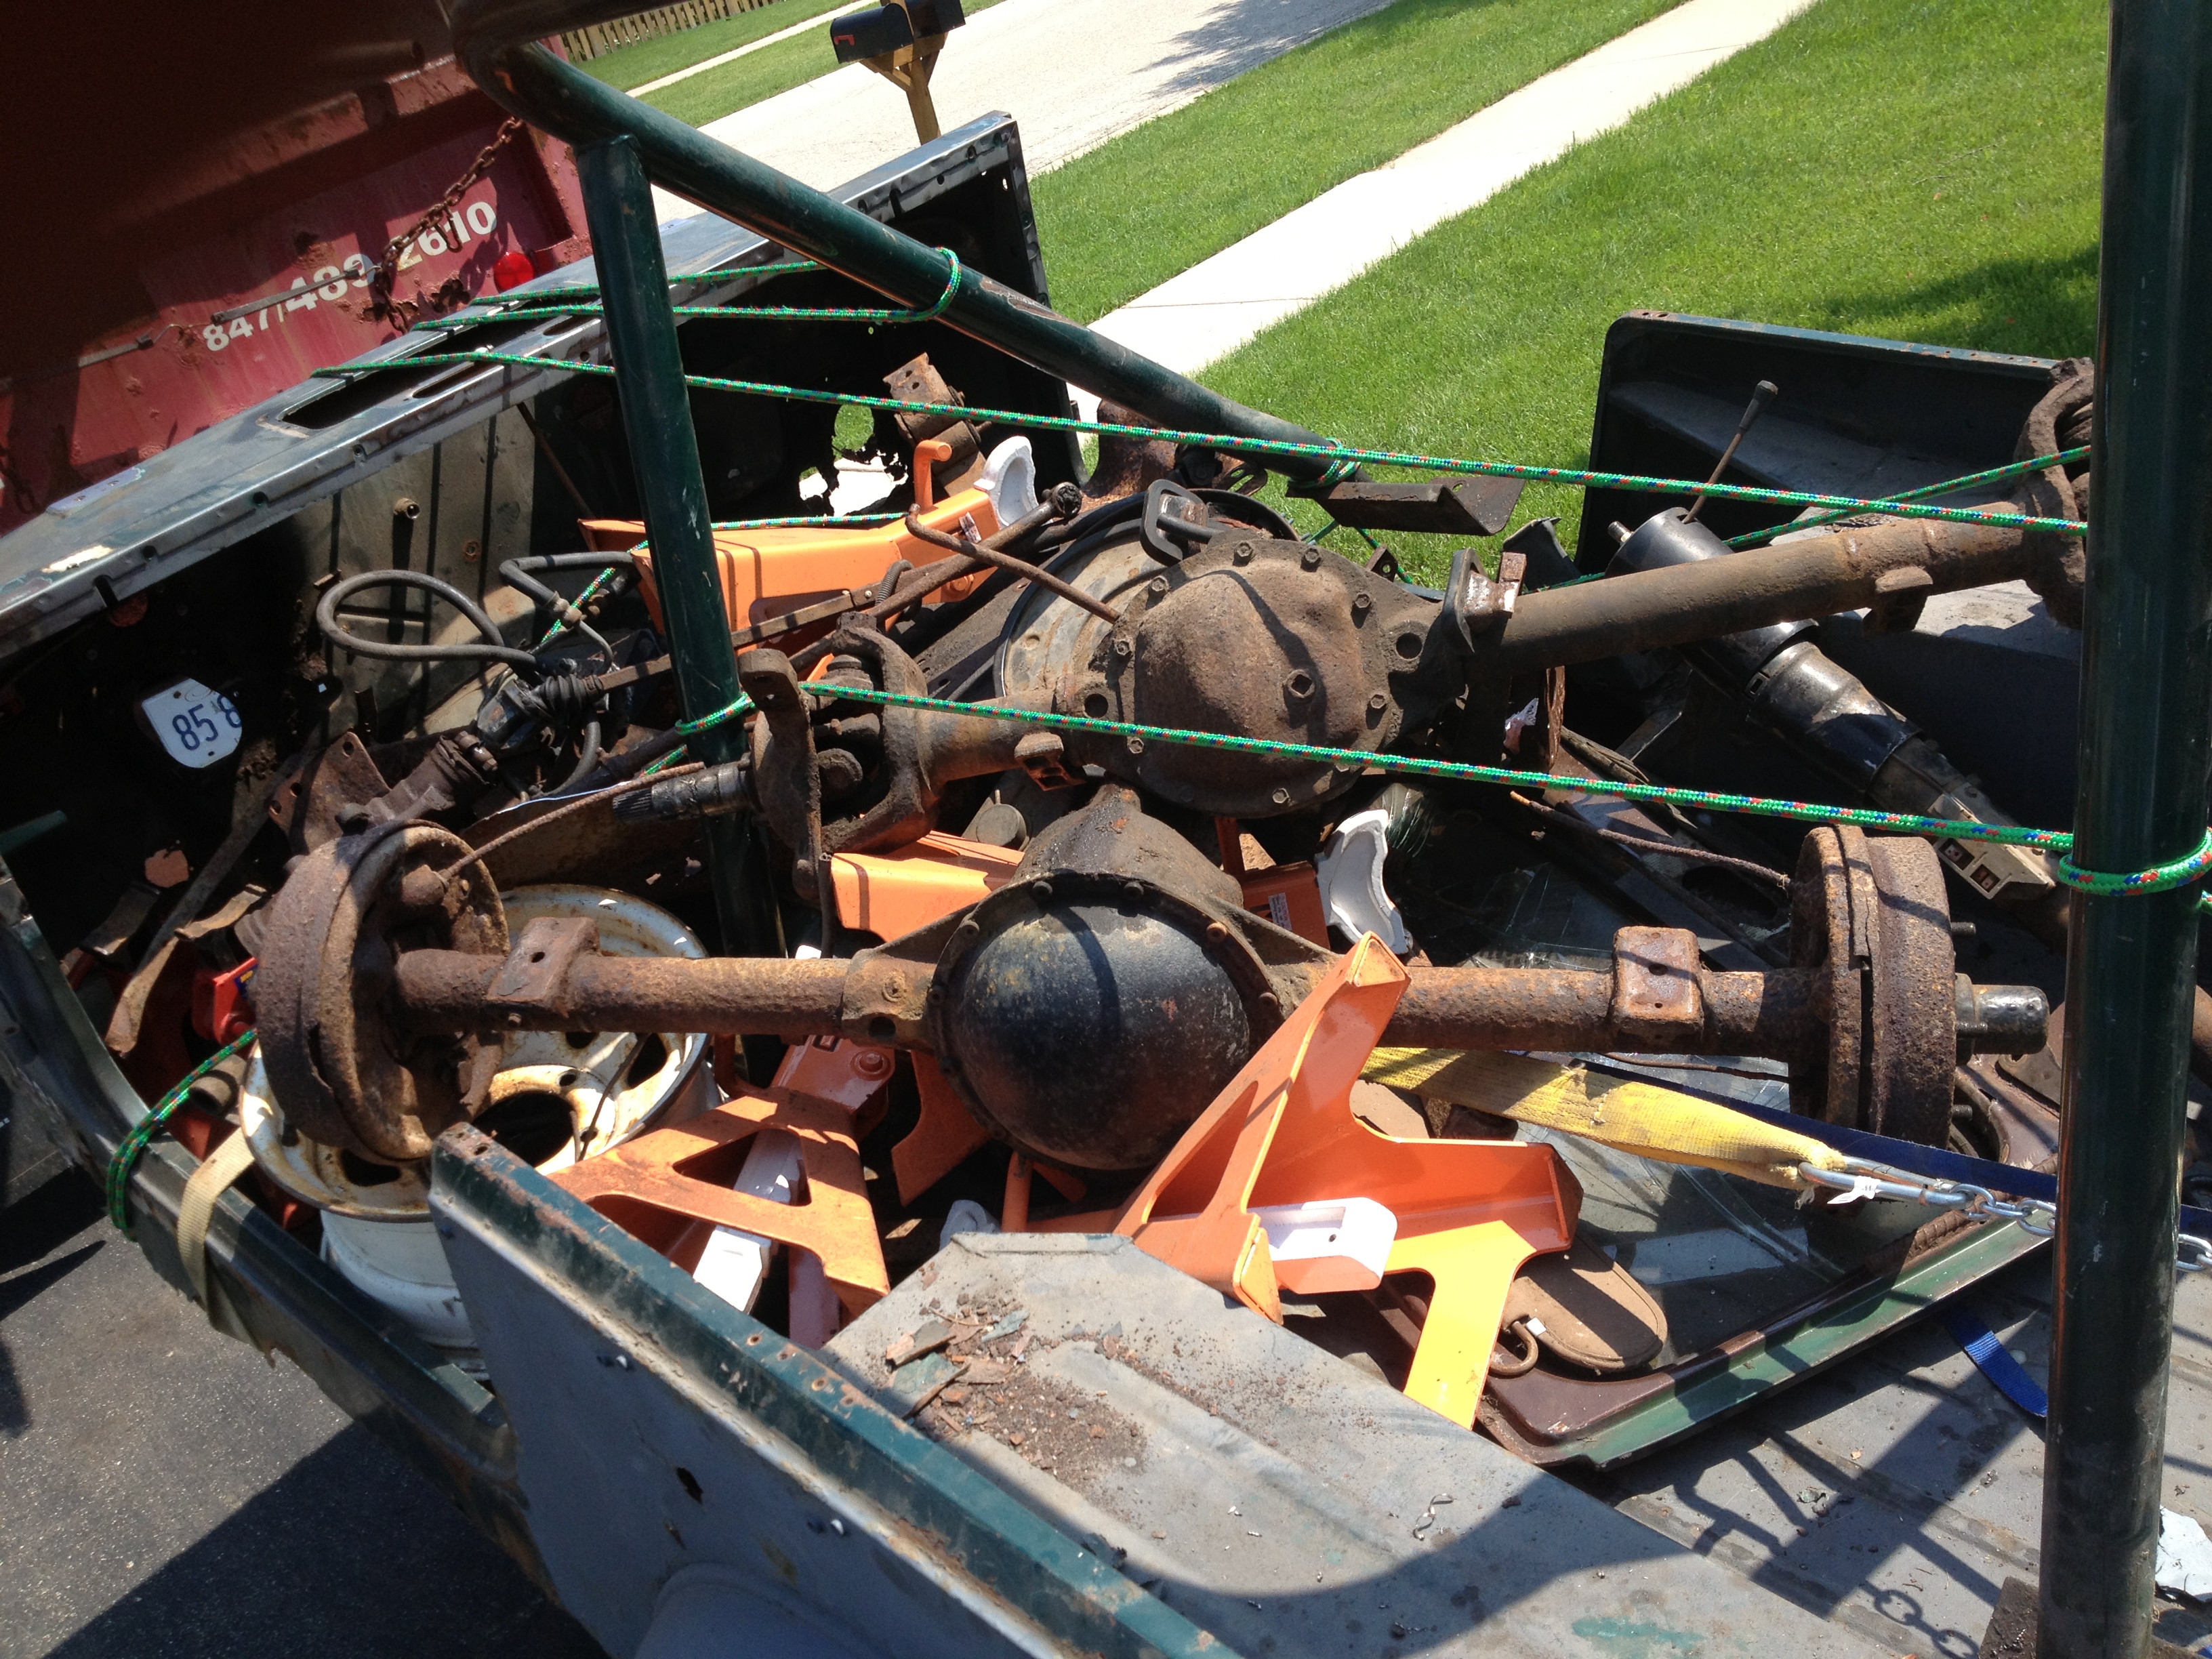
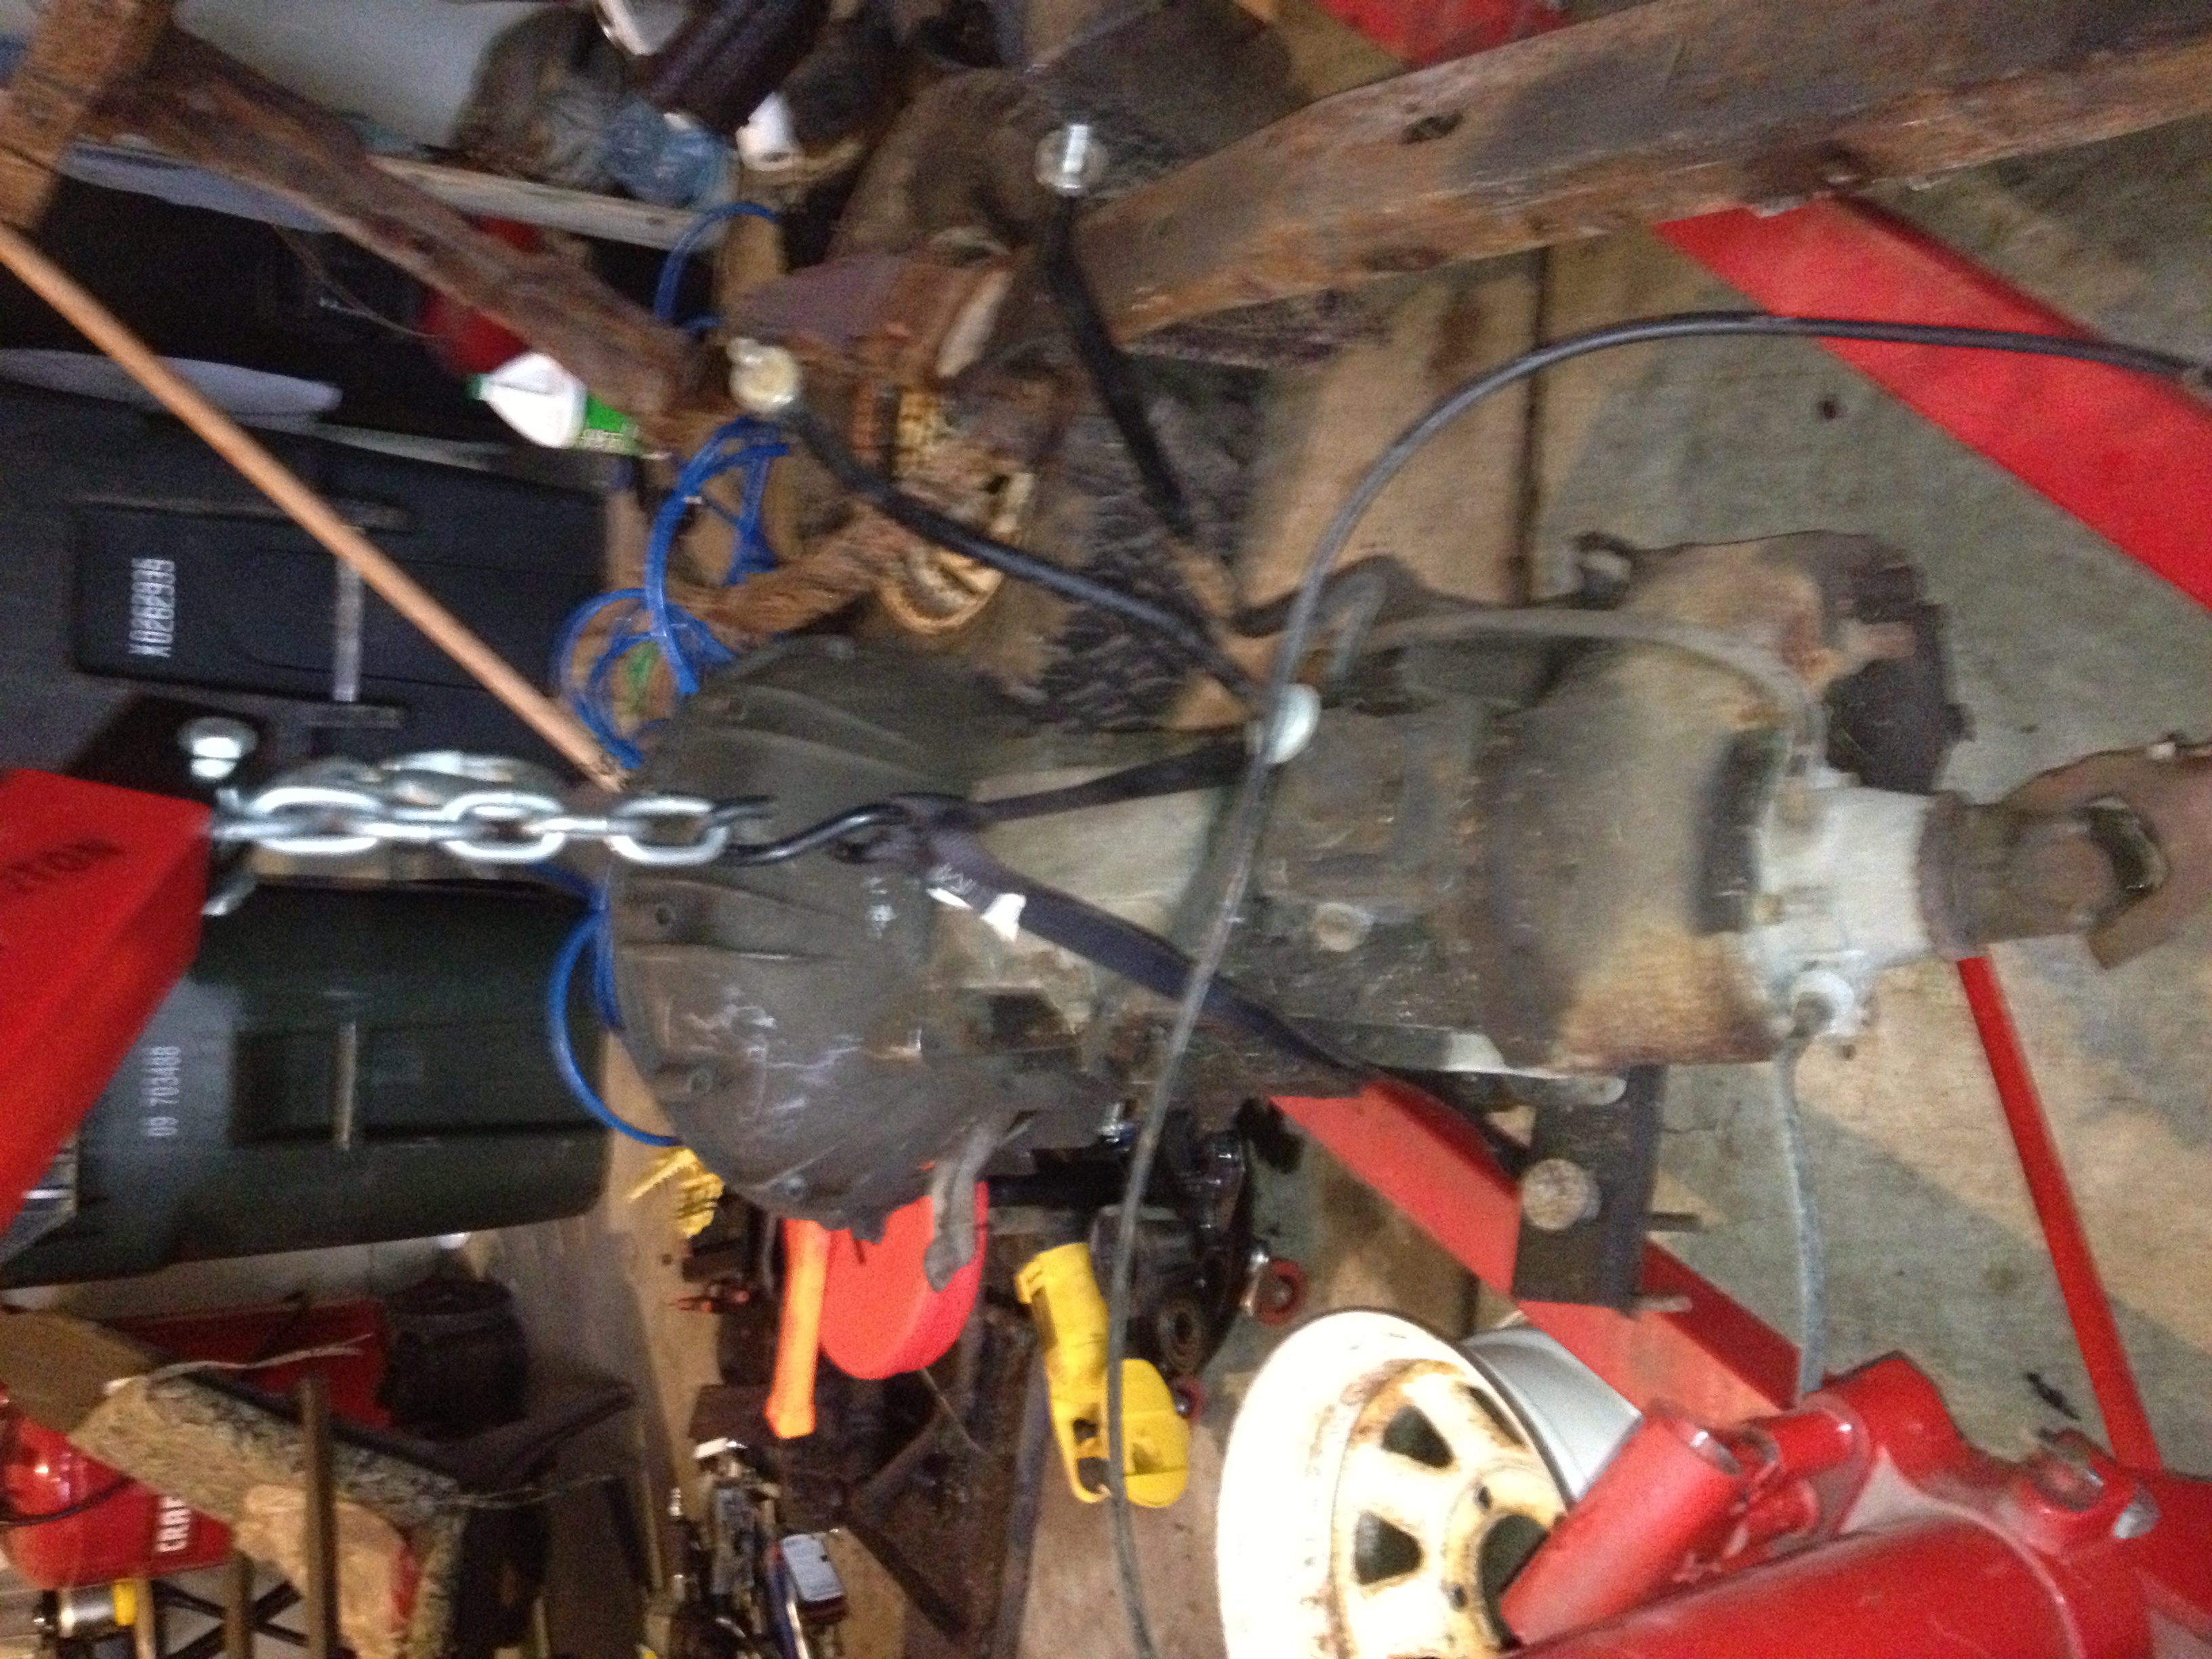
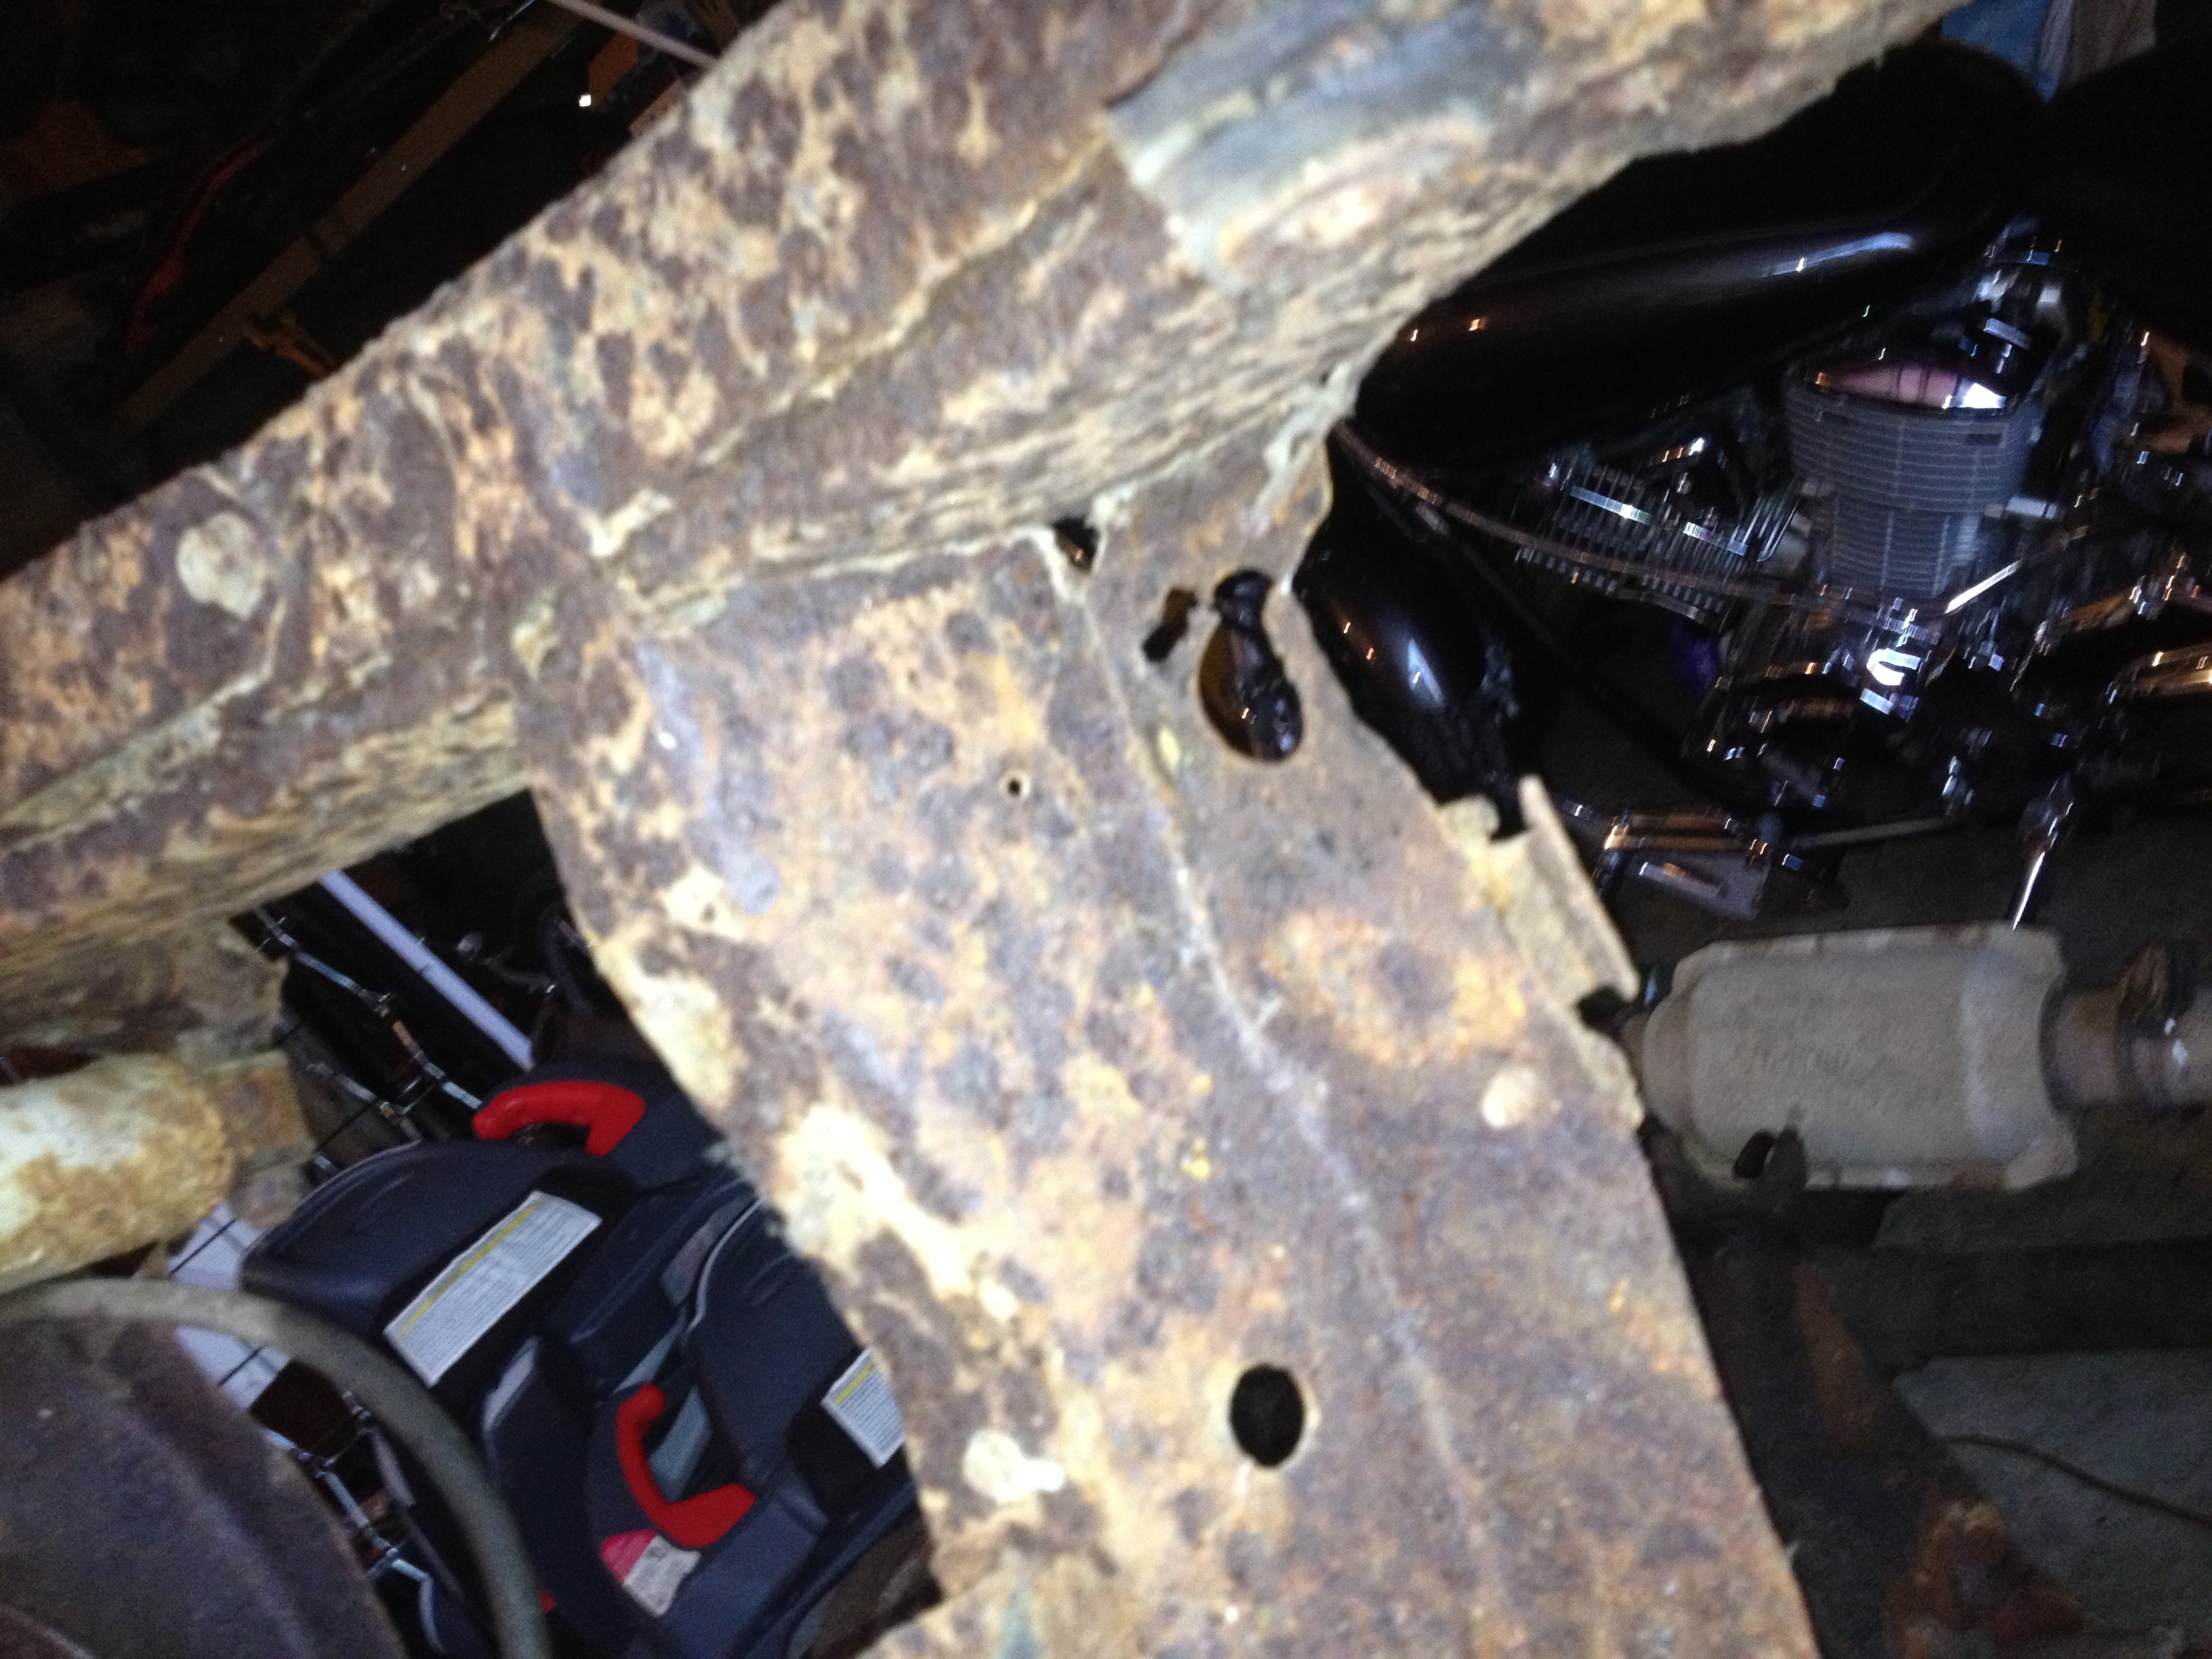
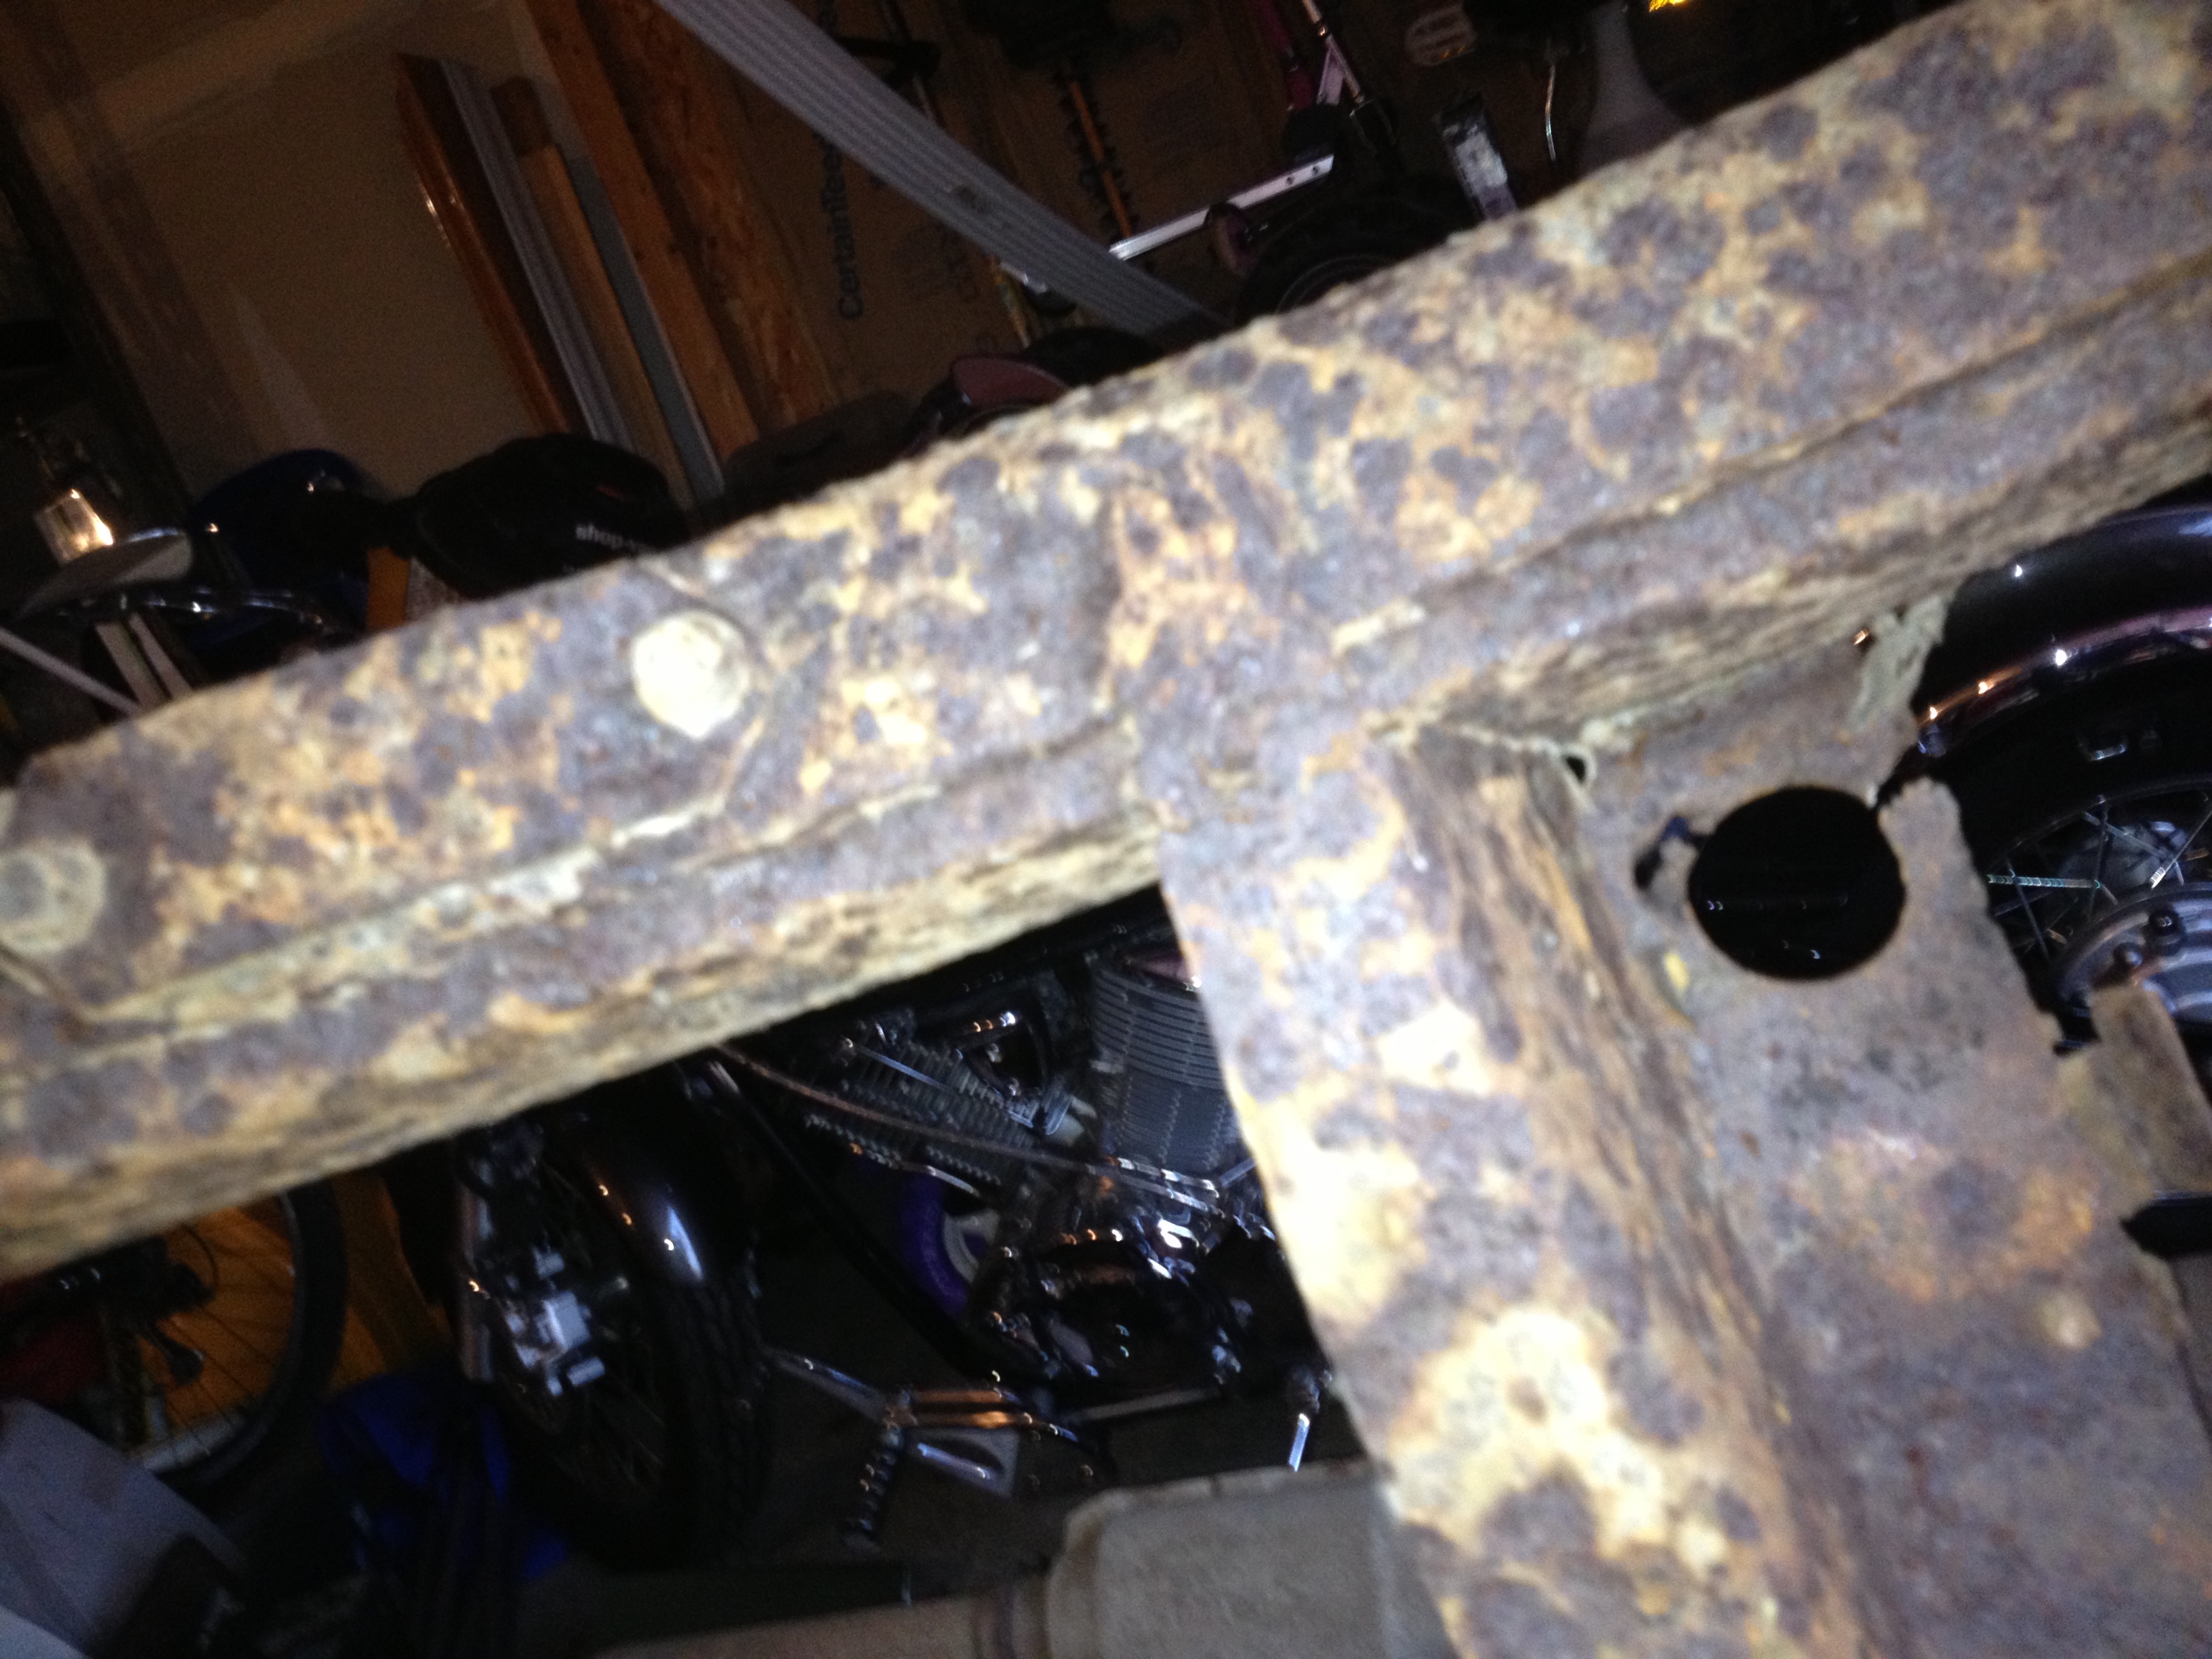
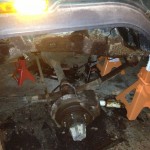
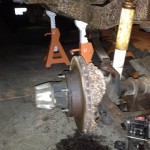
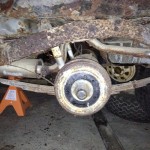
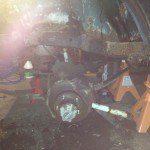
Remove the wheels and get that front axle out.

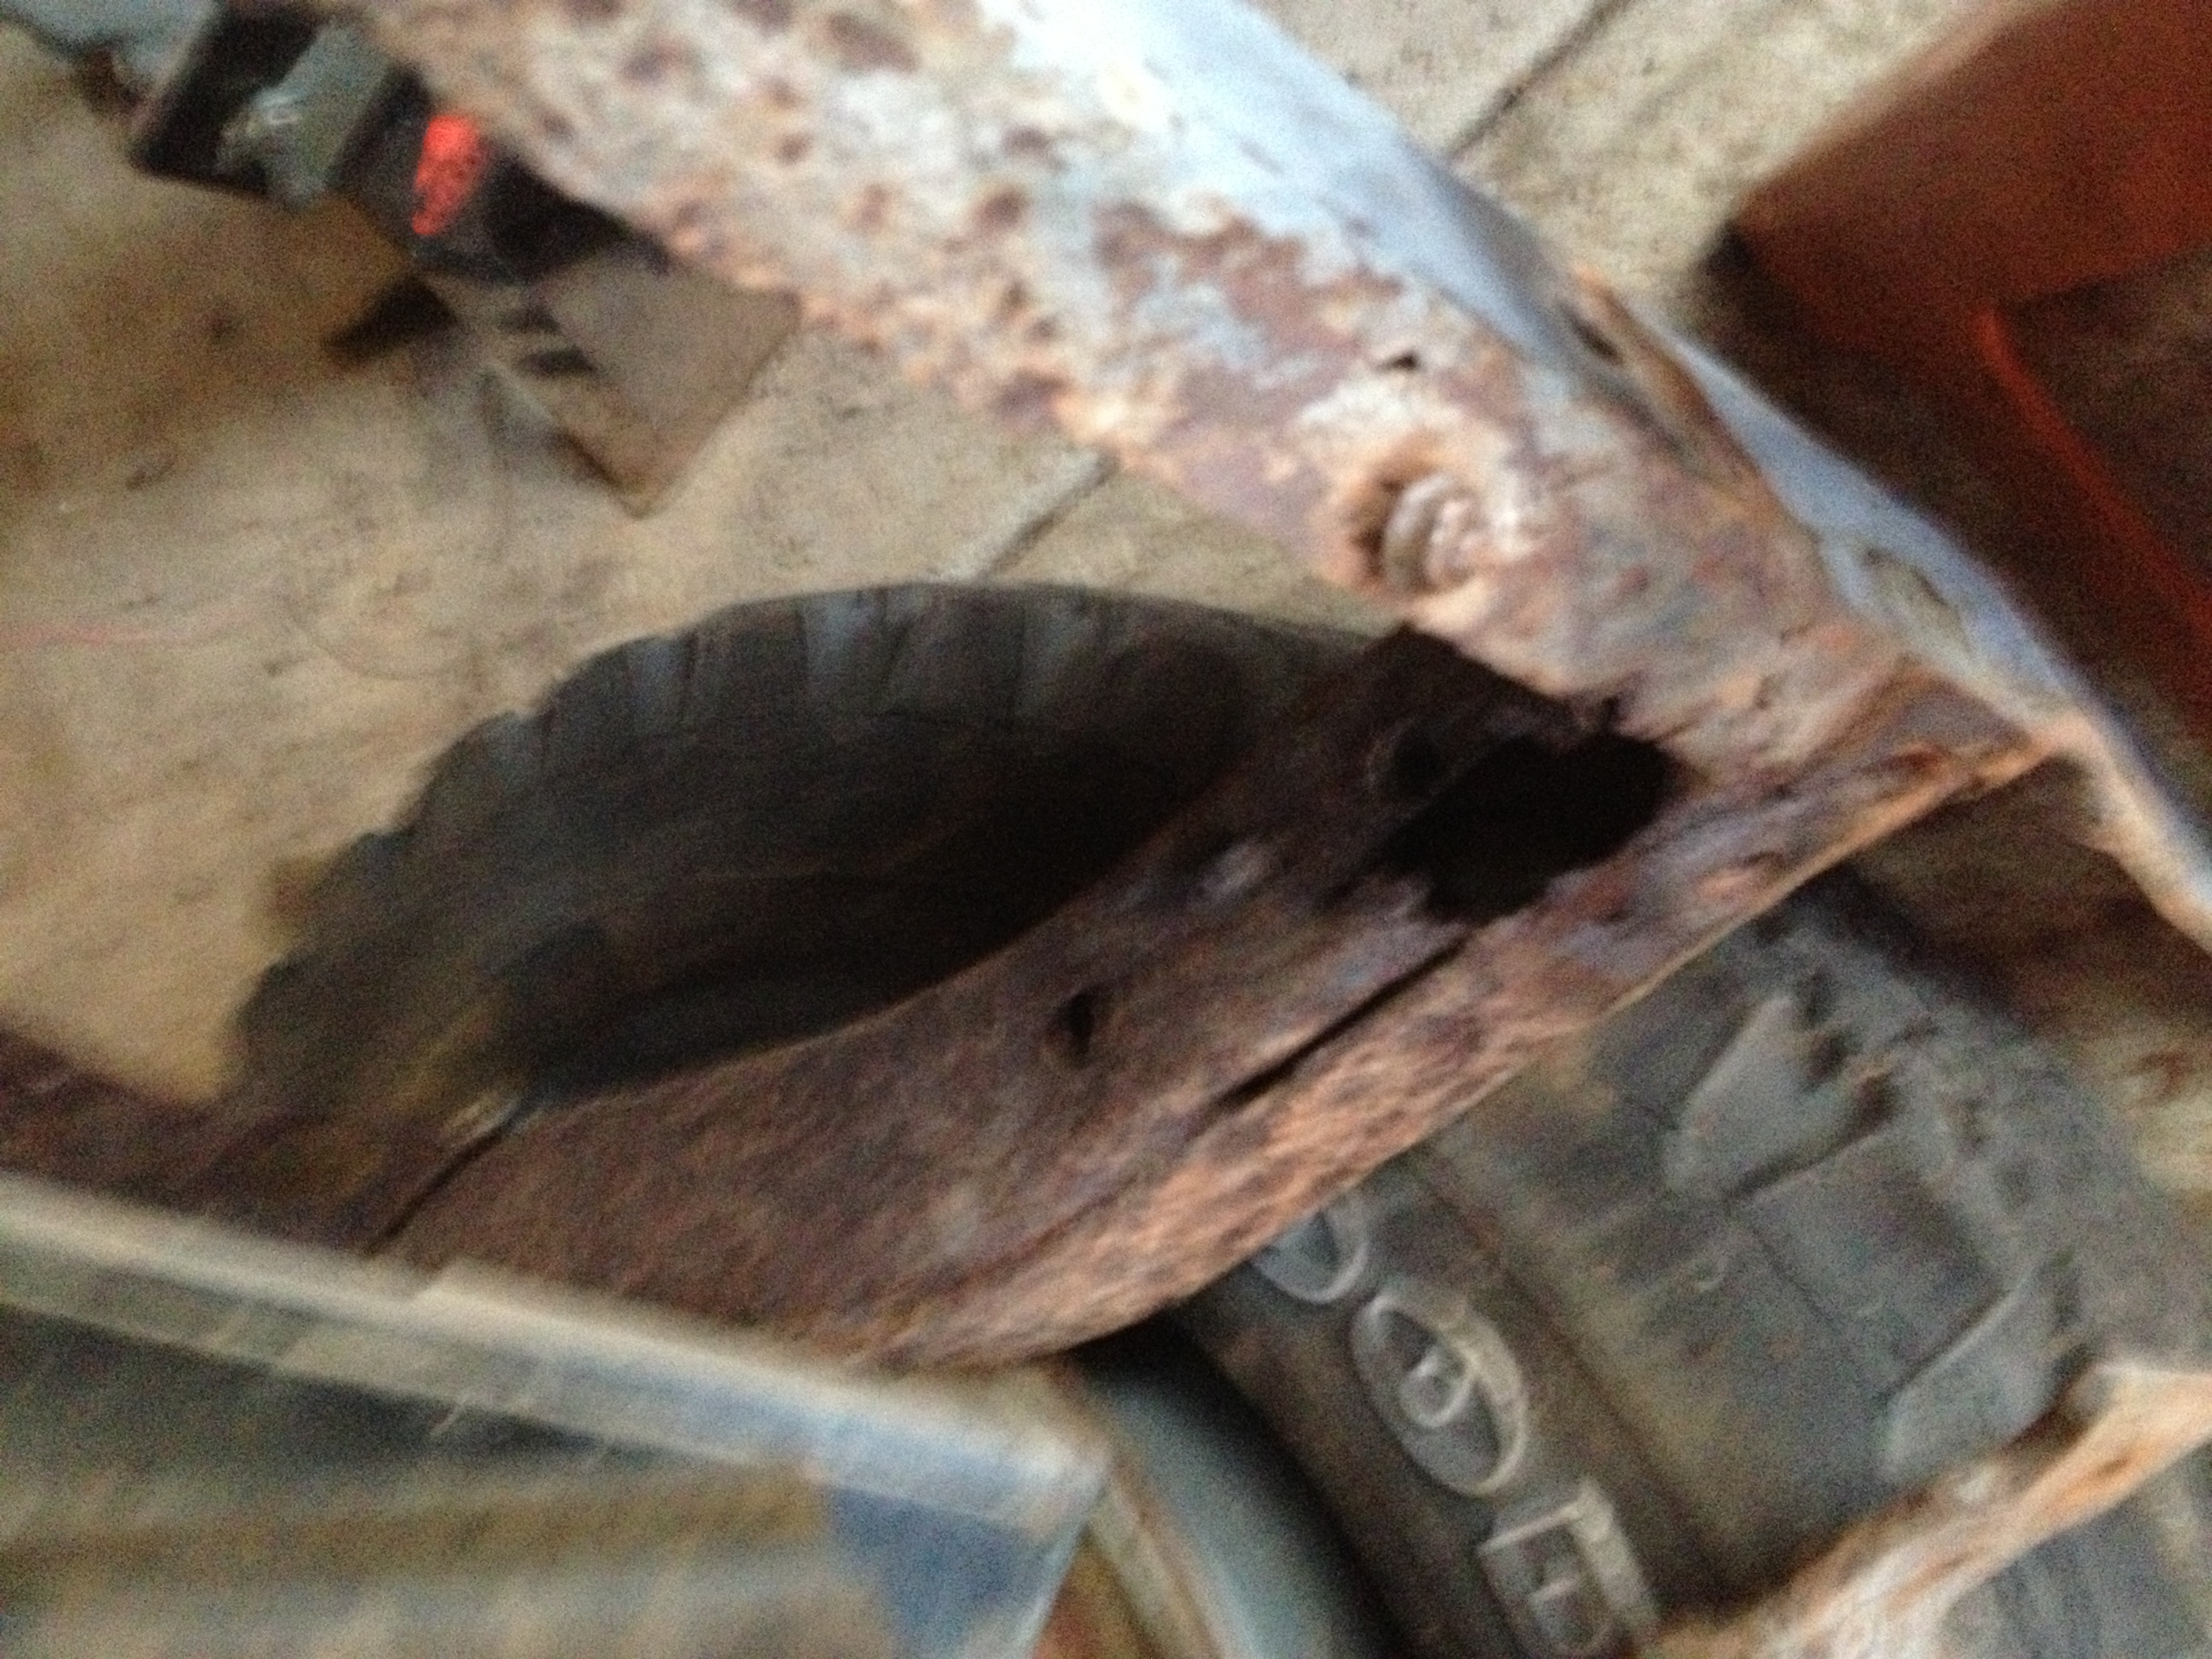
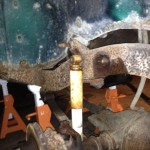
I ended up having to cut off the U-bolts on the front axle as they were so torn up my impact wrench and half a can of liquid wrench would not loosen them up! If anyone has any tips on getting the front rear leaf spring bolt out let me know. Impact wrench – just turns the bolt about 45 degrees and the spring moves with it. I am assuming there is a metal tube inside the spring bushing that is rusted to the bolt, so may end up cutting the bolt off. I am trying to save the springs although I am not quite sure why, as they will be replaced with the lift kit I intend to install. – UPDATE once again the great bunch at www.jeepforum.com came to the rescue, I will be cutting the bolts out when I get back to town!

With having my kids every other weekend, and traveling internationally for work I will only be able to work on this sporadically. Check back for updates!